
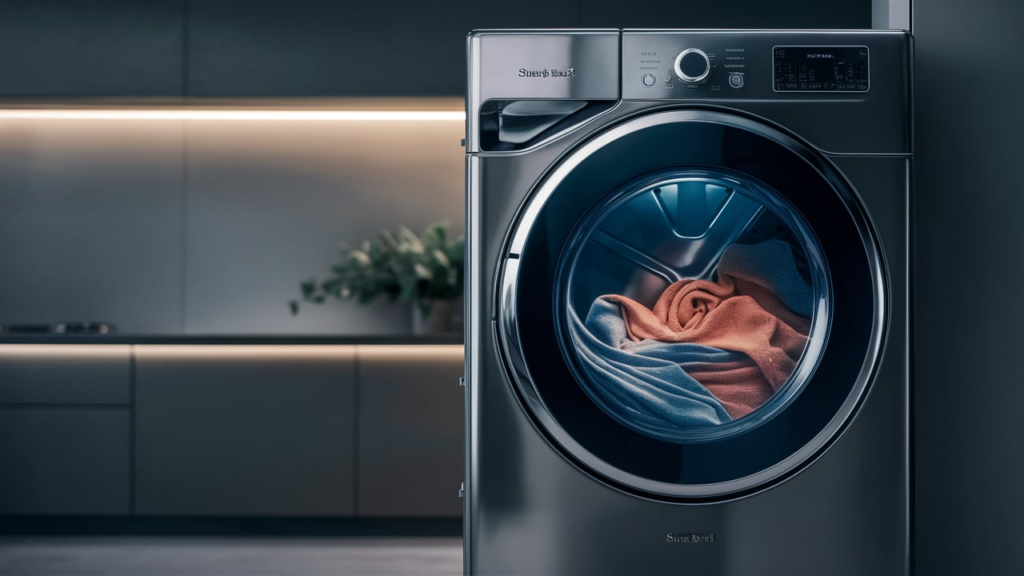
Is your dryer taking longer than usual to dry your clothes? A damaged or clogged lint screen housing might be the cause. This essential component traps lint and allows proper airflow in your dryer. If it’s obstructed or worn out, replacing it can improve your dryer’s efficiency and performance. Here’s a step-by-step guide to help you get the job done.
Tools and Materials Needed
- Phillips screwdriver
- 1⁄4-inch nut driver
- Needle-nose pliers
- Wooden block
- Shop vacuum
- Long-handled brushes
- Replacement lint screen housing assembly (compatible with your dryer model)
Safety Precautions
Before starting, prioritize safety to avoid accidents or damage. Follow these guidelines:
- Unplug the dryer or turn off its circuit breaker to eliminate the risk of electric shock.
- If the dryer has been in use, wait for it to cool completely before starting.
- Avoid rushing to prevent mistakes or injuries. Precision is key.
- Use adequate lighting to see and access all dryer components clearly.
- Remove clutter, and keep children and pets away from the workspace.
- Make sure your hands and the work area are completely dry to avoid slips or shocks.
- Check the dryer’s user manual for specific installation or safety instructions related to the replacement part.
- Use care when removing or handling parts to avoid damage or injury.
- Use insulated gloves to shield your hands from sharp edges and debris. Safety glasses and a dust mask are also recommended if there’s a significant amount of dust or debris.
- If handling wires, avoid direct contact with exposed ends. Use insulated tools when necessary.
How to Replace the Lint Screen Housing in a Whirlpool Dryer
Step 1: Remove the Top and Control Panel
- Turn off the dryer and unplug it.
- Use a 1/4-inch nut driver to remove the two screws at the back top corners of the dryer.
- Slide the top panel back about an inch and lift it off.
- Set the top panel aside.
- Use a 1/4-inch nut driver to remove the two screws at the top edge of the control panel.
- Disconnect the two wiring harness plugs on the back of the control panel.
- Lift the control panel to release the mounting tabs and slide it out.
Step 2: Remove the Lint Screen
- Open the dryer door.
- Slide the lint screen out and set it aside.
- Remove the two Phillips head screws on the front panel near the lint filter.
Step 3: Remove the Front Panel
- Close the dryer door.
- Place a wooden block under the front legs to stabilize the dryer.
- Use a 1/4-inch nut driver to remove the bottom screws at the corners of the front panel.
- Loosen the two middle screws but do not remove them.
- Remove the wooden block and tilt the dryer back.
- Use a 1/4-inch nut driver to remove the screws along the top of the front panel.
- Disconnect the door switch wiring harness.
- Carefully lift the front panel and feed the door switch wire through the opening.
Step 4: Remove the Mounting Bracket and Bulkhead
- Remove the two 1/4-inch screws securing the mounting bracket above the drum.
- Use pliers to detach the wire harness clip from the bracket and remove it.
- Remove the four 1/4-inch screws at the corners of the front bulkhead panel.
- Disconnect the moisture sensor wiring plug.
- Remove the final screw at the bottom of the lint trap duct.
- Lift the bulkhead off its mounting hooks and set it aside.
Step 5: Remove the Old Lint Screen Housing
- Remove the two Phillips screws along the bottom edge of the housing.
- Flip the housing over and remove the 1/4-inch center screw from the bracket.
- Slide the housing forward out of its mounting slot.
- Inspect the housing for cracks, melted spots, or blockages.
Step 6: Clean Out Lint Buildup
- Use a vacuum crevice tool to clean around the lint screen housing.
- Use long-handled brushes to dislodge lint in tight areas.
- Remove all lint and debris from the drum, bulkhead, and cabinet interior.
- Clean the vent, duct, and vent hood thoroughly.
Step 7: Install the New Lint Screen Housing
- Align the new housing into position and feed the wiring plug through the slot.
- Push the housing back into place, making sure the bottom is seated properly.
- Secure the housing with the 1/4-inch center screw.
- Flip the housing over and secure the two Phillips screws along the bottom edge.
- Check that the housing sits flush and all screws are tight.
Step 8: Reassemble the Dryer
- Reattach the front bulkhead panel, making sure the tabs are properly seated.
- Reconnect the wiring and secure the mounting bracket above the drum.
- Align the front panel and feed the door switch wire through the opening.
- Secure the front panel screws along the top and bottom.
- Reinstall the control panel and top lid.
Step 9: Test the Dryer
- Plug the dryer back in and power it on.
- Run a short test cycle with a few small towels to confirm proper operation.
A clogged or damaged housing can waste your time, energy, and money, but now you know how to fix it like an expert.
Cleaning out the lint while you’re at it? Great idea. The hidden debris in there is a fire risk and slows down your drying times. Fixing it while replacing the housing is a smart two-in-one solution.
Once you’ve followed the steps and your dryer is working again, you’ll see a big improvement in its performance. Small fixes like this prove that with a little time and care, everyday appliances can feel like new again.