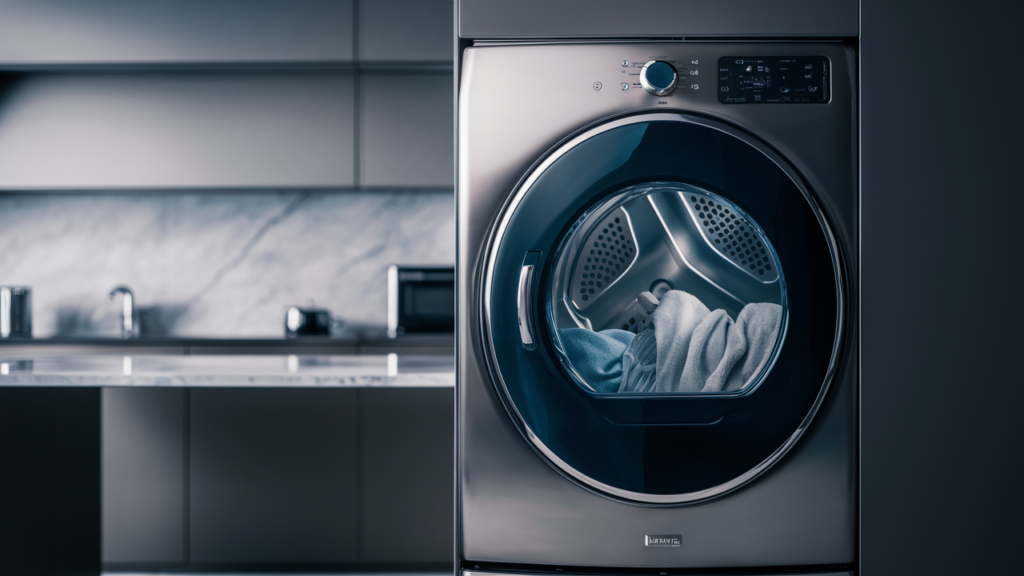
A clogged lint screen can reduce your dryer’s efficiency and even become a safety hazard. Learn how to test and replace the lint screen in your electric Kenmore dryer with this easy guide—no professional help required!
Why Replacing the Lint Screen is Important
Over time, lint screens can become clogged or damaged, affecting the performance of your dryer. A clean and functioning lint screen:
- Improves Dryer Efficiency: Allows proper airflow, reducing drying time and energy consumption.
- Prevents Fire Hazards: Reduces the risk of lint buildup causing overheating or fires.
- Extends Dryer Lifespan: Minimizes strain on the dryer’s components by maintaining optimal airflow.
How to Recognize a Faulty Lint Screen
It’s not always obvious when a lint screen needs replacing. Look out for these signs:
- Visible Tears or Holes: Damaged mesh can allow lint to bypass the screen and accumulate in the vent.
- Persistent Lint Build-Up: If lint accumulates unusually fast despite regular cleaning, the screen may be inefficient.
- Warped or Bent Frame: A deformed screen may not fit properly, compromising its effectiveness.
- Difficult to Clean: If lint sticks stubbornly to the screen despite cleaning, residue or wear may be impacting its function.
Tools You’ll Need
- Soft bristle brush
- Abrasive pad
- Warm water
- Dish soap
Essential Safety Tips
Before starting any maintenance or repair work, prioritize safety with these precautions:
- Unplug the appliance or switch off the circuit breaker to avoid any risk of electric shock.
- Allow the dryer to cool completely if it was recently used.
- Work carefully to prevent accidents or damage. Avoid rushing.
- Use a well-lit workspace for better visibility and access to dryer components.
- Keep the area free of obstacles. Ensure children and pets stay away during the process.
- Avoid working with wet hands or in damp conditions to reduce the risk of electrical accidents.
- Check the manual for specific instructions or precautions related to your appliance.
- Be gentle when removing or handling parts to prevent breakage or injury.
- Use insulated gloves to protect your hands from sharp edges or debris. Safety glasses and a dust mask are helpful if you’re working in dusty conditions.
- Take photos or notes of wiring and part connections before disassembling to make reassembly easier.
- If dealing with wires, use non-conductive tools or insulated gloves to reduce electrical risks.
How to Test and Replace the Lint Screen on a Kenmore Electric Dryer
Removal and Testing
- Open the dryer door and carefully remove the lint screen from its slot.
- Take the lint screen to a sink and run water over it to test for airflow.
- If water flows through easily, the screen is clean.
- If water does not flow through, proceed to the next section.
Cleaning
- Use a soft-bristle brush or abrasive pad with warm, soapy water to gently scrub off any residue or debris from the lint screen.
- Rinse the lint screen thoroughly to remove all soap and debris.
- Allow the lint screen to dry completely.
Inspection and Replacement
- Inspect the lint screen for holes or tears.
- If there is no damage, reinsert the screen into the dryer.
- If there is damage, proceed to the next step.
- Replace the lint screen by sliding a new one securely into the slot in the dryer.
Also Read: How to replace Whirlpool dryer lint screen door W11156832
Replacing your Kenmore dryer’s lint screen is a simple task that can make a big difference in how your dryer performs. With just a few tools and a little time, you can improve efficiency, prevent potential hazards, and even extend the life of your appliance. Remember to check your lint screen regularly and replace it when needed to keep your dryer running smoothly. A little maintenance goes a long way, so now you’re all set to tackle this DIY fix confidently!
