
Noticing water pooling beneath your LG refrigerator can be both frustrating and concerning. While repair costs or appliance replacement might cross your mind, many water dispenser leaks stem from issues that you can address yourself. Here’s a guide to help you troubleshoot and resolve common problems efficiently.
Common Reasons for Water Dispenser Leaks
Understanding the root cause of a leak is key to resolving it. Below are some typical reasons your refrigerator’s water dispenser might be leaking:
- Clogged or Incorrectly Installed Water Filter: A filter that’s blocked or not securely seated may cause water to bypass and leak out.
- Defective Water Inlet Valve: This valve manages water flow into the refrigerator. If it malfunctions, it might fail to close completely, allowing water to escape.
- Damaged Water Supply Line: Cracks, kinks, or other damage to the supply line can result in leaks before the water even reaches the dispenser.
- Faulty or Overflowing Dispenser Tray: A damaged tray or one that isn’t draining properly can lead to water buildup and overflow.
Signs of Underlying Issues
Sometimes, a leaking water dispenser is a sign of other problems within the refrigerator. Be aware of these indicators:
- Temperature Issues: Inconsistent cooling might indicate a broader malfunction, which can affect water dispensing systems.
- Unusual Noises: Clicking or buzzing sounds near the dispenser might suggest a faulty valve or motor.
- Water Flow Irregularities: Weak or inconsistent water flow could signal clogged filters, low water pressure, or other internal issues.
- Frequent Pooling Water: Persistent leaks, even after repairs, might indicate a deeper problem requiring professional attention.
Safety Steps to Take Before Starting
Safety should always come first when inspecting or repairing your appliance. Follow these precautions:
- Unplug the Refrigerator: Disconnect the appliance from the power source to avoid electrical hazards.
- Turn Off the Water Supply: Shut off the valve that connects the refrigerator to your home’s water line.
- Prepare Your Tools: Gather essentials like screwdrivers, towels, and possibly a multimeter if electrical tests are needed.
Steps to Pinpoint the Leak
Accurately identifying the source of the problem is essential. Use the following steps to determine where the water is leaking from:
- Inspect the Exterior: Check for water around the base of the refrigerator and near the dispenser.
- Examine the Interior: Look inside the refrigerator for pooling water, particularly beneath the crisper drawers or near the back wall.
- Check the Water Filter: Confirm the filter is installed properly and isn’t leaking.
- Check Water Supply Connections: Inspect the connections behind the refrigerator for drips or moisture buildup.
Read more: The Hidden Dangers of an Overloaded Refrigerator: What You Need to Know
How to Troubleshoot LG Refrigerator Leaks
Follow these steps to identify and resolve common causes of refrigerator leaks.
Level the Refrigerator
- Place a level on top of the refrigerator to check alignment.
- Adjust the leveling legs at the front corners:
- Twist clockwise to raise.
- Twist counterclockwise to lower.
- Recheck the level and adjust as needed until the refrigerator is even.
Inspect Door Gaskets
- Examine the rubber seals around the doors for cracks, tears, or gaps.
- Close the door on a sheet of paper and pull gently:
- If the paper slides out easily, the gasket may be worn.
- Clean the gaskets with mild soap and warm water.
- Replace the gaskets if they are damaged.
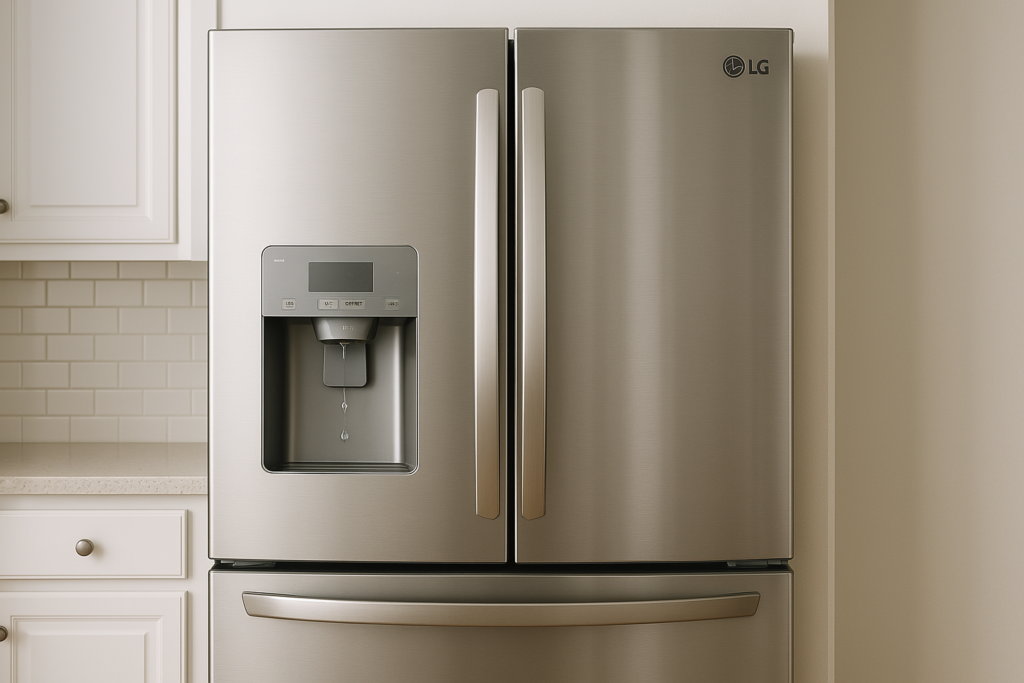
Examine the Dispenser Tray
- Remove the dispenser tray by pulling it out gently.
- Empty the accumulated water from the tray.
- Inspect the tray for cracks, warping, or wear.
- Clean the tray and the area beneath it with warm soapy water.
- Reinstall the tray so it sits flush.
- Replace the tray if it is damaged.
Check the Water Filter
- Locate the water filter, often in the upper left or right corner inside the refrigerator.
- Twist the filter counterclockwise to remove it.
- Inspect the filter housing for cracks or damaged seals.
- Check the filter for clogs or dirt.
- Replace the filter if it is over six months old or damaged.
- Install the new or cleaned filter by twisting it clockwise until it locks into place.
Inspect the Water Supply Line
- Move the refrigerator away from the wall carefully.
- Locate the water supply line at the back of the refrigerator.
- Inspect the line for kinks, cracks, or loose connections.
- Tighten any loose connections on both the refrigerator and wall valve.
- Replace the supply line if it is damaged.
Assess the Water Inlet Valve
- Unplug the refrigerator and turn off the water supply.
- Access the back panel of the refrigerator and locate the water inlet valve near the bottom.
- Inspect the valve for leaks, looking for water droplets or mineral deposits.
- Test the valve solenoids with a multimeter set to resistance (ohms) and compare to manufacturer specifications.
- Replace the valve if it is defective.
Preventing Future Leaks
Taking preventive measures can help avoid recurring water dispenser leaks. Here are some useful tips:
- Replace the water filter as recommended in the refrigerator’s manual to prevent clogging.
- Regularly check the water inlet valve for wear and tear or sediment buildup.
- Inspect the water supply line periodically for cracks, kinks, or loosened connections.
- Clean the dispenser tray and drainage regularly to avoid blockages or overflowing.
- Use the refrigerator according to the manufacturer’s guidelines, particularly when adjusting water pressure.
Read more: Troubleshooting an LG Refrigerator That Is Not Cooling
Looking Ahead
Fixing a leaky water dispenser doesn’t have to mean expensive repairs or a new fridge. With a little time and effort, you can handle most of these issues yourself and get things back to normal.
Often, the problem comes down to something simple like leveling your fridge, replacing a filter, or tightening a loose connection. Taking a closer look can reveal an easy fix, so don’t rush to call for help right away.
If the leak continues, at least you’ll know you’ve done everything you can before bringing in a professional. These small steps can save you money and prevent future issues, keeping your fridge working as it should. With these quick fixes, you’ll have less hassle and a dry kitchen in no time.