
Have you ever opened your dryer after a full cycle only to find the drum damp, or your clothes still soggy? Dryer condensation is a common issue, but the good news is that you can often solve it yourself with some basic troubleshooting.
Let’s explore the causes of dryer condensation and how to fix them.
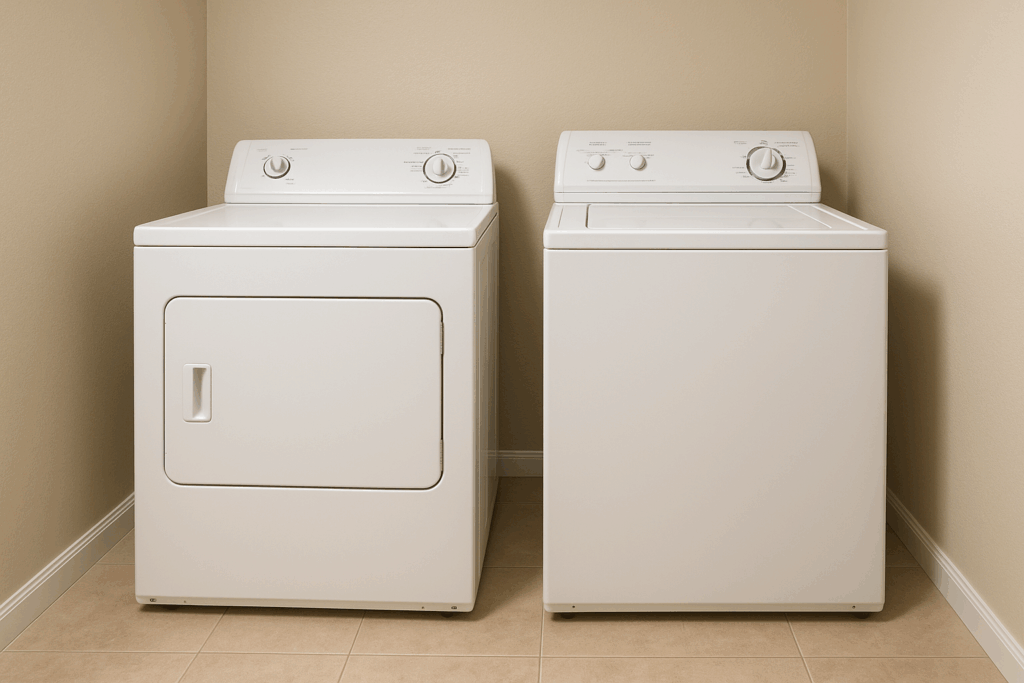
How Dryer Location Affects Condensation
The placement of your dryer can influence how well it performs and whether condensation becomes an issue. Consider the following factors:
- Room temperature: Dryers in unheated spaces or garages are more likely to develop condensation problems.
- Proximity to vents: Install the dryer close to an exterior wall to keep vent ducts as short as possible. Longer ducts increase the chance of moisture buildup.
- Ventilation around the unit: Make sure the dryer has enough space around it for proper air circulation. Avoid placing it in tight or enclosed areas.
- Humidity levels: If the laundry room is naturally humid, use a dehumidifier to reduce excess moisture in the air.
What Causes Dryer Condensation?
Before trying any solutions, it’s important to understand the root causes of dryer condensation. Here are some common culprits:
1. Improper Ventilation
The most frequent cause of dryer moisture is poor ventilation. Dryers remove moisture by heating the drum and venting out warm, humid air. If airflow is obstructed, condensation can form inside the drum.
What to check:
- Clogs or blockages: Lint buildup, torn ducts, or a blocked exterior vent can restrict airflow.
- Duct size and material: Use a duct that is four inches in diameter with minimal 90-degree bends. Refer to your dryer’s manual for recommended duct lengths.
- Material matters: Avoid flexible vinyl or aluminum foil venting; replace them with rigid metal piping.
2. Overloaded Drum
Stuffing your dryer with too many clothes can hinder airflow. When air can’t circulate freely, moisture has nowhere to go and condenses on the drum’s interior. For best results, dry smaller loads to allow better airflow.
3. Steam Cycle Usage
Modern dryers often come with steam cycles designed to relax wrinkles and refresh fabrics. During these cycles, moisture is deliberately introduced into the drum. If you notice condensation after using a steam cycle, it’s likely normal and no cause for concern.
4. Low Ambient Temperature
If your dryer is in a cold room, it might struggle to evaporate moisture effectively. The cooler environment encourages condensation to form inside the drum. Try to keep your dryer in a space with a moderate, stable temperature to improve its performance.
Read more: How to Fix the F3E3 Error Code on Your Maytag Dryer
How to Fix Dryer Condensation
Follow these steps to address and prevent condensation issues in your dryer, ensuring it operates efficiently and safely.
Check and Adjust Room Temperature
- Verify that the room temperature is between 65-75°F (18°–24°C).
- Adjust the thermostat as needed to keep the temperature in this range.
Clean the Lint Filter
- Remove and clean the lint filter after each drying cycle.
- If the filter is clogged, use a brush to remove stuck lint.
- For deeper cleaning, rinse the filter in the sink, scrub if necessary, and allow it to dry completely before reinstalling.
Check and Clean the Ducting
- Disconnect the vent and ductwork from the dryer.
- Use a vacuum attachment to remove lint from inside the ducting.
- Inspect the entire ductwork for sharp bends, kinks, or excessive length.
- Replace plastic, vinyl, or flexible ducting with rigid, smooth metal ductwork for improved airflow.
- Reassemble the dryer and reattach the vent system completely before running the dryer again.
Check and Clean the External Vent
- Run a test cycle to confirm the external vent damper or flap opens properly during operation.
- Use a brush and vacuum to clear any lint or debris from the outdoor vent.
- Upgrade the vent flap or hood if needed, selecting a replacement compatible with the dryer’s ducting.
- Align all vent components properly to move moist air out effectively.
Use the Steam Cycle Correctly
- Allow all moisture from a steam cycle to evaporate fully before starting another load.
- Recognize that some condensation after using the steam cycle is normal and not an indication of a defect.
Recognizing When Professional Help Is Needed
While many condensation issues can be solved with DIY efforts, there are times when professional assistance may be necessary. Here’s when to call a technician:
- Persistent condensation: If the problem persists after addressing ventilation and maintenance, there could be an internal issue with the dryer.
- Unusual noises or smells: Strange sounds or burning odors might indicate a malfunction that requires expert repair.
- Repeated vent clogs: If vents continue to clog despite regular cleaning, it may be a sign of a deeper issue with the venting system.
- Damaged internal components: Problems with heating elements, sensors, or other internal parts often require professional diagnosis and repair.
Read more: Dryer Making Noise? How to Fix & Troubleshooting
To Recap
Blocked vents, overloaded drums, or even a chilly room can leave your dryer struggling, but a few small changes can make all the difference. Check for clogs, lighten your loads, and keep the space warm to help your dryer work better.
If you’ve tried these fixes and the problem continues, it might be time to get professional help. Sometimes, it’s an issue inside the dryer, like damaged parts, that needs expert attention. Addressing the problem sooner rather than later can save you from bigger headaches down the line.