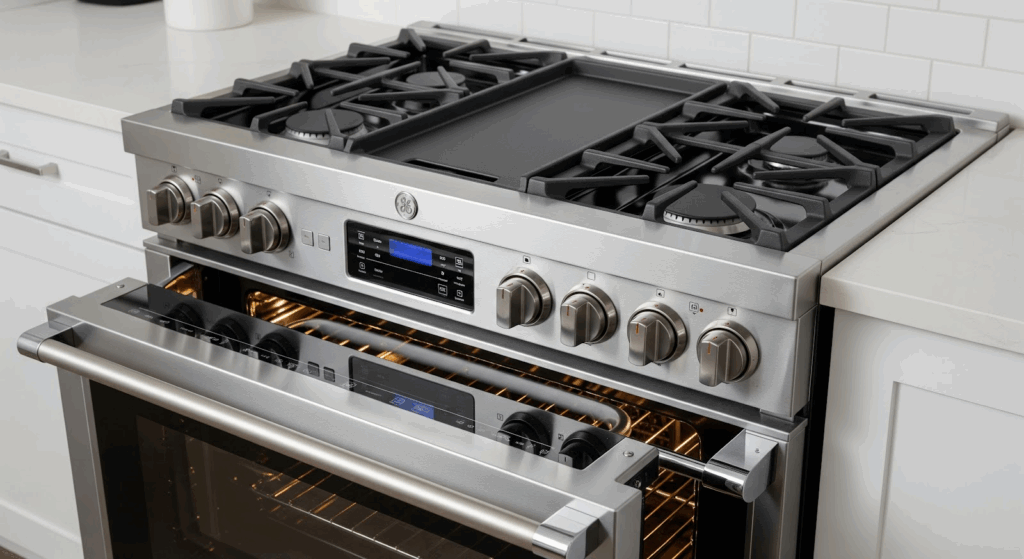
The electronic control board is the brain of your GE range. It manages oven temperature, timers, and cooking modes. Over time, the board can wear out or stop working—leading to display issues, cooking problems, or an unresponsive control panel.
If that sounds familiar, a replacement might be in order. This guide walks you through how to replace the WB27K10355 control board. While we focus on GE models, the general process is similar for Whirlpool, Frigidaire, and Kenmore ranges.
When to Replace the Control Board
Here are some signs the control board might be failing:
- The display is blank, flickering, or glitching
- The oven doesn’t heat up in bake or broil mode
- Buttons or touch controls don’t respond
- You see random error codes or flashing numbers
- The clock or timer doesn’t keep time
- Several oven functions stop working at once
If a reset or power cycle doesn’t fix the issue and more than one feature is acting up, the control board is likely the cause.
What You’ll Need
Have these tools and parts ready:
- 1/4-inch nut driver
- Torx T15 screwdriver
- Phillips and flathead screwdrivers
- Side cutters
- Plastic putty knife
- Zip tie
- Heat gun (optional)
- Replacement board: WB27K10355
Safety First
Working with appliances always comes with risks, so it’s important to take basic precautions:
- Unplug the range or turn off the circuit breaker
- Let it cool completely if it was recently used
- Keep hands and work area dry
- Wear insulated gloves to protect from sharp metal parts
- Use safety glasses if working near dust or debris
- Check your user manual for model-specific steps or warnings
- Work in a well-lit, clutter-free area
- Keep kids and pets away from the workspace
Tips for Handling Electronic Parts
Handling the new board carefully can make a big difference in how long it lasts and how well it functions:
- Touch the board only by its edges
- Avoid contact with circuitry or terminals
- Work on a non-static surface or use an anti-static mat
- Discharge static electricity from your body by touching a grounded metal object
- Keep drinks and food away from the workspace
- Use a soft cloth or plastic pry tool instead of metal tools around delicate areas
- Store the board in an anti-static bag until you’re ready to install it
These tips can help protect the part during installation.
How to Replace the GE Range Control Board
Follow these steps to safely remove the old control board and install a new one in your GE range.
Power and Access
- Disconnect the range from the power source by unplugging it or switching off the circuit breaker.
- Use a 1/4-inch nut driver and a Torque 15 screwdriver to remove the screws holding the facia panel.
- Gently pull the facia panel away from the range to expose the control board.
Disconnecting the Old Control Board
- Take clear photos or write detailed notes to document the wire connections on the control board.
- Use a flat-blade screwdriver to disconnect the wiring from the control board.
- Remove any screws that are holding the control board in place.
- Gently pull the old control board out of its housing.
Removing and Cleaning the Overlay
- Find the overlay graphic on the front of the old control board.
- Use a mild cleaning solution and a soft cloth to wipe off any dirt or residue.
- Dry the overlay completely before continuing.
- Use a putty knife to carefully pry the overlay graphic off the old control board.
Installing the New Control Board
- Align the overlay with the same position on the new control board and press it into place.
- Slide the new control board into the housing.
- Reinstall any screws to hold the new control board in place.
Reconnecting and Finishing Up
- Reconnect the wiring harnesses using your photos or notes as a reference.
- Position the facia panel back onto the range.
- Use the original screws to secure the facia panel.
- Plug the range back into the power outlet or turn the circuit breaker back on.
- Test the control board to confirm the range is functioning correctly.
Testing the Range
Once installed, check that everything is working the way it should. Here’s what to do:
- Set different oven temperatures to check heating accuracy
- Test bake, broil, and convection modes
- Turn on all cooktop burners and check for proper heat levels
- Check if the clock and timer work normally
- Look for any flashing codes or unusual display behavior
- Let the oven fully preheat before cooking
Read More: How to replace GE range control board WB27K10355
In Summary
You’ve replaced the part that controls everything your oven does. It may be small, but when it stops working, the whole range can shut down. No heat, no timer, and a screen that doesn’t make sense. After this fix, you’ve brought your oven back to life.
Jobs like this seem tough at first, but with some tools, careful steps, and a little time, they’re more doable than you’d think. You didn’t have to wait for a repair visit or spend extra money. Now you understand your range better and can spot the signs if something goes wrong again.
