
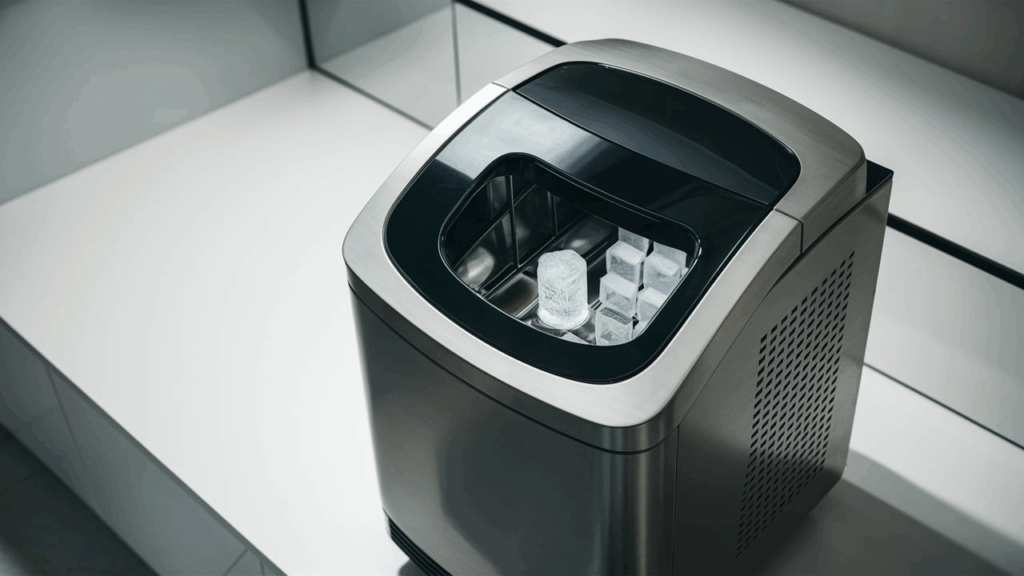
The bin thermistor in a Whirlpool ice machine helps manage the ice levels in the bin. Over time, the thermistor may wear out or get damaged, which can cause the bin to overflow with ice. If this happens, replacing the thermistor is a relatively simple repair that should take about an hour to complete, getting your ice machine back to normal.
Understanding the Bin Thermistor’s Function
The bin thermistor in your Whirlpool ice machine helps maintain the correct amount of ice in the bin by monitoring its temperature. When the thermistor detects the temperature rising or falling, it sends a signal to the control board to activate or deactivate the ice-making process.
If the thermistor malfunctions, the ice machine may continue to make ice even when the bin is full, resulting in overflow or insufficient ice production. A faulty thermistor can also cause the machine to freeze up or fail to stop making ice at all.
Signs of a Faulty Bin Thermistor
Several symptoms indicate that the bin thermistor may need replacement. Common signs include:
- Ice Overflow: The most obvious sign is the bin overflowing with ice. If the thermistor is malfunctioning, it might not properly detect the ice levels, causing the machine to make excessive ice.
- Inconsistent Ice Production: If the ice machine is producing ice erratically, such as making too much or too little, the thermistor could be at fault.
- Freezing Issues: If your machine seems to freeze up or ice builds up in areas that it shouldn’t, the thermistor may not be regulating the temperature properly.
- Error Codes: Some Whirlpool models display error codes when a component fails. If your ice machine shows a code related to temperature regulation or the bin thermistor, it’s time to check and replace it.
What You’ll Need
- Nut driver
- Multimeter
- Compatible replacement bin thermistor (make sure it matches your model number)
Read more: Ice Maker Water Filtration System Maintenance Guide
Safety Precautions
- Power Off: Always disconnect the power by unplugging the appliance or switching off the circuit breaker to avoid the risk of electric shock.
- Water Supply: Shut off the water supply at the outlet before beginning any repair work. Be prepared with towels for any residual water when removing parts.
- Protect Your Hands: Wear insulated gloves to shield your hands from sharp metal edges, debris, or pinching hazards.
- Avoid Electrical Hazards: Never touch exposed wires or terminals with your hands. If necessary, use non-conductive tools or wear insulating gloves.
- Take Your Time: Don’t rush through the process. Working carefully reduces the risk of accidents or injury.
- Work in a Well-Lit Area: A well-lit workspace helps you see and access the appliance’s components more easily.
- Clear Your Space: Remove any clutter from your work area, and keep children and pets away.
- Follow Manufacturer’s Instructions: Consult your user manual for any specific safety or installation instructions related to the part or appliance.
- Handle Parts Gently: Avoid applying excessive force when removing or installing parts to prevent damage to the appliance or personal injury.
- Wear Safety Glasses: Use safety glasses when dealing with chemicals, dust, or large debris to protect your eyes.
- Cool Down: Allow the appliance to cool down if it has been used recently, especially if it has heating components.
How to Replace a Bin Thermistor in a Whirlpool Ice Machine
Follow these steps to test and replace the bin thermistor in your ice machine to ensure proper functioning and accurate temperature readings.
Step 1: Test the Thermistor
- Turn off the ice machine and unplug it from the power outlet.
- Set the multimeter to measure resistance (Ω symbol).
- Fully immerse the bin thermistor into a container of ice water for about 5 minutes to reach 32°F.
- Connect the multimeter leads to the thermistor’s connectors, making sure one lead touches each connector.
- Check the multimeter reading. Compare it to the following resistance ranges:
- 0°F (-18°C) = 81,715 to 99,874 ohms
- 10°F (-12°C) = 59,422 to 72,627 ohms
- 32°F (0°C) = 30,266 to 36,992 ohms
- Room temperature of 70°F (21°C) = 10,280 to 12,564 ohms
- If the resistance falls within the expected range, the thermistor is working properly. If it’s outside the range, replace the thermistor.
- Once testing is complete, remove the thermistor from the ice water and dry it thoroughly.
Step 2: Disassemble the Ice Machine
- Turn off and unplug the ice machine.
- Open the ice machine door. If the storage bin is full of ice, remove it or cover it to prevent melting or debris.
- Place a cloth or towel in the drain hole at the bottom of the storage bin to prevent hardware or screws from falling inside.
- Locate the cutter grid cover and remove the two hex-head screws with a nut driver.
- Lift the cutter grid cover off the ice machine and set it aside.
- Find the bin thermistor connector at the bottom of the control housing and gently disconnect it.
- Locate the retaining clamp that holds the thermistor in place (either a plastic clip or a metal bracket).
- Slide the thermistor out of the retaining clamp.
Step 3: Install the New Bin Thermistor
- Insert the new thermistor into the retaining clamp.
- Reconnect the thermistor connector to the bottom of the control housing, making sure it fits snugly.
- Align the cutter grid cover back onto the ice machine and secure it with the two hex-head screws.
- Remove the cloth or towel from the drain hole in the storage bin.
- If you covered the ice, remove the covering.
- Close the ice machine door.
- Plug the ice machine back into the electrical outlet or turn on the circuit breaker.
- Allow the ice machine a few hours to stabilize and check that the new thermistor provides accurate temperature readings.
Read more: Ice Maker Making Too Little Ice: Top 6 Reasons & Fixes
To Recap
Replacing the bin thermistor in your Whirlpool ice machine is easier than it seems. With the right tools and a little know-how, you can quickly fix issues like too much or too little ice. If your machine is acting up, the thermistor might be the problem. The good news is you don’t need to hire a technician. Just follow the steps, and you’ll have your ice machine back to normal in no time.