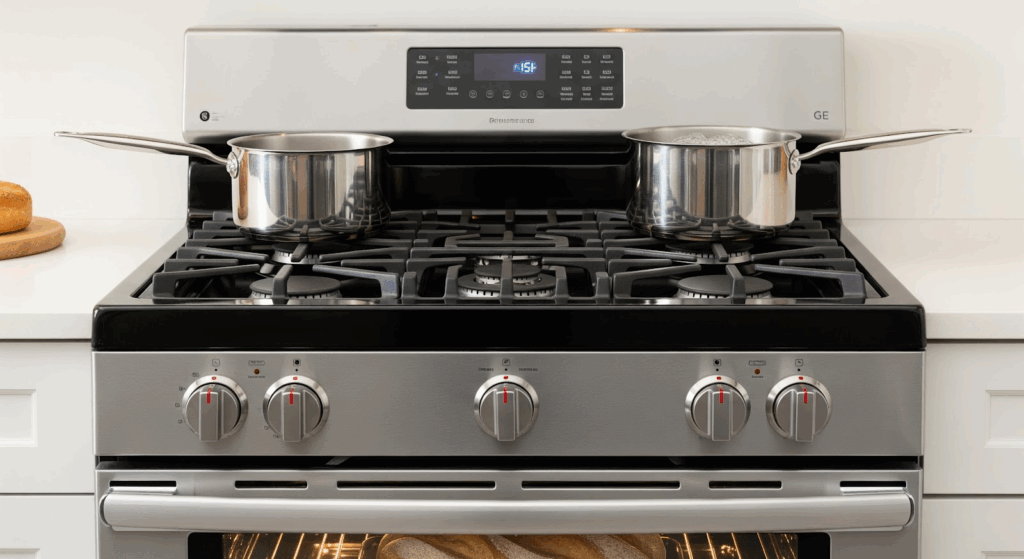
If your GE range isn’t broiling properly, maybe the element won’t heat, or your food isn’t cooking evenly, it might be time to replace the broil element. This guide walks you through how to do it yourself without calling in a technician.
What You’ll Need
- Replacement broil element (confirm it’s the right one for your model)
- Flathead screwdriver
- 1/4-inch nut driver
Safety Tips
Before starting, follow these precautions:
- Disconnect power. Unplug the appliance or switch off the circuit breaker.
- Let it cool down. If the range was recently in use, wait until it’s completely cool.
- Work carefully. Don’t rush. Take your time to avoid mistakes or injury.
- Clear the space. Work in a well-lit, dry area. Keep kids, pets, and clutter out of the way.
- Wear insulated gloves. This helps protect your hands from sharp parts or debris.
- Be cautious with wires. Avoid touching exposed wiring. Use non-conductive tools or gloves.
- Make a record of connections. Take a photo or write down how wires are connected before removing anything.
- Check the manual. Look for model-specific instructions or warnings.
How to Replace the Broil Element in a GE Range
Follow these steps to remove the faulty broil element and install a new one safely and correctly.
Preparation
- Unplug the range from the power outlet.
- Open the oven door and remove all oven racks.
- Use a flathead screwdriver to flip up the hinge locks on both sides of the oven door.
- Grab the oven door by the sides, lift it, and pull it out to remove it.
Remove the Old Broil Element
- Use a nut driver to remove the screw holding the temperature sensor in the center of the broil element bracket.
- Pull the temperature sensor partially out of the oven cavity.
- Use a nut driver to remove the two screws from the rear broil element bracket.
- Use a 1/4-inch nut driver to remove the two screws securing the top support bracket.
- Slowly pull the broil element toward you until the wire terminals are visible.
- Use a flathead screwdriver to detach the wires from the broil element terminals.
- Hold the wires so they don’t slip back into the holes.
Install the New Broil Element
- Position the temperature sensor into the groove on the new broil element bracket.
- Slide the wire terminals onto the new broil element.
- Push the new broil element into place inside the oven.
- Use the 1/4-inch screws to secure the top support bracket.
- Reattach the rear bracket using the same screws.
Reassemble the Range
- Slide the temperature sensor back into position.
- Secure the sensor with the screw into the element bracket.
- Grab the oven door by the sides and lower it back onto the hinge arms.
- Open the door fully and flip the hinge locks back down to secure it.
- Replace the oven racks.
- Close the oven door to confirm it’s properly aligned.
- Plug the range back into the power outlet.
- Turn on the broil function and check that the new element heats properly.
Also Read: How to replace broil element WB44T10009 on a GE range
The Bottom Line
If the broiler wasn’t heating properly before, and now it’s firing up like normal, you’ve handled one of those repairs that seem harder than they really are. It’s the kind of task that feels like a big deal until you try it yourself and then realize it’s just a matter of going step by step.
