Quick answer
Match the code to your brand and model before choosing a repair. A reset can clear a temporary warning, but a returning code still needs diagnosis. The sensor test below is a worked example for covered GE Adora, Cafe and Profile French door designs from 2014 to 2015. Its values do not apply to every refrigerator.
Refrigerator error codes point to a condition or circuit that needs attention. They can flag a sensor reading, a fan problem or an ice maker fault. Does a code prove which part is broken? No. The complete model number, exact display and a valid test matter more than a code list for another fridge.
What This Symptom or Part Can and Cannot Prove
These examples show why the letters matter.
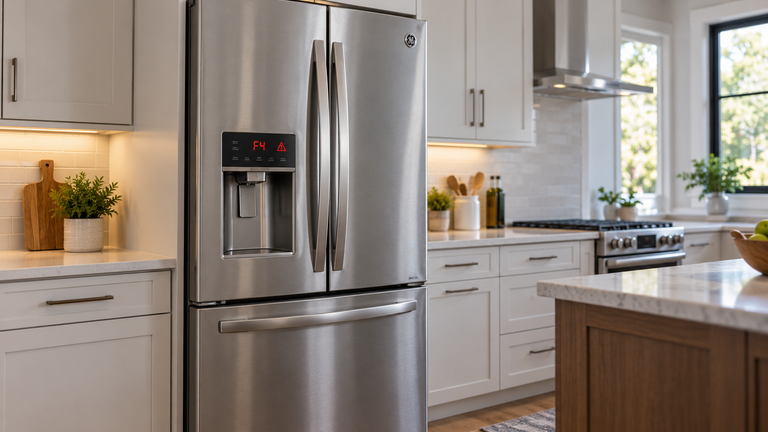
- GE F3: On the covered design, this identifies the freezer cabinet temperature sensor circuit.
- LG FS: This concerns the freezer sensor. A disconnected or shorted sensor circuit needs inspection.
- LG FF: This concerns the freezer fan. Ice blocking the fan can also cause it.
- Samsung 39E or 39C: This identifies an ice maker function error.
- Samsung 5E: This concerns the fridge defrost sensor, a different fault from an ice maker error.
Your refrigerator error code meaning depends on the model. A fan code on one brand is not a sensor code on another. Compare the exact characters with the brand’s model-specific code help rather than treating all displays as the same problem.
A code describes what the control noticed. A bad sensor, loose plug and damaged wire can produce similar circuit evidence. Correct sensor readings also do not prove that a board has failed.
Verify Your Model First
Look for the label inside the fresh food compartment. Some label positions vary by design. The model number identification help can help you locate it.
Find the Refrigerator model tag before ordering. Record the full model number, including its suffix, because parts with the same name can use different connectors, dimensions, ratings or mounting points across models.
Record the serial number too. Keep the code’s spaces, letters and numbers as shown. A photo helps avoid confusing a display character with a similar-looking number. Match the sensor position in the parts diagram before testing or buying it.
Safety Before Testing
Keep these precautions in place.
- Power: Unplug the fridge or shut off its breaker before access, resistance checks and replacement. Confirm that power is off.
- Gloves: Wear insulated work gloves for sharp edges, pinching hazards and debris.
- Space: Use good lighting. Clear clutter and keep children and pets away.
- Dry conditions: Keep your hands and work area dry. Do not touch internal parts with wet hands.
- Handling: Work slowly, use gentle force and let hot parts cool first.
- Eyes: Wear safety glasses around chemicals, dust or large debris.
- Connections: Follow the model’s safety directions. Record or photograph wires before you disconnect them.
- Electrical work: Avoid exposed terminals and use insulated tools. Leave outlets, household wiring and breaker panels to an electrician.
Gather these tools for the covered sensor procedure.
- 1/4, 5/16 and 3/8-inch nut drivers, sockets or wrenches
- T15, T20 and T27 Torx bits
- Flathead and Phillips screwdrivers
- Wire strippers
- Multimeter
- Bell connectors
- Silicone grease
- Correct foil sensor cover
Resistance tests use an unpowered circuit. Gloves and insulated tools do not make a powered resistance test safe. Stop if you cannot identify the correct sensor or access it without damage.
Causes to Check Before Buying a Part
What evidence supports a parts decision?
| Cause | Evidence | Safe check | What result means |
| Wrong code definition | Advice names a different brand or design | Match model and exact display | Use the correct service information |
| Loose connection | Plug or wire damage | Inspect with power off | Repair the circuit fault before condemning a part |
| Failed thermistor | Resistance outside its temperature chart | Power off sensor test | Replacement is supported |
| Other circuit fault | Sensor passes but code returns | Professional wiring and control diagnosis | A passing sensor does not prove board failure |
Once the test identifies the failed part, confirm the exact thermistor with the full model number.
How to Diagnose Refrigerator Error Codes
Follow these steps for the GE F3 example only when your model matches the sensor location and resistance chart.
Access and Test the GE Cabinet Sensor
- Unplug the fridge and remove freezer shelves to reach the sensor grille on the freezer’s right wall.
- Slide a small flathead screwdriver under the cover and gently release its edge. Note the alignment tab and two snap tabs.
- Peel back the foil insulation on the cover.
- Release the sensor from the cover’s four retaining tabs.
- Hold it in a glass of ice water at about 33°F for several minutes.
- Measure resistance. Expect about 16,000 ohms for this covered sensor in ice water.
- Check resistance at room temperature. Expect about 6,000 ohms, with the actual temperature matched to the chart.
- Replace the sensor if it fails the correct resistance values.
- Have the wiring and main control checked if both temperature tests pass but F3 remains. Confirm a board fault before replacement.
Replace the Confirmed Failed GE Sensor
- Cut the old sensor wires as close to the sensor as possible.
- Strip the outer case harness covering back 1 inch, then strip each inner wire back 3/16 inch.
- Cut the new sensor wires 4 inches from the sensor and strip them back 3/16 inch.
- Splice the wires with two bell connectors, then fill the completed connectors with silicone grease.
- Snap the sensor into the grille and restore its foil insulation. Place spare wire in the sensor pocket, then snap the grille into the liner with its alignment pin positioned correctly.
- Plug in the fridge and check normal operation and the code. Disconnect power before another resistance test.
Interpret the Result
A refrigerator thermistor test compares electrical resistance with known temperature. Ohms measure resistance. A meter may show 16,000 ohms as 16k ohms. Neither continuity alone nor a code alone confirms that a temperature sensor reads correctly.
Test result confirmed the failure? Find the exact thermistor for this model number.
Returning refrigerator error codes need the failed circuit checked. Keep your readings and test temperatures for the technician. Correct measurements help separate a sensor fault from the remaining circuit.
How to Identify the Correct Replacement for This Model
Match the sensor’s location, approved part number, connector and mounting arrangement. A freezer cabinet sensor measures air temperature. A sensor on the cooling coil serves another position. Similar appearance does not make them interchangeable.
Use refrigerator error codes to guide diagnosis, then use the model number to choose the part. Confirm any required splice supplies and foil cover before starting the repair.
When to Stop and Call a Professional
Get help for damaged wires, uncertain sensor identification or a recurring fault after valid tests. Fan and ice maker codes require their own procedures. Do not apply this GE sensor chart to those circuits.
FAQ
What should be checked first when a refrigerator shows an error code?
Record the exact code and complete model number. Match the code to the model’s instructions before trying a repair.
How can someone tell the thermistor is actually bad and not the control board?
Test the isolated sensor at known temperatures and compare its readings with the correct chart. Check connections separately.
What resistance reading confirms a refrigerator thermistor has failed?
No single value covers all sensors. This GE example expects about 16,000 ohms at 33°F and about 6,000 at room temperature.
Where is the refrigerator model number located and does the suffix matter?
Look inside the fresh food compartment and consult the brand’s label-location help. The suffix identifies the complete version.
When should a refrigerator error code be handed to a repair technician?
Get help for wiring damage, uncertain tests or a returning code. Use the model’s instructions to reset refrigerator error code displays; a cleared display alone does not confirm a repair.
In Summary
The exact code narrows the problem. A correct test supports a replacement decision. Match the model before using any code definition or measurement.
Check the full model number, then find the correct sensor after you test a refrigerator thermistor with a multimeter so the replacement matches the confirmed fault.