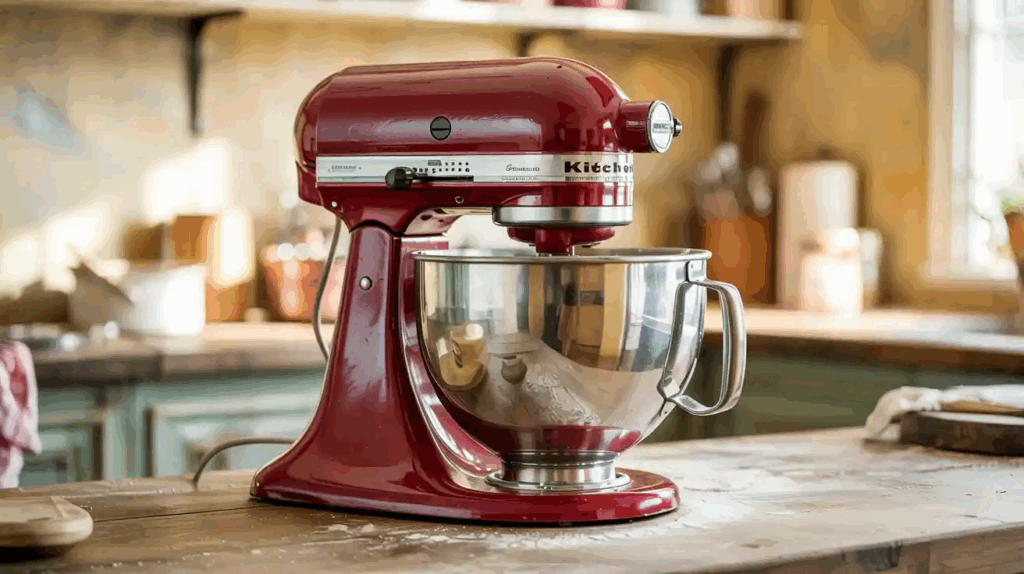
A KitchenAid stand mixer is a versatile and reliable kitchen tool, perfect for kneading dough, whipping cream, or mixing batter. However, overheating can disrupt your workflow and point to issues that need attention. Let’s explore the common causes of overheating and how you can avoid them.
Common Reasons for Overheating in Your Stand Mixer
1. Overloading the Bowl
Exceeding the mixer’s capacity is a frequent reason for overheating. Overloading forces the motor to work harder, generating excessive heat.
- Check Capacity Limits: Refer to your user manual for the maximum recommended capacity for your mixer model.
- Avoid Doubling Recipes: Doubling quantities can often exceed your mixer’s capacity.
- Divide Heavy Doughs: Work with smaller batches for items like bread or pasta dough.
2. Extended Operation
Running the mixer continuously for too long can also lead to overheating. Motors need periodic breaks to cool down, especially when handling heavier mixtures.
- Limit Use: Operate the mixer for no more than 10 minutes continuously when mixing dense ingredients.
- Take Breaks: Allow at least 20 minutes for cooling after intensive use.
- Monitor Temperature: If the top of the mixer feels warm, pause and let it rest.
3. Lack of Maintenance
Regular maintenance keeps your stand mixer in peak condition. Ignoring upkeep can result in overheating and diminished performance.
- Keep It Clean: Wipe the mixer down after each use to remove residue.
- Inspect for Wear: Check gears, brushes, and other parts regularly, replacing them as needed.
- Lubricate: Follow the user manual’s recommendations for lubricating moving parts.
Tips to Prevent Overheating
1. Use the Right Speed
Selecting the proper speed for your mixing tasks reduces motor strain and enhances performance.
- Follow the Manual: Use the speed settings suggested for different tasks.
- Avoid High Speeds for Heavy Mixes: Stick to low or medium speeds for items like dough.
- Start Slow: Begin mixing at a low speed and gradually increase if necessary.
2. Regular Cleaning and Maintenance
Proper care keeps your mixer operating efficiently and minimizes the risk of overheating.
- Clean Attachments and Bowls: Rinse and dry these after each use.
- Dust the Exterior: Regularly wipe down the mixer to prevent dust buildup.
- Deep Clean Periodically: Include internal components in your cleaning schedule.
3. Adequate Ventilation
Good airflow helps prevent your mixer from overheating during use.
- Choose the Right Spot: Place the mixer on a flat, open surface with good airflow.
- Avoid Obstruction: Do not cover the mixer or block ventilation slots.
4. Avoid Overloading and Overmixing
Being mindful of how much and how long you mix can protect your mixer from unnecessary stress.
- Measure Ingredients: Use accurate measurements to avoid overfilling the bowl.
- Watch the Clock: Avoid overmixing by following recipe guidelines for mixing times.
Safety First
When performing maintenance or troubleshooting, always prioritize safety.
- Unplug Before Maintenance: Make sure the mixer is unplugged before cleaning or repairs.
- Use Proper Tools: Equip yourself with the right tools and, if needed, wear gloves or safety glasses.
- Seek Professional Help: If you’re uncertain about a repair, consult a professional or refer to manufacturer instructions.
How to Troubleshoot an Overheating KitchenAid Stand Mixer
Follow these steps to identify and fix the causes of an overheating stand mixer.
Step 1: Safety Precautions
- Unplug the stand mixer before beginning any troubleshooting.
Step 2: Checking the Cooling Fan
- Inspect the fan blades for cleanliness and remove any debris.
- Spin the fan manually to confirm smooth operation without obstruction.
- Replace the fan if it is damaged or not functioning properly.
Step 3: Inspecting Motor Brushes
- Refer to the user manual to remove the motor housing.
- Locate the motor brushes on either side of the motor.
- Check the brushes for wear; they should measure at least 1/4 inch in length.
- Replace the motor brushes with compatible replacements if they are worn.
Step 4: Testing Motor Windings with a Multimeter
- Disassemble the mixer to access the motor.
- Set a multimeter to measure resistance (ohms).
- Place the multimeter probes on the motor terminals and record the resistance.
- Compare the resistance reading with the manufacturer’s specifications.
- Replace the motor if the windings show abnormal resistance, such as values that are significantly higher, lower, or infinite.
Step 5: Reassembly and Testing
- Reassemble the stand mixer.
- Test the mixer to verify proper operation after completing repairs or replacements.
Key Takeaways
If your mixer does overheat, don’t panic. Basic troubleshooting, like inspecting motor brushes or cleaning the fan, can fix many common issues. And if you’re not sure how to handle something, the manual or a professional can help.
The key is to use your mixer with care and attention. These tools are built to last, and a little effort goes a long way in keeping them reliable for all your cooking and baking adventures. Start making these changes today to keep your mixer running like a pro.
