
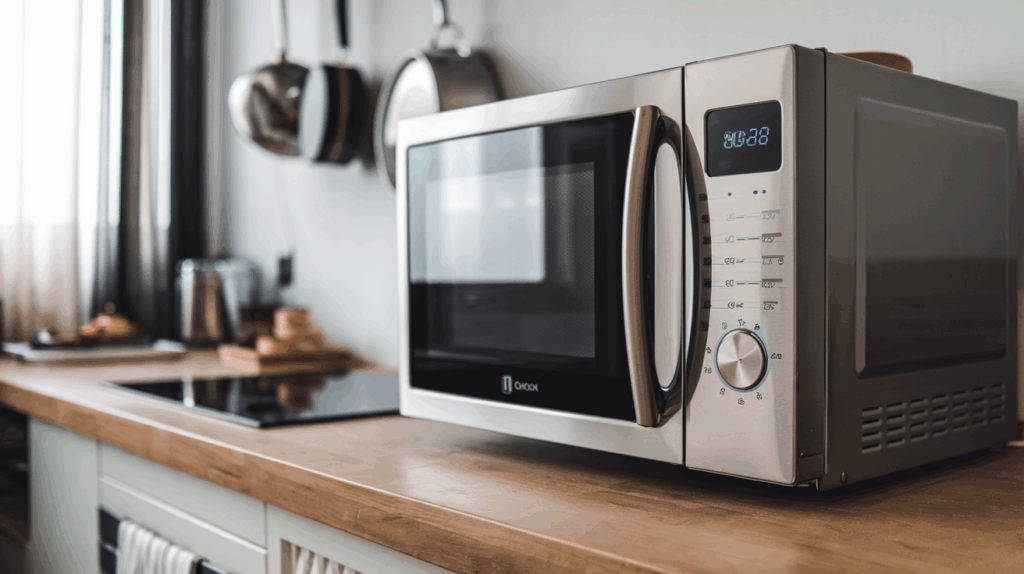
You’ve just placed some veggies in the microwave, but the turntable isn’t moving. While your food will still cook, it may heat unevenly. The good news? Fixing a broken turntable coupler is a simple repair that you can handle yourself.
If the turntable isn’t spinning, the issue is likely with either the turntable motor or the coupler that connects the motor to the glass plate. Below, we’ll go over how to determine if the coupler is the problem and walk you through replacing it. This repair is straightforward and can save you money on a service call.
What is a Microwave Turntable Coupler?
The turntable coupler is a small plastic piece that sits beneath the glass plate, linking it to the turntable motor. It keeps the plate rotating so that food heats evenly.
Common Causes of Turntable Coupler Damage
Several factors can lead to a coupler breaking or wearing out. Knowing what causes the issue can help prevent future problems.
- Heavy Loads: Placing oversized or heavy dishes on the turntable can put stress on the coupler, leading to cracks or misalignment.
- Heat Damage: Over time, high temperatures inside the microwave can weaken plastic couplers, causing warping or brittleness.
- Food and Grease Build-Up: Spills and residue from food can clog or coat the coupler, reducing its ability to connect with the motor properly.
- Frequent Removal and Reattachment: If the coupler is taken out and put back often, it can wear down or loosen.
- Motor Issues: A struggling motor can put excess pressure on the coupler, leading to breakage.
Signs of a Broken Microwave Turntable Coupler
If your microwave’s glass plate has stopped turning, the coupler may be the cause—but it’s important to check a few other things first.
- Check if the turntable function is disabled. Some microwaves have a turntable on/off button. Look at your control panel and user manual to make sure this feature is turned on.
- Inspect the turntable plate and guide. Lift the glass plate and check for cracks or debris that could be preventing movement. Then, examine the turntable guide (a small ring with three wheels). Damaged or clogged wheels can disrupt the plate’s rotation.
- Listen to the turntable motor. If your microwave is making unusual noises—or has become quieter than normal—the motor might be failing.
- Examine the coupler. If the plate, guide, and motor seem fine, remove the coupler and check for visible damage like cracks or melting. Some couplers lift out easily, while others may require access from the bottom panel.
If the coupler is damaged, replacing it is a quick fix.
Safety Precautions Before You Start
Microwaves contain components that store electrical charge even after they’ve been unplugged. To stay safe:
- Never remove the microwave’s outer cover or touch the internal wiring.
- Unplug the microwave and wait at least 60 seconds before starting any repairs.
- Wear work gloves (preferably rubberized) to protect against sharp edges and electrical discharge.
Tools Needed
You won’t need much for this repair, but here’s what to have on hand:
- Replacement coupler. Use your microwave’s model number to find the correct part. Websites like AppliancePartsPros.com can help you find the right one.
- Phillips head screwdriver. Most microwaves use Phillips screws, and a magnetic screwdriver can help prevent losing them inside the unit.
- Flathead screwdriver. Useful for gently prying out certain parts.
- Work gloves. Protect your hands from sharp metal edges and electrical components.
How to Replace a Microwave Turntable Coupler
Here are the steps to remove and replace a faulty microwave turntable coupler safely and effectively.
1. Check if the Turntable Motor is Disabled
- Some microwaves have a setting that turns off the turntable motor.
- Check the microwave settings and turn the motor back on if needed.
- If the turntable still doesn’t rotate, continue with the repair.
2. Disconnect the Microwave from Power
- Unplug the microwave from the wall outlet or switch off the circuit breaker.
- Wait at least 60 seconds to allow residual power to dissipate.
⚠️ Warning: Never work on an appliance that is still receiving power.
3. Remove the Turntable and Guide Ring
- Lift out the glass turntable tray and set it aside.
- Remove the turntable guide ring from the microwave floor.
4. Try to Remove the Coupler
- Locate the turntable coupler in the center of the microwave’s base.
- Pull the coupler straight up.
- If it doesn’t come out easily, slide a flathead screwdriver under the edges and gently pry it loose.
5. Access the Bottom Panel (If Necessary)
If the coupler is stuck, access it from below by removing the microwave’s bottom panel.
- Find the bottom access panel on both wall-mounted and countertop microwaves.
- Locate and remove 3–4 screws or tabs securing the panel using a Phillips screwdriver.
- Lower the panel carefully.
- If there are wires attached (e.g., a light fixture), handle them carefully.
6. Take a Reference Photo (Optional but Recommended)
- Take a clear photo of the microwave’s underside, especially the turntable motor and its connections.
- This will help when reinstalling components.
7. Remove the Turntable Motor
- Find the turntable motor in the center of the microwave’s underside.
- Identify the two wires connected via a wire harness.
- Disconnect the wire harness carefully.
- Remove any mounting screws holding the motor in place.
- Hold onto the motor while removing the final screw.
- If needed, turn the motor clockwise to detach it fully.
8. Remove the Old Turntable Coupler
- With the motor removed, pull out the coupler from inside the microwave.
- If the coupler is still stuck, use a flathead screwdriver to pry it loose.
- Check the coupler shaft for dirt, grease, or food debris and clean it.
9. Install the New Turntable Coupler
- Place the new coupler into the shaft.
- Align the D-shaped shaft properly so it fits into place.
- Hold it steady while reassembling the motor.
10. Reinstall the Turntable Motor
- Insert the motor shaft through the base of the microwave.
- Turn it clockwise if needed to lock it into place.
- Secure it with the mounting screws, but do not overtighten.
- Reconnect the wire harness to the motor.
- Check the reference photo to confirm everything is positioned correctly.
11. Reassemble the Microwave
- Attach the bottom panel and secure it with screws.
- Clean the microwave’s interior, especially the turntable track, to remove debris.
- Reinstall the turntable guide ring and place the glass turntable tray back in position.
12. Restore Power and Test the Microwave
- Plug the microwave back in or switch the circuit breaker back on.
- Test the turntable function:
- Place a microwave-safe cup of water in the center.
- Run the microwave for 10–15 seconds and check if the turntable rotates properly.
✅ If the turntable moves as expected, the coupler replacement is complete!
To Recap
If your turntable stops moving, don’t assume it’s a big problem. A quick check and a simple replacement might be all it takes to get things working again. And let’s be honest—wouldn’t you rather spend that repair money on something more useful?