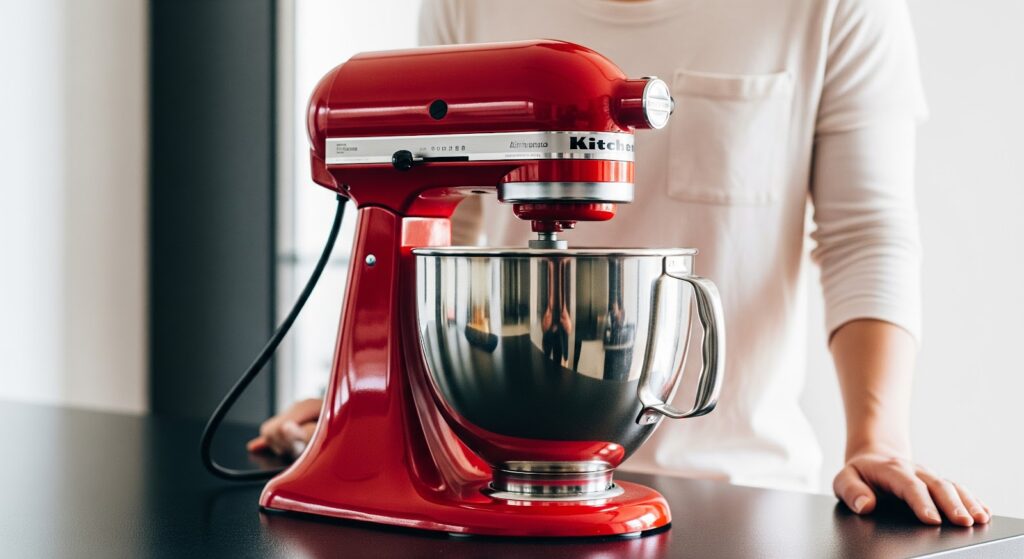
The motor brushes in a KitchenAid stand mixer conduct electrical current to the motor. These brushes are keyed, meaning they must be installed in a specific orientation. Over time, friction and regular use wear them down, leading to performance issues.
Signs Your Motor Brushes Need Replacement
If your stand mixer has any of these problems, the motor brushes might need to be replaced:
- Decreased power or speed: The mixer struggles to maintain consistent performance.
- Intermittent operation: It turns on and off unpredictably.
- Unusual noises: The motor makes strange or excessive noise.
Motor brushes are sold individually, but it’s best to replace both at the same time—even if only one looks worn. Replacing them helps maintain motor performance and extends the lifespan of your mixer.
Why Motor Brushes Wear Out
Motor brushes are made of carbon, a material that wears down over time due to friction against the commutator inside the motor. Several factors contribute to their wear:
- Frequent use: The more often you use your mixer, the faster the brushes wear down.
- Heavy mixing loads: Kneading dough or mixing thick batters puts extra strain on the motor.
- Prolonged operation: Running the mixer for extended periods without breaks increases wear.
- Electrical arcing: If the brushes don’t make good contact, small sparks can speed up deterioration.
- Environmental conditions: Excessive dust or humidity can affect the brush performance.
What You’ll Need
- Replacement Motor Brush (WPW10380496) – Check compatibility with your mixer model.
- Flathead screwdriver
How to Replace Motor Brushes in a KitchenAid Mixer
Below are the steps to remove the old motor brushes and install new ones, helping to maintain your mixer’s performance.
Preparation
- Unplug the mixer from the electrical outlet to prevent accidental starts or electrical shocks.
- Lift the beater slightly, then turn it clockwise (while looking down on it) until it disengages from the hub.
- Lift the beater out of the mixer and set it aside.
- Lift the mixing bowl straight up and out of its base. Set it aside.
Removing the Old Motor Brushes
- Locate the brush caps on the sides of the mixer, one on the left and one on the right.
- Insert a flat-head screwdriver into the slot on the brush cap.
- Carefully press and turn the screwdriver to loosen the cap, avoiding stripping it.
- Remove the cap and set it aside.
- Pull the old motor brush out of the holder.
- Repeat the process on the other side of the mixer.
Installing the New Motor Brushes
- Align the flat side of the new brush to the upper left corner of the left-side brush holder.
- Align the flat side of the new brush to the lower right corner of the right-side brush holder.
- Insert the new brush into the holder.
Securing the Brush Caps
- Place the cap back over the brush holder.
- Start threading the cap by hand to avoid cross-threading.
- Tighten the cap with the screwdriver until it is snug, but do not overtighten.
- Repeat the process on the other side of the mixer.
Reassembling the Mixer
- Align the pins of the bowl with the receiving holes in the base.
- Lower the bowl into position and secure it.
- Line up the shaft of the beater with the hub and make sure the locking pin aligns with the slot.
- Lift and lock the beater into place.
Testing the Mixer
- Plug the mixer back into the electrical outlet.
- Turn the mixer on and test if it is working correctly.
How to Extend the Life of Your Motor Brushes
While motor brushes naturally wear down, certain habits can help them last longer:
- Use the mixer at the correct speed for the task instead of running it at maximum power unnecessarily.
- Avoid overloading the mixer with too much dough or thick batter at once.
- Give the mixer time to rest between heavy mixing sessions to prevent overheating.
- Keep the motor area clean by wiping away dust and debris that could interfere with brush contact.
- Check the brushes periodically and replace them before they are completely worn down.
- Use the right attachments to avoid putting excess strain on the motor.
Read More: 5 Simple Steps to Clean a Stand Mixer for a Streak-Free Shine
What to Remember
A KitchenAid stand mixer needs regular upkeep to keep working smoothly. Those small motor brushes might not seem important, but they help the motor run properly. When they wear out, your mixer may slow down, stop working randomly, or make strange noises.
Letting worn-out brushes go unchecked can cause bigger problems, including motor failure. Instead of dealing with expensive repairs, swapping them out is a simple fix that keeps your mixer running strong.
If your mixer isn’t performing like it used to, don’t assume it’s breaking down for good. Replacing the motor brushes can restore their power and help them last longer. A little maintenance goes a long way in keeping it ready for your next big baking project.
