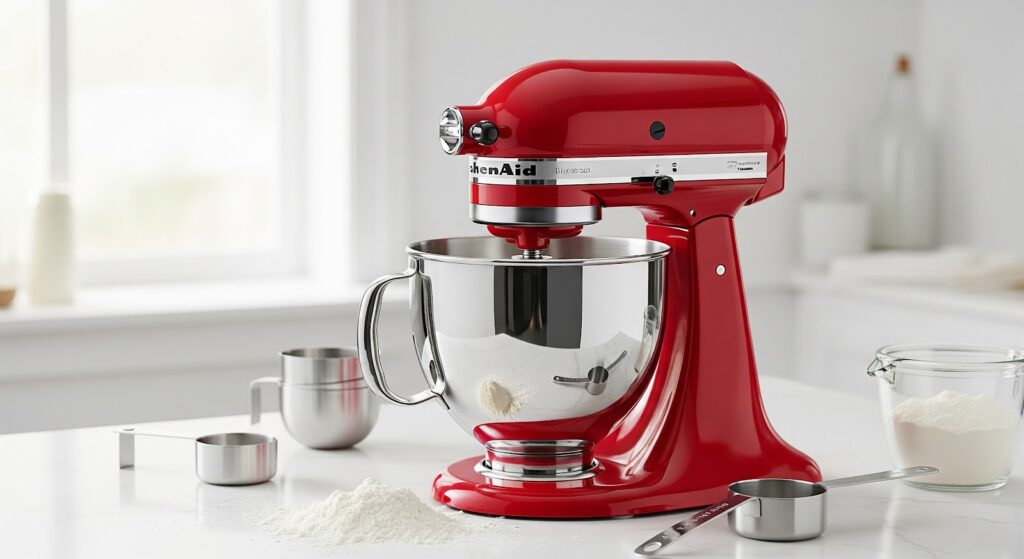
The motor shaft seal in a KitchenAid stand mixer keeps liquids, grease, and debris from entering the motor. Over time, this seal can wear out or become damaged, leading to potential issues like grease leakage, unusual noises, or reduced mixer performance.
But don’t worry, you can fix this yourself! With just a few tools and some patience, you’ll have your stand mixer back in top shape in no time.
What You’ll Need
Before you begin, gather the following tools and materials:
- Replacement motor shaft seal (make sure it’s compatible with your mixer model)
- Phillips screwdriver
- Small flathead screwdriver
Safety First
Safety should be your top priority any time you work on an appliance. Follow these guidelines to prevent injury or damage:
- Always disconnect it from power before performing any maintenance. If your mixer is hardwired, switch off the circuit breaker.
- If it was recently used, give it time to cool before handling.
- Proper lighting helps you see small components clearly.
- Remove unnecessary items and keep pets or children away while working.
- Make sure the area is dry before touching internal parts.
- Avoid excessive force to prevent breaking components or injuring yourself.
- Protect your hands from sharp edges and debris.
- Never touch exposed wires. If necessary, use an insulated tool or wear protective gloves.
- This makes reassembly much easier.
How to Replace a Motor Shaft Seal on a Mixer
Here are the steps to remove a faulty motor shaft seal and install a new one to restore your mixer’s performance.
Preparation
- Unplug the mixer from the power outlet.
- Remove any accessories from the mixer.
- Make sure the bowl is in the down position.
- Remove the beater by lifting it up, turning it clockwise, and letting it drop down.
- Lift the bowl off the mounting pegs to remove it.
Removing the Mixer Cover
- Go to the back of the mixer and use a Phillips screwdriver to remove the screw that holds the trim in place.
- Set the screw aside and remove the trim.
- Use a Phillips screwdriver to take out the four screws that hold the cover.
- Lift the cover off and set it aside.
Accessing the Motor Shaft Seal
- Use a Phillips screwdriver to remove the four screws that hold the transmission cover down.
- Lift the transmission housing off to access the motor shaft seal.
- Use a Phillips screwdriver to remove the two screws at the back that secure the motor to the housing.
- Remove the motor from the mixer.
Replacing the Motor Shaft Seal
- Find and remove the motor shaft seal.
- If the seal is tight, use a small flathead screwdriver to gently pry it off.
- Place the new seal over the motor shaft carefully and avoid damaging it on the splines.
- Push the new seal down into the motor until it is fully seated.
Reassembling the Mixer
- Lower the motor back into place.
- Use the Phillips screwdriver to reinsert the two screws at the rear to secure the motor.
- Align the transmission housing and push it down into place.
- If necessary, adjust the little hub attachment to align with the beveled gear.
- Use the Phillips screwdriver to reinsert the screws and secure the transmission housing.
- Lift the speed control board and plug in the sensor.
- Make sure the sensor clips into the motor and stays in place.
- Rotate the board over and line it up with the screw holes.
- Use the Phillips screwdriver to reinsert the screws.
- Align the mixer cover and set it back into place.
- Use the Phillips screwdriver to reinsert the four screws.
- Attach the trim ring by placing it in position.
- Use the Phillips screwdriver to insert the screw at the back to hold it in place.
- Put the bowl back on by lining up the pins on each side.
- Push down on the back to snap it into place.
- Reinstall the beater by lining it up on the shaft so the pin goes into the cutout.
- Lift the beater up into place and turn it counterclockwise to lock it in.
- Plug the mixer back in.
- Test the mixer to make sure everything works correctly.
Also Read: KitchenAid Mixer Center Shaft O-Ring Replacement: A Simple Guide
Preventative Maintenance
Regular maintenance extends the lifespan of the motor shaft seal and other components. Best practices include:
- Clean after each use – Wipe down the exterior and motor area.
- Avoid overloading – Exceeding capacity strains internal components.
- Store in a dry environment – Moisture accelerates wear.
- Lubricate gears periodically – Prevents excessive friction on the seal.
- Inspect for leaks regularly – Early detection prevents further damage.
- Use correct attachments – Incorrect or damaged attachments cause unnecessary stress on internal parts.
Common Mistakes to Avoid
Errors during replacement can cause further issues. Avoid the following:
- Failing to disconnect power – Always unplug before working.
- Applying excessive force – Forcing components apart can cause damage.
- Skipping cleaning before installation – Dirt or grease can prevent a proper seal.
- Incorrect installation – A misaligned seal will not function properly.
- Not testing after reassembly – A test run ensures everything is installed correctly.
Closing Thoughts
A damaged motor shaft seal might seem like a small problem, but if left alone, it can lead to bigger issues with your KitchenAid mixer. Fixing it yourself is a smart choice that keeps your mixer running well and saves you from costly repairs.
Now that you’ve handled this, your mixer is back in good shape and ready for more use. Taking care of it regularly will help it last longer. Keep an eye out for any signs of wear, clean it after use, and it will stay reliable for years.
