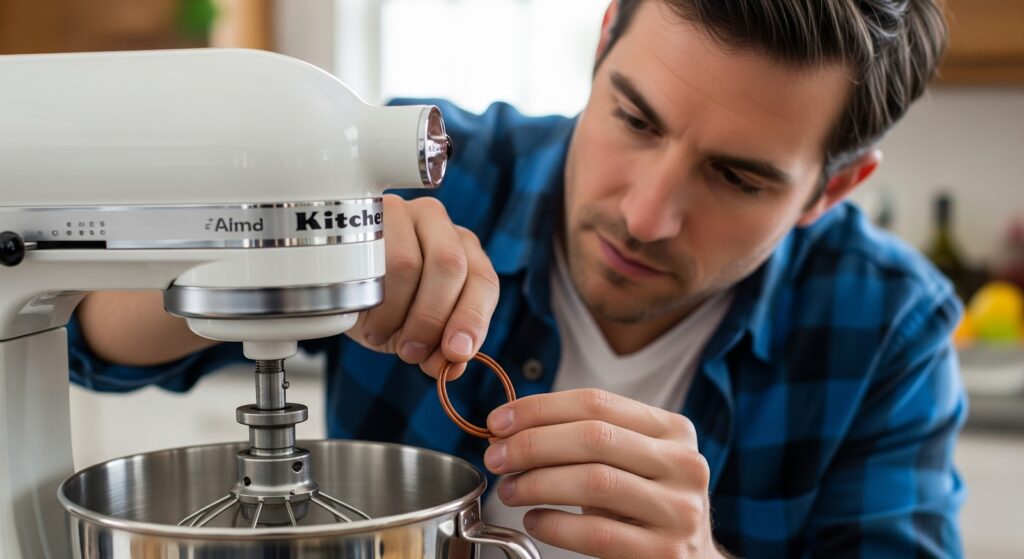
The center shaft o-ring on a KitchenAid stand mixer creates a seal between the center shaft and planetary assembly, preventing leaks and keeping debris out. Over time, this o-ring can wear down, affecting the mixer’s performance. Fortunately, replacing it is a simple task that requires only a few tools.
Signs That the O-Ring Needs Replacement
Recognizing when to replace the o-ring helps prevent performance issues and potential damage to the mixer. Some signs include:
- Visible cracks or wear on the O-ring
- Leaking grease or liquid around the planetary assembly
- Difficulty in rotation or unusual noise during operation
- A loose or misaligned planetary assembly
- The mixer head wobbles more than usual during use
Tools Needed
- Flathead screwdriver
- Hammer
- Punch
- Small Phillips screwdriver
- Rubber mallet
- New center shaft o-ring (make sure it’s compatible with your model)
Check Part Compatibility
Before starting, confirm that the replacement o-ring matches your mixer model. Locate the model number, which is typically found:
- On the underside of the mixer’s base
- On the back of the mixer’s head or motor housing
- On the side of the mixer’s base
Write down or photograph the model number for reference.
Safety Precautions
- Unplug the mixer before beginning any repairs.
- Let the appliance cool if it was recently used.
- Work in a well-lit, dry area free from clutter.
- Keep children and pets away from the workspace.
- Wear insulated gloves to protect your hands.
- Avoid using excessive force when removing parts.
- If working near wires, use non-conductive tools and avoid touching exposed terminals.
How to Replace the Center Shaft O-Ring in a KitchenAid Mixer
Follow these steps to remove the old o-ring, install a new one, and reassemble your mixer properly.
Remove the Old Center Shaft O-Ring
- Unplug the mixer from the power outlet.
- Remove the beater by lifting it slightly and turning it clockwise, then set it aside.
- Remove the bowl by lifting it and pulling it out, then set it aside.
- Remove the trim ring around the planetary by using a flathead screwdriver and a hammer to tap it off carefully. Avoid applying excessive force to prevent damage.
- Pull the trim ring off the mixer and set it aside.
- Remove the groove pin that holds the planetary to the center shaft by using a punch tool and gently tapping it out with a hammer. Set the groove pin aside.
- Locate the tabs where the screws hold the planetary assembly in place.
- Use a flat-head screwdriver to pry the planetary down, working one side and then the other until it drops off.
- Pull the planetary straight down and remove it from the center shaft.
- Locate the center shaft o-ring in its groove.
- Use a small flat-head screwdriver to carefully pry the o-ring out of the groove.
- Once loose, pull the o-ring off the shaft and remove it from the mixer.
Install the New Center Shaft O-Ring
- Slide the new o-ring onto the center shaft.
- Push the o-ring upward until it sits firmly into its groove.
Reassemble the Mixer
- Align the planetary assembly with the center shaft.
- Lift the planetary assembly and align the hole for the groove pin with the shaft opening.
- If the internal gears are misaligned, spin the shaft until they line up.
- Use a small Phillips screwdriver if any fine adjustments are needed.
- Look through the opening to confirm the holes are aligned.
- Use a punch tool to hold the hole open and insert the groove pin.
- Tap the groove pin gently with a hammer until it is flush with the surface.
- Lift the trim ring and check that it is level.
- Adjust the trim ring if necessary to make sure it is properly aligned.
- Use a rubber mallet to carefully tap the trim ring back into place.
Reattach the Bowl and Beater
- Line up the bowl’s pin holes with the slots on the mixer base.
- Lower the bowl into place and lock it in.
- Align the shaft opening with the beater attachment slot.
- Insert the beater, making sure the locking pin fits into place.
- Lift and turn the beater counterclockwise to lock it in.
Test the Mixer
- Plug the mixer back into the power outlet.
- Turn on the mixer briefly to check that all parts move smoothly.
- If everything operates correctly, the replacement is complete.
Read More: How to replace center shaft o-ring WP67500-55 on a KitchenAid stand mixer
Proper Maintenance to Extend O-Ring Life
To avoid frequent replacements, follow these maintenance tips:
- Clean the mixer regularly to prevent buildup that could cause wear
- Avoid overloading the mixer, as excessive strain can impact internal components
- Store the mixer in a dry place to prevent moisture-related damage
- Apply food-safe lubricant when necessary to reduce friction
- Inspect internal parts occasionally to catch early signs of wear
Also Read: 5 Simple Steps to Clean a Stand Mixer for a Streak-Free Shine
Final Thoughts
A small rubber ring might not seem important, but when it wears out, your KitchenAid mixer starts having problems—leaking grease, making odd noises, and shaking more than usual. Replacing the center shaft o-ring is a quick fix that helps prevent bigger issues.
If you follow these steps, your mixer should work smoothly again. No more unexpected leaks or shaky movements. Keeping it in good shape doesn’t take much, clean it, check for wear, and don’t overload it. A little care now saves trouble later.
If your mixer starts acting up again, don’t assume it’s broken. Sometimes, a simple part swap is all it needs.
