
This guide walks you through the possible causes and the basic steps to help you fix the issue. A Kenmore washer won’t fill with water when certain internal parts stop working as expected. After accessing the inside of the machine, you can test a few common components to find the problem.
Common Causes To Check
Here are the main parts to inspect when water is not entering the washer.
- A faulty pressure switch that cannot detect the correct water level
- Defective temperature control switch that affects water flow
- Malfunctioning water inlet valves that block water from entering
What You Need
Gather these tools before starting the repair.
- Multimeter
- Flat blade screwdriver
- Putty knife
Safety Tips
Follow these precautions before and during the repair process.
- Turn off the washer and unplug it from the power source before starting any work
- Shut off the water supply at the outlet before removing any parts
- Allow the washer to cool down if it was recently used
- Work slowly and carefully to reduce the risk of injury
- Use a well-lit workspace so you can clearly see all components
- Keep the work area clean and free of clutter
- Keep children and pets away from the workspace
- Keep your hands dry when working on internal parts
- Check the user manual for model-specific instructions
- Handle parts gently to avoid damage
- Wear insulated gloves to protect your hands from sharp edges
- Avoid direct contact with exposed wires or terminals
- Use proper tools when handling wires to reduce risk
- Avoid testing live voltage unless you are experienced
- Wear safety glasses or a mask when dealing with dust or debris
How to Fix a Kenmore Washer That Won’t Fill With Water
Follow these steps to check the main parts and find the cause of the problem.
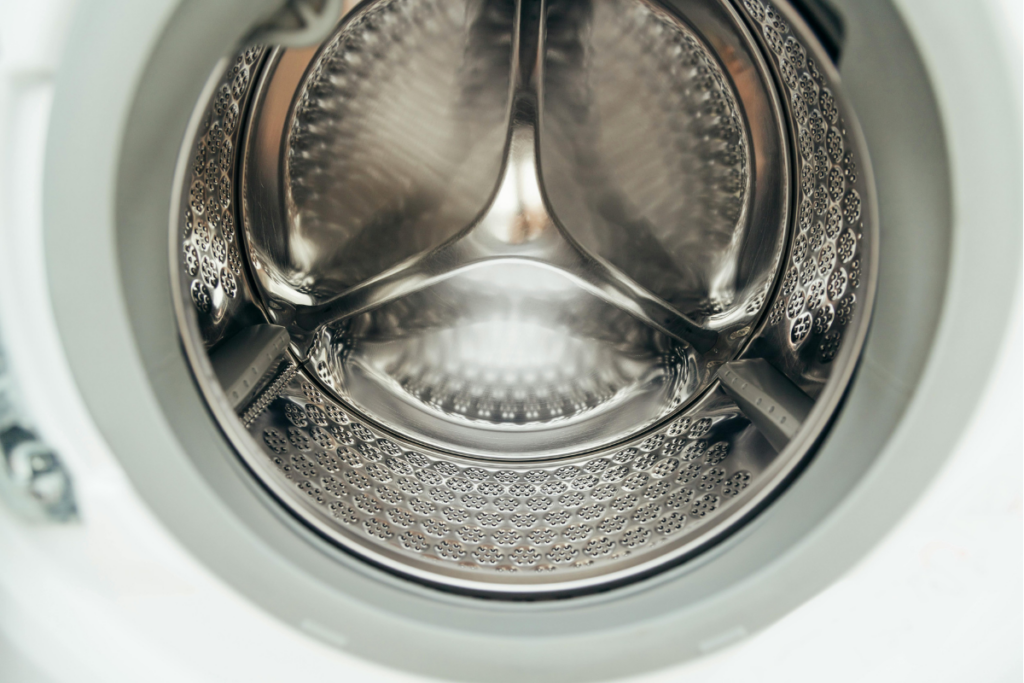
Access the Internal Parts
- Turn off the washer and unplug it from the power source
- Turn off the water supply at the outlet
- Locate the clips on the left and right sides of the console
- Slide a putty knife under the console about an inch from each end
- Push each clip toward the back while lifting and pulling the console forward
- Release both sides and flip the console back
- Find the two brass clips that hold the cabinet to the back panel
- Use a flat-blade screwdriver to push down and release the clips
- Disconnect the lid switch wiring
- Tilt the cabinet forward and lift it off the frame
Test the Pressure Switch
- Make sure the washer is turned off and unplugged
- Keep the water supply turned off
- Set your multimeter to continuity mode
- Identify the wires connected to the pressure switch, such as pink and violet
- Disconnect the wire harness from the switch
- Touch the meter probes to the correct terminals for an empty tub
- Check for continuity on the meter
- Replace the pressure switch if there is no continuity
- Test for a full tub condition and confirm there is no continuity when the tub is empty
- Replace the switch if the readings are incorrect
Test the Temperature Control Switch
- Plug the washer back in and turn it on carefully
- Turn on the water supply
- Set the cycle selector to a fill setting
- Pull the timer knob out
- Locate the temperature control switch in the console
- Set your multimeter to AC voltage
- Place the probes into the brown and white wires
- Check for a reading of about 120 volts
- Replace the timer if there is no voltage and the pressure switch works
Test the Water Inlet Valves
- Turn off the washer and unplug it again
- Use pliers to remove the water hoses
- Check and clean the inlet screens if they are blocked
- Plug the washer back in and turn it on carefully
- Set the timer to a fill setting and pull the knob out
- Set the temperature to warm
- Keep the multimeter set to AC voltage
- Test the hot water valve using the brown with red stripe wire and the white wire
- Check for a reading of about 120 volts
- Test the cold water valve using the yellow with red stripe wire and the white wire
- Check for a reading of about 120 volts
- Replace the valve if it has voltage but does not open
- Replace the temperature control switch if there is no voltage at the valves
Reassemble the Washer
- Unplug the washer before putting everything back
- Slide the cabinet back onto the frame
- Reconnect the lid switch
- Secure the brass clips
- Flip the console back into place
- Restore the water supply and power once done
Summing Up
Fixing a Kenmore washer won’t fill with water starts with knowing where to look and what to test. Each part in this guide has a clear purpose, so checking them one by one helps you narrow down the issue without guesswork. The pressure switch, temperature control switch, and water inlet valves are often the main causes, and testing them with the right tools gives you clear answers.
Take your time as you go through each step and keep safety in mind from start to finish. A careful approach helps you avoid damage and makes the repair process smoother. Once the faulty part is found and replaced, your washer should return to normal operation and fill as it should.
This type of repair may look detailed at first, but it becomes more manageable when you follow a clear process. With the right steps and a bit of patience, you can handle the problem and get your Kenmore washer working again without unnecessary stress.