Quick answer
Check the package contents, attach the handle and chute as specified, and secure all controls without pinching cables. Add only the fluids required by a gas model or prepare the correct battery or power connection for an electric model. Set skid shoes where fitted using the surface-specific instructions, then test controls outdoors with the area clear.
Your new snow blower has arrived, and the first storm is a poor time to meet its controls. Which parts need assembly before it can run? Working out how to set up a new snow blower ahead of bad weather gives you space to check the machine and practice in a clear outdoor area.
This guide covers the box contents, a safe work spot, the basic setup order, and the first normal-use check. Gas, corded, and battery models need different supplies, so separate those requirements from the start. The auger and impeller can cause severe injury even during preparation. Keep hands out of openings and isolate power before assembly or adjustments.
Quick Facts
Keep hands out of the chute and auger housing; isolate power before setup or adjustment.
- Difficulty: Not specified
- Time: Under an hour is a basic-setup estimate; assembly varies
- Tools: Specified wrenches, supplied hardware, model-required oil or fuel or battery
- Part cost: Not specified
- Skill level: Not specified
Order the part with confidence
- Guaranteed to fit when you search by model number
- Same-day shipping on in-stock parts
- 365-day returns on any part
- Free tech support before and after you buy
What Comes in the Box and What You Still Need
Unpack on a level surface and compare the contents with the machine’s parts list. Keep small fasteners together so a missing bolt is noticed before assembly. Check for bent handles, damaged cables, and shipping damage around the chute and housing.
Supplies depend on the power source.
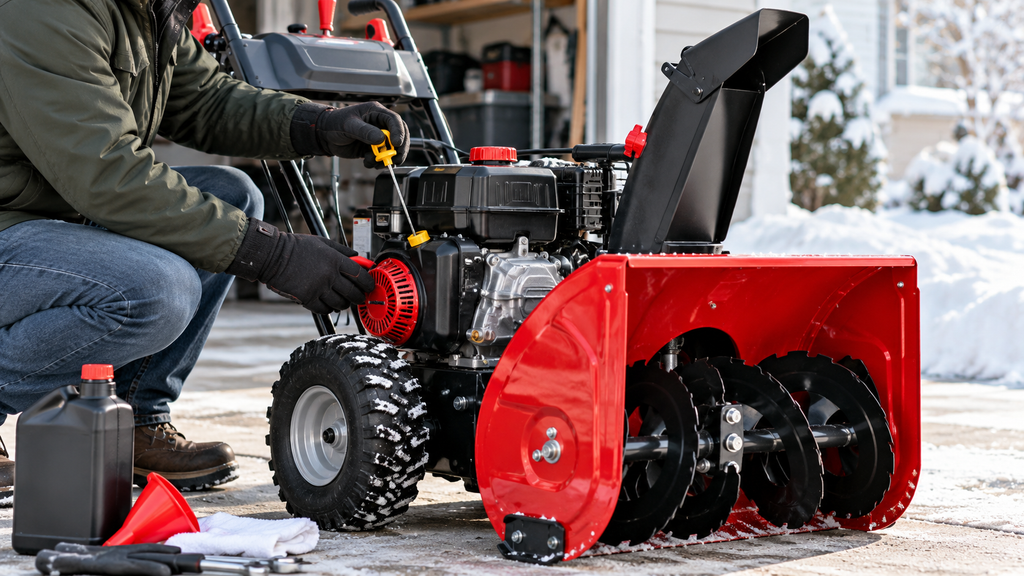
- Gas model: Specified fuel and, where required, the correct engine oil
- Battery model: Correct battery and charger
- Corded model: Suitable outdoor power arrangement specified for the machine
- Assembly: Supplied hardware and the required wrenches
Do not assume a gas engine arrives full of oil or that every engine uses the same fuel mixture. Snow blower installation requirements differ. Confirm the exact model before buying shear pins, belts, skid shoes, or a scraper bar.
Where to Place Your Snow Blower
Choose a clear, level assembly area with enough room to walk around the machine. Keep children and pets away from loose parts and the work zone. Do not assemble near a flame or store fuel beside a heater.
A gas-powered snow blower must run outdoors, away from doors, windows, and other openings. An open garage door does not make indoor running acceptable. Plan the first test location before adding fuel.
Check the driveway surface too. Gravel, uneven pavement, and raised edges may affect skid shoe settings on models that have them. Do not guess a universal clearance or change a machine not equipped with adjustable shoes. Knowing the surface is part of knowing how to set up a new snow blower.
How to Set up Your Snow Blower Step by Step
Follow these steps to organize setup using the machine’s model-specific assembly instructions.
Assemble and Prepare the Machine
- Keep the engine off and disconnect the power source for assembly.
- Attach the handle with the specified hardware and routing for cables or wiring.
- Fit the chute and its control parts in the stated order.
- Check that fasteners are secure and cables are not pinched or stretched.
- Add only the oil and fuel required by the gas model, or prepare the correct electric power source.
- Adjust skid shoes where fitted using the surface and model requirements.
- Remove packaging, tools, and loose objects from the housing and work area.
Do not put a hand into the chute or auger housing to check assembly. Use only the safe inspection and clearing method provided for the machine. Exact control adjustments need the actual setup directions.
Didn't fix it? Ask a technician on the AppliancePartsPros forum.
Post your model number, the symptom, and what you've already tried. Appliance techs and experienced DIYers answer for free, usually the same day.
Ask the forum →80,000+ solved repair threads · no account needed to readFirst-Use Settings and a Test Run
Learn each control before starting. Identify the engine or motor stop, drive engagement, auger engagement, and chute direction controls where fitted. Check the path into which snow or debris could be thrown.
Follow these steps for the first normal-use check.
Check the Controls Outdoors
- Move the assembled machine to the clear outdoor test area.
- Keep people and animals away from the discharge direction.
- Start the machine using its normal starting procedure.
- Check control operation only as the first-use instructions permit.
- Stop the machine and isolate power before any adjustment.
Do not reach for a cable or fastener while moving parts are active. If a control does not release normally, stop use rather than working around it.
Setup Mistakes to Avoid
Avoid these mistakes and unsafe methods.
- Setup errors often come from treating all snow blowers alike. A single-stage unit and a larger two-stage unit may have different parts, controls, and surface limits. Battery and gas models also need different storage and starting habits.
- Avoid substituting an ordinary bolt for a specified shear pin. That part is selected for a purpose, and matching its apparent size does not establish suitability.
- Keep genuine model-compatible spares where you can find them.
- Do not overfill fluids, leave a cord in the travel path, or operate with loose handles. The most useful preparation for how to set up a new snow blower is a calm check of the exact machine before the first storm.
Frequently Asked Questions
These answers cover the usual scope of a first-use setup.
Can you set up your snow blower yourself?
Many models allow owner assembly, but the required work varies. You need to understand the controls, power source, and safety instructions. Ask the dealer or a qualified service provider for help if parts do not fit or an adjustment is unclear.
What tools and parts do you need to set up your snow blower?
Use the supplied hardware, specified wrenches, and the materials required for the machine’s power source. A gas unit may need engine oil and fresh fuel; a battery unit needs its correct battery and charger. Do not buy parts from size alone.
How long does it take to set up your snow blower?
Basic setup may take under an hour for basic setup. More assembly, missing parts, or unfamiliar controls may take longer. Plan extra time for reading the instructions and learning the stop controls before you need to clear snow.
What are the most common mistakes when you set up your snow blower?
Common mistakes include pinching cables, guessing fluid needs, using incorrect shear pins, and setting shoes without considering the surface. Running a gas model indoors is unsafe. Stop and get help when damage, missing parts, or a control problem makes correct setup uncertain.
Final Thoughts: Keep It Simple and Consistent
A clear work area and the right supplies make the first setup easier. Finish assembly before starting the machine and learn how to stop it before using other controls. Keep compatible wear parts ready so future checks are straightforward.
Check your model number, then shop snow blower maintenance parts to find compatible supplies for your next care task.
Still stuck after this guide?
Two free options: post your model number and symptom on the forum, or search the model number in the shop to see every part that fits.