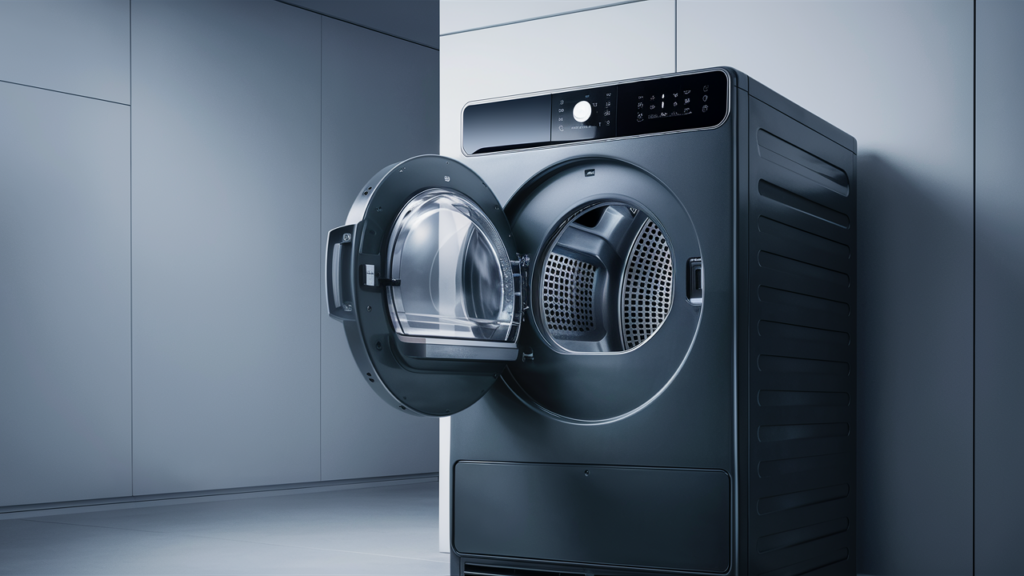
Having trouble with your Kenmore electric dryer not heating properly? Follow this straightforward guide to test and replace the high-limit cut-off kit yourself—no technician required!
Common Signs of a Faulty High Limit Cut-Off Kit
Recognizing the symptoms of a faulty high limit cut-off kit can save you time in diagnosing the problem. Look out for these signs:
- The dryer does not heat up, even in high-heat settings.
- The machine shuts off during a cycle, particularly during the heating phase.
- Burning smells or overheating issues while the dryer is in operation.
- An error code displayed on the control panel (refer to your user manual for specific codes).
Tools You’ll Need
- Putty knife
- 1/4-inch nut driver
- 1/4-inch socket
Essential Safety Precautions
Before you begin any repair work, prioritize safety. Here’s how to protect yourself and your appliance:
- Disconnect the dryer from its power source by unplugging it or switching off the circuit breaker. This eliminates the risk of electric shock.
- If the dryer has been recently used, wait until it has cooled down completely.
- Take your time to avoid accidents and achieve precision.
- Work in a bright area to easily locate and access components.
- Remove any clutter and keep children and pets away to prevent distractions or accidents.
Keep your hands and workspace completely dry to avoid electrical hazards. - Check for specific safety instructions or installation guidelines provided for your dryer model.
- Use a gentle approach when handling or removing parts to avoid damage or injury.
- Avoid touching exposed wires or terminals.
- Use insulated tools or gloves if contact is necessary.
- Take pictures or notes of the wiring layout to simplify reassembly.
- If using a multimeter, be sure you know how to test safely to avoid short-circuiting.
How to Test and Replace the High-Limit Cut-Off Kit on an Electric Kenmore Dryer
Follow these steps to safely test and replace the high-limit cut-off kit in your dryer.
Access the High-Limit Cut-Off
- Open the dryer door and remove the lint screen.
- Use a putty knife to press in the clips holding the front panel and remove the panel.
- Use a ¼-inch nut driver to remove screws from the blower housing cover to create workspace.
Test the High-Limit Cut-Off and Heating Element
- Disconnect one wire from the high-limit cut-off.
- Set a multimeter to continuity mode and place probes on the high-limit cut-off terminals.
- Replace the high-limit cut-off and thermostat if there is no continuity.
- Disconnect one wire from the heating element terminals.
- Use the multimeter to check for continuity between the terminal and the metal housing.
- Replace the heating element if continuity is detected.
Remove the High-Limit Cut-Off Kit
- Remove the ¼-inch screw securing the heat shield in front of the heater box.
- Disconnect the two wires from the heater box and the single wire from the back of the high-limit cut-off.
- Tilt the heater box upward and pull it straight out, noting wire positions or taking photos for reference.
Replace the High-Limit Cut-Off and Thermostat
- Replace the high-limit cut-off and thermostat, attaching jumpers to the new components.
Reassemble the Dryer
- Push the heater box back into place, aligning the lip with the rear hole.
- Reinstall the heat shield.
- Reconnect wires to the heating element and the single wire to the high-limit cut-off.
- Reinstall the blower housing cover and front panel.
- Insert the lint screen back into place.
- Plug the dryer back in or reset the circuit breaker to restore power.
Preventing Future High Limit Cut-Off Kit Failures
Prolong the life of your appliance and reduce the risk of another failure with these maintenance tips:
- Clean the lint filter after every load to improve airflow.
- Inspect and clean the dryer vent regularly to prevent clogs that cause overheating.
- Avoid overloading the dryer, as this forces the appliance to work harder and can lead to overheating.
- Schedule deep cleaning of the dryer’s internal components at least once a year.
- Check the exhaust vent for kinks or blockages that can hinder airflow.
- Use the appropriate heat settings based on fabric type to avoid unnecessary strain on the heating elements.
- Replace worn or damaged parts promptly to prevent related component failures.
Final Thoughts
Did you know that dryer fires often happen because simple tasks, like cleaning the lint trap, get overlooked? A quick cleanup after every load could help prevent a serious issue. That’s a small habit with a huge impact.
The next time your dryer has trouble, remember what you’ve already done. You’ve got the know-how to handle it. Keep up with these maintenance tips, and your dryer will stay in good shape for years to come.
