Quick answer
Release pressure fully, cool and unplug the cooker, then clean the lid and its user-removable parts as permitted for that model. These may include the sealing ring, anti-block shield, and float valve. Wash suitable parts with warm soapy water, rinse, dry, and reassemble them correctly. Never submerge a lid with electrical components unless its care directions expressly allow it.
Dinner is finished, yet food can remain around the pressure cooker’s ring and lid grooves. What needs to come off for a proper wash? Learning how to clean Instant Pot lid parts starts after the cooker is cool and fully depressurized. Correct reassembly matters as much as removing the residue.
This guide walks you through basic lid cleaning, the parts that may need separate care, and the mistakes to avoid. You will also learn how to handle lingering odors and why not every lid can go in water or a dishwasher the same way.
Quick Facts
Pressure must be fully released before any lid cleaning or part removal.
- Difficulty: Not specified; lid designs differ
- Time: Not specified; include cooling and drying
- Tools: Warm water, mild dish soap, soft brush, soft cloth
- Part cost: Not specified
- Skill level: Basic cleaning with careful pressure-part reassembly
Order the part with confidence
- Guaranteed to fit when you search by model number
- Same-day shipping on in-stock parts
- 365-day returns on any part
- Free tech support before and after you buy
What You Need to Clean Your Instant Pot Lid
Choose supplies that lift food without scraping sealing surfaces. Mild dish soap, warm water, and a soft brush cover routine washing for suitable parts. A clean towel gives small pieces a safe place to rest where they will not roll into the drain.
Gather these items before you begin:
- Mild dish soap
- Warm water
- Soft cleaning brush
- Soft cloth
- Clean drying towel
- Suitable vinegar treatment, only when permitted for the sealing ring
Identify the exact lid first. A standard pressure-cooking lid and a lid that includes air-frying or other electrical functions may need very different care. A dishwasher-safe statement for an inner pot does not automatically apply to the lid.
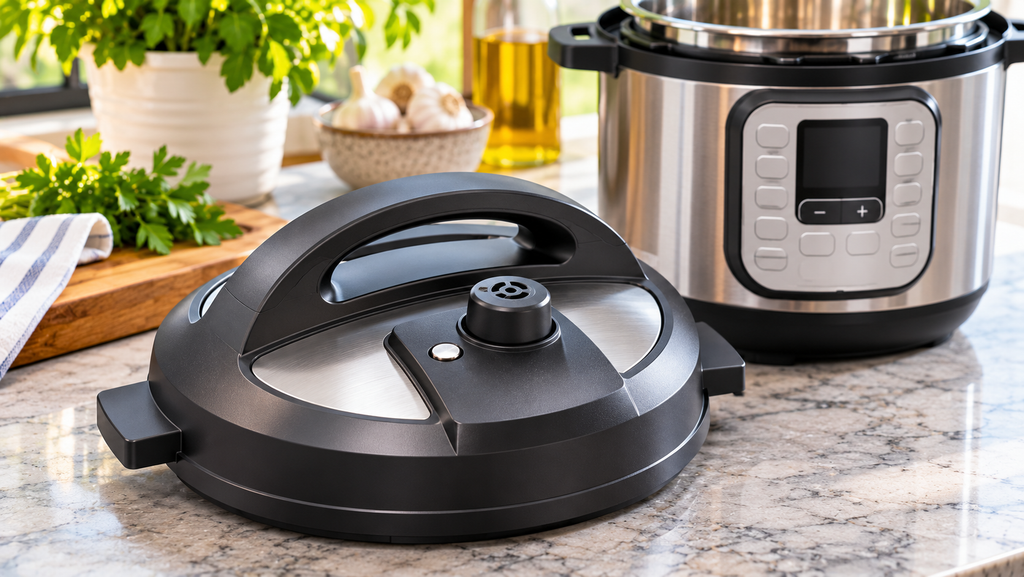
The sealing ring is the flexible seal inside the lid. The float valve helps show the pressure state, and the anti-block shield helps keep food from the steam path. Clean only the pieces your model allows you to remove. Keep their shape and position in mind before taking them off.
How to Clean Your Instant Pot Lid Step by Step
Follow these steps to clean a fully depressurized lid using the care method allowed for your cooker.
Cool and Prepare the Lid
- Wait until all pressure is released and the cooker is fully cool.
- Unplug the cooker and lift off the lid only when it opens normally.
- Set the lid on a clean surface with a towel ready for small parts.
- Remove the sealing ring, anti-block shield, and float-valve pieces only as directed for that model.
Wash the Permitted Parts
- Wash water-safe lid surfaces and removable parts with warm soapy water.
- Brush visible food from the rim, grooves, and accessible steam-path parts gently.
- Rinse away soap and food without forcing sharp objects into valve openings.
- Use a permitted vinegar treatment for ring odors only when the ring’s care directions allow it.
- Rinse the treated ring thoroughly after odor care.
Dry and Reassemble
- Dry the lid and every removable part fully.
- Refit each part in its correct position and orientation.
- Seat the sealing ring evenly without twisting or stretching it.
- Check that the lid assembly matches its normal arrangement before storage or use.
Do not force a lid that will not open, and never remove parts while pressure remains. A stuck lid is not a routine cleaning problem. Let the cooker cool safely and follow its pressure-release directions rather than trying to pry it apart.
Didn't fix it? Ask a technician on the AppliancePartsPros forum.
Post your model number, the symptom, and what you've already tried. Appliance techs and experienced DIYers answer for free, usually the same day.
Ask the forum →80,000+ solved repair threads · no account needed to readHow Often to Clean Your Instant Pot Lid
Clean the lid after each use. Steam carries moisture and food residue into areas that may look clean from above. Sauces, starches, and strong-smelling foods can leave residue around the ring and steam components.
Check the ring and accessible valve parts before the next meal as well. Why check twice? A part can be clean but incorrectly seated, or a small piece may have been left on the drying towel. A quick visual check can catch that before you begin cooking.
When planning how to clean Instant Pot lid parts, allow drying time instead of sealing the cooker while damp. Stored moisture can leave stale odors. Keep the lid in a position allowed for storage so the cleaned surfaces can stay dry.
There is no need to wait for a smell before washing. Odor control works best as part of ordinary cleanup rather than an occasional rescue task.
What Not to Use on Your Instant Pot Lid
Seals and valves need gentle care. A scratched sealing surface or a bent part can affect the lid’s function even when it looks cleaner.
Avoid these choices:
- Sharp picks: Do not enlarge or scrape valve openings with pointed tools.
- Abrasive pads: They can damage surfaces and flexible parts.
- Unapproved dishwasher heat: Dishwasher use depends on the exact lid and component.
- Oil on seals: Do not add lubricants unless expressly required for that part.
- Mixed cleaners: Never combine vinegar with bleach or other cleaning products.
Do not try to remove every smell with stronger chemicals. Some food odors may remain in a clean ring. A separate compatible ring for strongly flavored recipes may be useful, but a damaged ring needs replacement rather than more soaking.
Never use the cooker with a missing float-valve piece or a loosely seated sealing ring. Stop and check the assembly instead of hoping pressure will put it in place.
How to Keep Your Instant Pot Lid Cleaner for Longer
Keep these habits in mind during routine use.
- Stay within the fill limits for your food and program. Overfilling can send food toward the steam path and leave a harder cleanup. Starchy foods may have different limits from other meals, so use the cooker directions for that program.
- Wipe spills around the cooker rim after it cools. A clean lid can pick up fresh residue from a dirty rim when you put it away.
- Keep the outer cooker and electrical base separate from washing water.
What should you do with a ring that is stretched, split, or no longer seats properly? Replace it with a compatible part. Do not cut, glue, or stretch a seal to make it fit. The exact model matters when choosing rings, valves, inner pots, and lids.
Frequently Asked Questions
How do you clean your Instant Pot lid?
Cool and depressurize the cooker, remove only the allowed parts, wash suitable surfaces, rinse, and dry. The key to how to clean Instant Pot lid parts is correct reassembly after cleaning.
How often should you clean your Instant Pot lid?
Clean it after each use and check the ring and accessible pressure parts before cooking again. Do not wait for visible heavy buildup or a strong odor.
What should you not use when you clean your Instant Pot lid?
Avoid abrasive tools, sharp picks, unapproved cleaners, and dishwasher cycles prohibited for your lid. Do not immerse electrically equipped lids without explicit permission in their care directions.
Can you clean your Instant Pot lid without taking it apart?
You can wipe outer surfaces, but allowed removable parts may need separate washing to remove trapped food. Keep removal limited to routine cleaning parts and do not open sealed assemblies.
Final Thoughts: Keep It Simple and Consistent
The best way to approach how to clean Instant Pot lid parts is to slow down at the start and finish. Release pressure fully, use gentle cleaning, and put every dry piece back correctly.
Still stuck after this guide?
Two free options: post your model number and symptom on the forum, or search the model number in the shop to see every part that fits.