
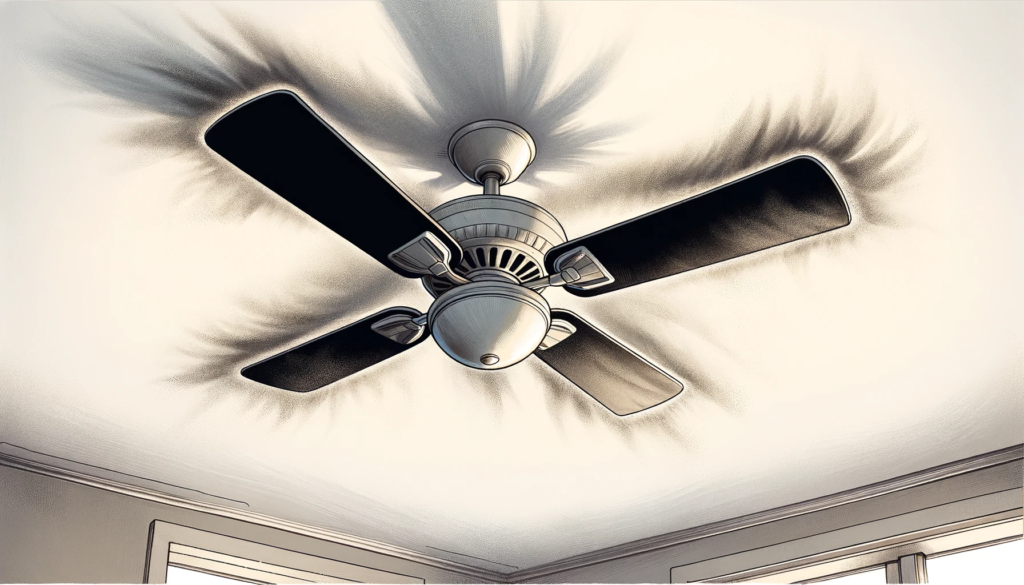
A ceiling fan is one of the most utilized appliances in households and commercial spaces. By constantly spinning to circulate air, they inevitably collect dust, dirt, grime and debris. Over time, buildup on the blades can cause imbalance, vibration and noise. It also strains the motor and internal components, reducing efficiency and shortening the unit’s lifespan.
Additionally, dirt and debris blowing around the room can degrade indoor air quality and exacerbate allergies. Grease accumulation promotes grime and stain buildup. Lack of maintenance allows screws and hardware to loosen over years of operation, creating wobble that stresses parts. This can progress to safety hazards like the fan detaching from the ceiling or blades striking the housing.
Implementing regular deep cleaning sessions removes buildup for peak airflow. Tightening components and adding lubricant prevents operational issues. Quick monthly dusting maintains cleanliness between deep cleanings. Establishing these simple fan maintenance routines improves efficiency, reduces noise, maximizes lifespan and ensures safety.
Cleaning Your Ceiling Fan
Cleaning ceiling fans every few months keeps them circulating optimal airflow. It also prevents buildup from creating imbalance issues or blowing dust around the room. This section covers the cleaning tools you need, steps to access the fan and a process for dusting and washing the blades, motor housing and switch housing.
Tools and Materials Needed
Gather the following cleaning tools and materials before getting started:
- Step stool or ladder
- Soft bristle brush attachment for vacuum
- Microfiber cloths
- Mild, all-purpose cleaner or dish soap
- Small bucket of warm water
- Old pillowcase or large sock
- Replacement ceiling fan light bulbs
- Teflon-based lubricant spray
- Terry cloth rag
- Headlamp or flashlight
Step Stool/Ladder
Select a step stool or ladder tall enough to comfortably reach all areas of the fan for cleaning. The added height improves access and visibility for thorough cleaning and inspection. Ensure ladders have rubber-padded feet for stability and to prevent floor scratches.
Soft Bristle Brush Vacuum Attachment
A soft bristle brush attachment fastened to the vacuum hose can dislodge and remove surface-level dust and debris without damaging the fan housing or blades. Choose a soft horsehair brush rather than stiff nylon bristles.
Microfiber Cloths
Microfiber cleaning cloths lift and trap debris without irritating lungs like paper towels. They also don’t leave behind fibers or lint like rags. Use one for dry dusting and another for damp with cleaning solution.
Mild All-Purpose Cleaner or Dish Soap
All-purpose cleaners dissolve sticky grime-like grease without stripping or fading finishes. Mix an all-purpose cleaner OR mild dish soap with warm water in a bucket.
Small Bucket of Warm Water
Fill a small bucket with warm water to mix with a small amount of mild detergent. Soaking the microfiber cloth helps lift dirt.
Old Pillowcase or Large Sock
Slipping a pillowcase or large sock over the fan blade allows you to grip and remove built up debris. The fabric also protects the blade edge.
Replacement Ceiling Fan Light Bulbs
When cleaning the fixture, replace old bulbs for improved brightness and efficiency. Review manufacturer wattage guidelines before purchasing replacements.
Teflon-Based Lubricant Spray
After cleaning, use a Teflon-based lubricant spray designed for metal ceiling fan parts. Apply a light coating to the motor stem, blade iron joints, blade brackets and downrod connection.
Terry Cloth Rag
Use an absorbent terry cloth rag to remove excess lubricant and buff parts clean.
Headlamp or Flashlight
A headlamp or flashlight shines light on all surface areas to see dirt buildup during the cleaning process. The hands-free operation of a headlamp also keeps both hands free.
Step-by-Step Cleaning Process
With the necessary tools gathered, follow these steps to thoroughly clean all parts of the ceiling fan:
Turn Fan Off and Let It Cool
Turn off the power to the fan at both the wall switch and circuit breaker. Let blades come to a complete stop.
Let system cool for 10 minutes before handling or cleaning. This allows oil and parts to cool to prevent burns.
Wipe Down Fan Housing and Switch Housing
Cover blade edges with a pillowcase or sock. Vacuum surface dust using soft brush nozzle attachment. Remove pillowcase/sock and set it aside.
Standing on the step stool to access, use a dry microfiber cloth to wipe down the entire fan housing, medallion covers and switch housing. Pay special attention to crevices and embellishments that collect debris.
Clean Fan Blades
Fill a bucket with warm water and small amount of mild detergent. Dip clean microfiber cloth in solution to moisten. Wring thoroughly so it’s not dripping wet.
Working one blade at a time, wipe down the top and bottom of each blade. Scrub areas with thicker buildup using the pillowcase-covered edge to protect blades.
Rinse the microfiber cloth and wring it out thoroughly. Wipe blades down again to remove soap residue.
Clean Light Fixture
Remove light fixture globe/bowl and clean it by dusting with a dry cloth. Dampen cloth and wipe down inside and outside surfaces.
Replace old bulbs with new bulbs that match wattage specifications.
Using a dry cloth, grasp bulb by the plastic or ceramic base and twist gently counterclockwise to remove old bulbs. Install replacement bulbs by lining up the base pegs to the light kit holes and twisting gently clockwise till locked in.
Clean light kit mounts, frames and embellishments with a damp cloth. Let all light components dry completely before reassembling in reverse order.
Relubricate Motor Housing With Teflon Spray
Clean and dry downrod, ball joint, motor housing stem and brackets with a dry cloth to remove old lubricant residue. Apply a thin coat of Teflon lubricant spray to rods, stem and joint. Buff with a dry terry cloth.
Reverse Steps to Reinstall Fan Parts
Ensure electrical power is still OFF. Reverse the disassembly steps by first reinstalling the light kit globe/fixture, blades and medallion covers. Retighten any loosened screws with care not to over tighten.
Restore power at the circuit breaker and then wall switch.
Turn fan to a low setting and let run for 5-10 minutes. Turn off and let it cool. Inspect for improved spin and any wobbling. Repeat cleaning if vibration persists.
Maintaining Your Ceiling Fan
In addition to regular cleaning, implementing basic maintenance best practices improve ceiling fan safety, efficiency and lifespan. Every few months, conduct inspections of all hardware and connections. Tighten any used screws and nuts since they can loosen over time with operation.
Test the blade spin and overall function while you have convenient access on the step stool. Light lubricant application reduces friction and wear in moving joints.
Hardware and Connection Inspection
Conduct safety inspections while cleaning the fan and light components. Step back and observe blades spinning on medium setting for at least one full slow revolution. Assess for smoothness and listen for odd grinding, rattling noises. Turn off.
Check Mounting Brackets
Ensure ceiling mounting bracket bolts are firmly screwed into ceiling joists and washers are flush to ceiling. Bolt heads should face down. Verify cover embellishments are secure.
Assess Downrod Alignment
View downrod positioning head-on and from all sides. Rod should run vertically straight from ceiling plate down through fan without bending or wobbling.
Test Socket Connections
Gently push/pull flush mount light kit positioned inside fan housing to confirm tightness. Check porch light connections also with power off.
Confirm Medallion Attachments
Medallions and globe support simply embellish, but also hide hardware. Ensure medallions haven’t vibrated loose with gaps to housing.
Evaluate Blade Positioning
Blades should align parallel in same plane without twisting, bending or angling from each other when spinning. Listen again for rubbing.
Tighten Hardware
Use appropriate-sized Phillips and/or wrenches to tighten any loosened or used hardware, pole or downrod brackets, mounting bolts, medallion covers, switch housing. Replace rusted screws.
Be careful not tighten excessively or risk stripping threads.
Lubricating Moving Joints
Friction in moving joints causes wear over time without lubricant. Annually lubricating the connection hardware allows parts to glide instead of grind, extending the system’s lifespan.
What To Lubricate
Use lubricant spray on:
- Downrod ball joint connections
- Blades iron to bracket joints
- Motor housing stem collar
- Blade arm pivoting bases
How To Apply Lubricant
- Clean connection points thoroughly with a dry terry towel to remove old buildup so lubricant contacts clean metal.
- Place paper towels under joint to catch drips
- Position can nozzle 2-4 inches from surface. Spray a light, even coat on joint metal. Avoid plastic pieces.
- Let penetrate metal for 1-2 minutes.
- Wipe away any excess lubricant pooling with a towel. Buff joint a final time, so it looks slick.
Annual Maintenance Checklist
On an annual basis, conduct a full maintenance inspection and tune-up using the following checklist before summer cooling and winter heating seasons when fan usage spikes:
- Vacuum clean blades, light fixtures and fan housing
- Thoroughly wipe down blades, light fixture globes, medallions
- Clean downrod and motor stem with dry, soft towel
- Assess downrod positioning is straight, not angled
- Confirm pole bracket connections are tight
Ensure mounting bracket bolts are snug
Verify light fixture screwed tight into sockets
Inspect blade positioning while spinning – realign if wobbling
Listen for grinding or odd noises, then investigate sources
Tighten any used hardware, nuts, bolts, screws
Apply fresh lubricant to moving joints and connections
Replace any damaged, corroded or rusting parts
Swap light kit bulbs for improved light output
Test fan speeds and directional settings
Investing 30-60 minutes once or twice a year improves ceiling fan safety, efficiency and lifespan for years of quality operation.
Safety Precautions
Cleaning and maintaining ceiling fans requires working at dangerous heights, handling hot bulbs and dealing with electrical components. Observe common safety:
- Turn off power at the wall switch and circuit breaker before cleaning or repairs
- Let fans cool for 10 minutes before handling to prevent burns
- Inspect electrical components like light sockets for damage or exposed wires
- Verify blades and hardware are secure before spinning fan again
- Only clean blades and other parts with dry cloth or mild, non-abrasive cleaner/soap
- Never use corrosive chemical or toxic solvents that could damage blades
- Don’t spray liquids near or on motor housing and electrical parts
- Don’t soak microfiber cloths excessively to reduce water contacting electricity
- Ensure ladder or step stool is always positioned securely before climbing
Keep Your Fans Spinning Smoothly
Dedicate just a couple hours yearly to ceiling fan upkeep for maximized airflow, cost savings, safety and comfort over their decade-plus lifespan. Regular inspection and TLC will maximize airflow and cost savings while reducing noise levels and safety concerns – keeping your ceiling fans happily spinning for years of reliable operation. Add fan maintenance to seasonal home readiness routines.