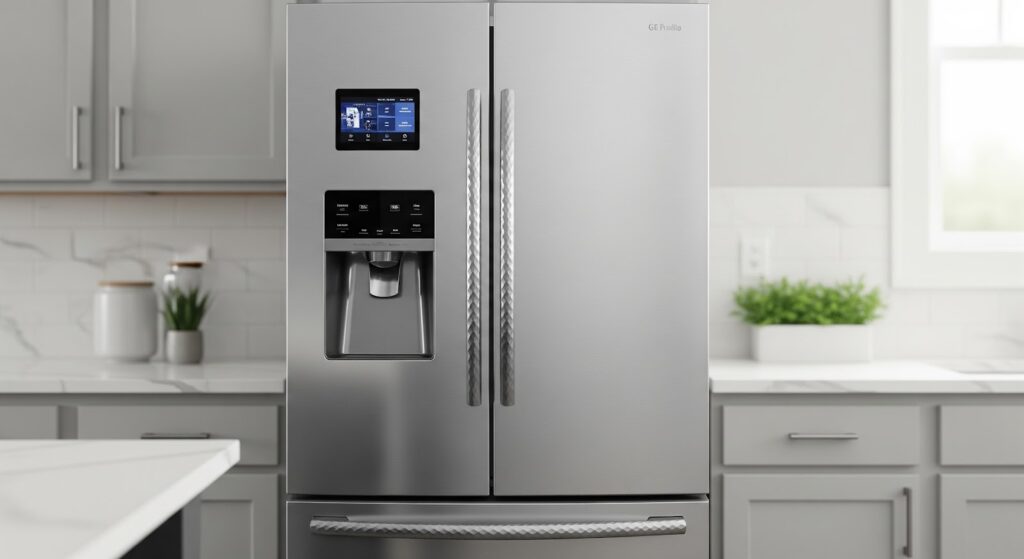
Your GE refrigerator should keep food fresh and cool, but sometimes it stops doing the job. When that happens, one possible cause is a faulty main control board. This part acts as the brain of the refrigerator, directing how the defrost cycle works, when the compressor turns on, and how the fans operate.
This guide explains how to replace the GE refrigerator main control board WR49X10152. The process is straightforward and usually takes about an hour. With the right tools and careful steps, you can bring your refrigerator back to proper working order.
Why the Main Control Board Matters
The main control board manages important refrigerator functions, including:
- Defrost cycles
- Compressor activity
- Fan operation
When it malfunctions, your refrigerator may:
- Struggle to keep the right temperature
- Switch parts on and off at the wrong times
- Work inconsistently
If cleaning the condenser coils or checking the thermostat does not solve the problem, replacing the control board may be the next step.
Signs Your Control Board May Be Failing
Before replacing the main control board, look for common indicators that it may be the cause of the problem:
- Refrigerator running but not cooling
- Lights working but fans not running
- Random beeping or error codes on the display
- Frequent cycling on and off without reaching temperature
- Visible burn marks or damage on the old board
- Defrost heater never activating, leading to ice buildup
- Unresponsive temperature controls
What You’ll Need
Before beginning, gather these items:
- New GE main control board WR49X10152
- Quarter-inch nut driver
- Flathead screwdriver
- Camera or phone to take photos of wiring connections, or a notepad and pen for notes
Safety First
Working on a refrigerator involves electrical components, so safety must come first.
- Always unplug the refrigerator or turn off the breaker that powers it before starting any repair.
- Wear protective gloves to avoid cuts from sharp sheet metal edges.
- Keep tools organized so nothing slips into the appliance.
- Work in a well-lit space so you can clearly see wiring and screws.
- Avoid wearing loose clothing or jewelry that could catch on components.
- If you feel unsure about handling electrical parts, seek help from a qualified technician.
Taking these precautions greatly reduces the risk of injury or damage to the appliance.
How to Replace the Main Control Board on a GE Refrigerator
Here are the steps to remove the faulty control board, install a new one, and restore proper operation of your refrigerator.
Access the Main Control Board
- Unplug the refrigerator or switch off its circuit breaker.
- Pull the refrigerator straight out from the wall.
- Locate the rear service compartment on the rear right side.
- Use a 1/4-inch nut driver to remove the screws from the service compartment access panel.
- Set the screws and access panel aside.
- Identify the main control board assembly located several inches above the compartment.
Disconnect the Wire Harnesses
- Take clear photos of the wire harness connections for reference.
- Disconnect each modular wire harness plug from the control board.
- Press locking tabs to release plugs or use a flathead screwdriver to help free them.
- Move the disconnected wire harnesses aside to clear space.
Remove the Old Control Board
- Locate the four plastic mounting pins at the corners of the control board.
- Press in each locking tab with a flathead screwdriver and release the mounting pins.
- Remove the old control board from its position.
Install the New Control Board
- Align the new control board with the four mounting pins.
- Press the control board into place until it locks securely.
- Reconnect all wire harness plugs so they are fully seated.
- Arrange the wires neatly along the sides to prevent pinching.
Reassemble and Test
- Reposition the service compartment access panel.
- Secure the panel with the screws using the 1/4-inch nut driver.
- Capture the grounding wire under one of the upper middle screws.
- Restore power by plugging the refrigerator back in or turning on the circuit breaker.
- Wait several minutes for the compressor and fans to start running.
- Monitor the refrigerator to confirm it is cooling properly.
- If issues remain, compare the wire harness connections to the reference photos.
Before You Go
A well-working refrigerator makes life easier, and a fresh control board can be the difference between spoiled food and a smoothly running appliance. If your GE fridge has been acting up, replacing the WR49X10152 board can be a direct fix that restores cooling and reliability. The process is manageable with some patience, the right tools, and careful attention to each step. Once the job is done, you can enjoy a fridge that runs the way it should and feel confident knowing you handled a repair that keeps your kitchen running smoothly.
