Quick answer
Check for cracks, damaged threads and movement at the mounting points. Tighten intact hardware only as the model instructions allow. Replace a broken handle after verifying WR12X10966 against the full refrigerator model.
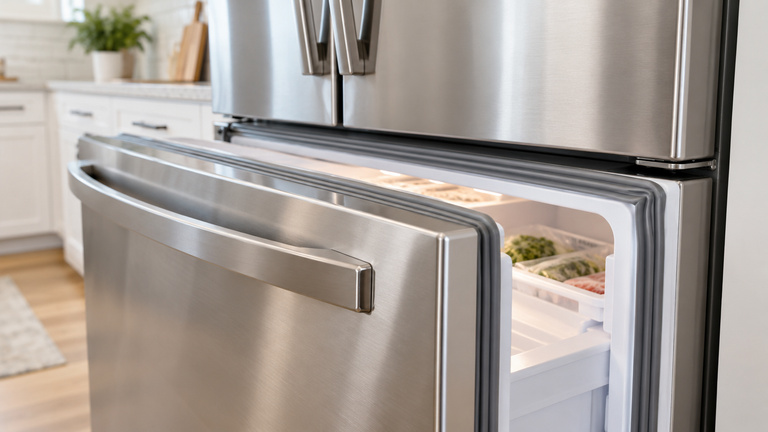
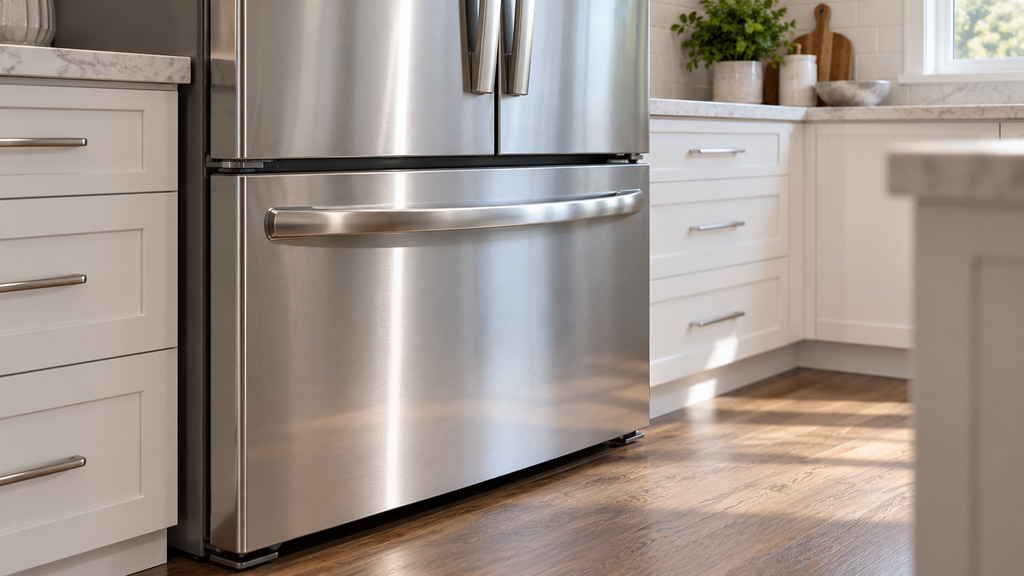
Your GE freezer handle WR12X10966 that wobbles may have loose screws, but a cracked mounting point needs a different repair. Inspect the handle and door mounts before ordering. A loose grip does not prove the plastic handle has failed. Does it move at the screw, or does a crack open in the handle itself? That difference helps you choose between a careful tightening and a replacement. This part uses a screw-mounted design. A sliding freezer-drawer handle with hidden set screws needs its own model’s instructions.
What This Symptom or Part Can and Cannot Prove
Use these distinctions before choosing a repair.
- Wobbling can come from loose mounting screws.
- Cracked plastic cannot be repaired by overtightening.
- Damaged door mounts can remain loose with a new handle.
- Similar GE handles use different attachment methods.
The GE loose-handle guidance separates set-screw and sliding designs. Its bottom-freezer methods should not be transferred to this screw-mounted part. A GE refrigerator freezer handle loose set screw search can lead to the wrong repair. Compare the actual fasteners with your installation instructions.
Verify Your Model First
Find the Refrigerator model tag before ordering. Record the full model number, including its suffix, because parts with the same name can use different connectors, dimensions, ratings or mounting points across models.
Use the GE model label help to locate the tag. Keep a clear photo of the full label, including the serial number. A brand name and cabinet size do not identify every part inside the appliance.
The parts diagram must match your full model. Similar-looking components can have different plugs or mounting points. Do not transfer a test value or connector number from a different circuit. Does the layout match what you can see? Stop and obtain the correct instructions if it does not.
Safety Before Testing
Protect yourself and the appliance during access.
- Shut off power at the plug or breaker before the repair.
- Allow recently used hot parts to cool.
- Work slowly in a well-lit, clear area away from children and pets.
- Follow the appliance and part instructions; do not force fittings.
- Wear insulated work gloves around sharp metal and debris.
- Use eye protection or a dust mask when chemicals, dust or heavy debris make them necessary.
Keep covers and loose hardware clear of the work area. Leave household outlets, fixed wiring and breaker work to a qualified electrician under local electrical codes. Disconnect power before internal access, and replace parts and panels before normal operation.
Useful tools for the matching repair include:
- Phillips screwdriver
- Work gloves
- Model-specific installation instructions
Causes to Check Before Buying a Part
Compare the observation with the cause it can support.
| Cause | Evidence | Safe check | What result means |
| Loose screw | Movement at an intact mount | Inspect the attachment and tighten as specified | May clear the wobble |
| Cracked handle | Split around a screw or grip | Inspect without pulling hard | Supports handle replacement |
| Damaged mount | Screw does not hold | Inspect the door attachment | Repair the mount before fitting a handle |
| Wrong design | Hidden set screws or sliding mounts | Compare the diagram | Use the correct installation procedure |
Once diagnosis identifies the failed part, compare freezer door handle for your complete model. Match the component to the fault before selecting a replacement.
How to Inspect a GE Freezer Handle WR12X10966
Follow these steps to remove the screw-mounted handle and install a confirmed replacement.
Replace the Screw-Mounted Handle
- Handle the old bracket carefully; aged plastic may crack.
- Avoid overtightening the new handle screws.
- Check alignment throughout and adjust before final tightening.
- Open the fresh-food door.
- Remove the two bottom handle screws with a Phillips screwdriver.
- Remove the top handle screw.
- Lift the handle away from the freezer door.
- Align the replacement with the bottom screw holes.
- Install the bottom screws loosely so the position can be adjusted.
- Align the top screw hole.
- Secure the top screw.
- Finish tightening the bottom screws without crushing the plastic.
- Check that the handle is secure.
- Close the fresh-food door.
- Restore power.
Interpret the Result
A GE freezer handle WR12X10966 that stays firm after correct tightening can remain in service when its plastic and mounts are sound. Movement that persists needs another look at the threads and attachment points. A split or broken mounting section supports a GE freezer handle wr12x10966 replacement, provided the door mounts are intact. Do not use extra force to make a cracked handle hold. That can damage the door or break the remaining plastic.
After a confirmed failure, find the correct replacement freezer door handle. A symptom that remains unexplained still needs diagnosis before purchase.
How to Identify the Correct Replacement for This Model
Find the GE freezer door handle by model number, then check the part listing and diagram. Do the mounting holes and finish match your door? WR12X10966 is listed as a freezer handle, but that does not make it a universal GE part. Verify its finish, attachment holes and current replacement number.
Keep the model label, the old part number and the repair findings together. An updated part number may replace an older one, but the current fit listing still needs to include your full model. Check the diagram entry as well as the part photo.
Use the model number guide when the label is hard to locate. A photograph of the full tag avoids ordering from a partial number.
When to Stop and Call a Professional
Ask for help if a screw spins without gripping, a door mount is damaged, or removing the bracket risks breaking the door surface. Stop when the fasteners differ from this procedure. A replacement handle will not correct damaged door hardware.
FAQ
What should be checked first when a GE freezer door handle wobbles?
Check the handle for cracks and inspect movement at each mount. Compare the fasteners with the model instructions.
How can you tell whether GE handle WR12X10966 actually needs replacing rather than tightening?
An intact handle that becomes secure with proper tightening may not need replacement. Broken plastic or damaged handle threads do.
What result confirms that the GE freezer handle has failed and must be replaced?
A visible split, broken mounting section or handle that cannot attach to sound hardware supports replacement.
Where is the model number on a GE refrigerator and why does the full suffix matter when ordering handle WR12X10966?
Use GE’s model-label locator for your refrigerator style. Copy the complete number and suffix so the diagram identifies the correct handle.
When should a loose or broken GE freezer handle be handled by a professional?
Call when screws are stripped, the door attachment is damaged or the design does not match the instructions.
In Summary
Check a GE freezer handle WR12X10966 for loose hardware and broken plastic before buying. Tightening is useful only when the handle and mounts are sound. Confirm the failure, record the full model and select the handle that matches the diagram.
After diagnosis, match a replacement freezer door handle to your GE that fits your complete model after the failed part has been identified.