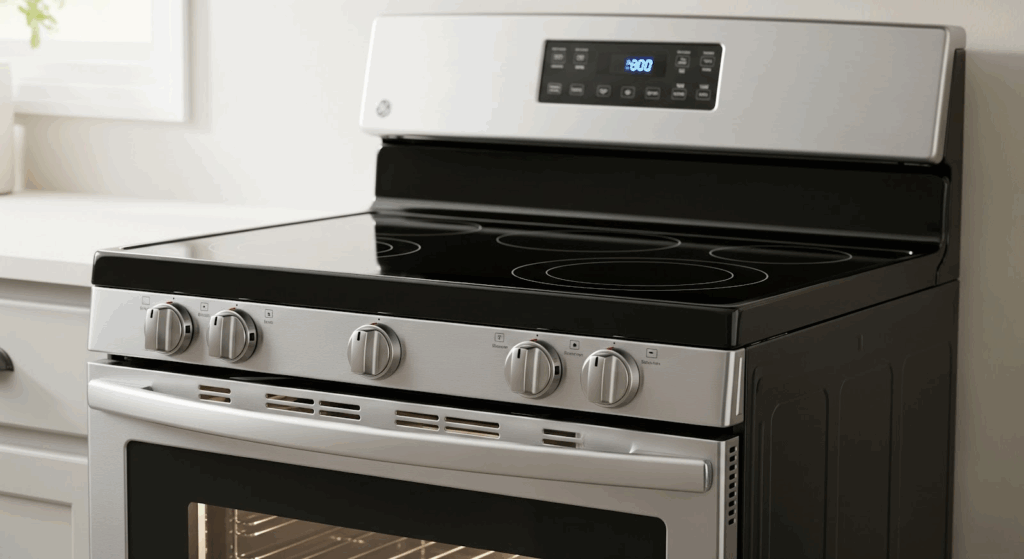
The surface element switch controls the flow of electricity to the burner on your GE electric range. If a burner isn’t heating properly, turns off unpredictably, or the knob feels loose or unresponsive, the switch might need to be replaced.
You can handle this repair with a few tools and a bit of care.
What You’ll Need
- Phillips screwdriver
- Replacement surface element switch (check compatibility with your specific model)
Safety Tips
Before you start, take a few steps to work safely:
- Disconnect the power by unplugging the range or switching off the circuit breaker.
- Let the range cool completely if it was recently used.
- Keep your hands dry and the workspace clear.
- Use good lighting so you can see what you’re doing.
- Keep children and pets away from the area.
- Wear insulated gloves to protect your hands from sharp edges and debris.
- Handle all parts gently to avoid damage or injury.
- Take photos or label wires before disconnecting anything to make reassembly easier.
- Don’t touch exposed wires or terminals directly. Use non-conductive tools or wear insulated gloves.
- Check your user manual for any model-specific guidance or precautions.
How to Replace the Surface Element Switch on a GE Electric Range
Follow these steps to safely remove the faulty surface element switch and install a new one on your GE electric range.
Preparation
- Unplug the range from the power outlet.
- Remove the two Phillips head screws at each corner of the console using a Phillips head screwdriver.
- Gently lift the console and pull it back to expose the switches behind it.
Removing the Old Switch
- Identify the surface element switch that needs to be replaced.
- Pull the knob straight off the switch.
- Use a Phillips head screwdriver to remove the two screws securing the switch to the console.
- Carefully pull the switch out from the console.
Installing the New Switch
- Remove the wires from the old switch one at a time and connect them to the corresponding terminals on the new switch.
- Check that the new switch is positioned correctly.
- Place the new switch into the console and secure it with the two screws.
- Push the knob onto the new switch.
Reassembly and Testing
- Lower the console back into position.
- Reinstall the two screws at each corner of the console.
- Plug the range back into the outlet.
- Test the surface element connected to the replaced switch.
Read More: Repair the surface element switch on an electric GE range with these easy steps
Common Mistakes to Avoid During the Repair
Some issues can lead to further damage or make the repair harder than it needs to be. Here’s what to avoid:
- Skipping the step of cutting off power.
- Forgetting to take a photo of the wiring layout.
- Using tools with metal handles near electrical components.
- Applying too much force when removing or attaching wires.
- Leaving loose connections, which can cause short circuits.
- Handling parts roughly, leading to broken knobs or connectors.
- Losing screws or dropping small parts into the appliance.
- Ignoring the part number and buying an incompatible switch.
- Reassembling the range without testing the replacement first.
- Rushing through steps without checking alignment or fit.
After the Repair: What to Double-Check
Before calling it done, there are a few things worth checking to avoid having to reopen the range:
- Confirm the new switch fits snugly and the knob turns smoothly.
- Make sure all wires are connected securely, and nothing is pinched.
- Inspect for leftover screws or disconnected components.
- Restore power and test the burner at different heat settings.
- Monitor the burner for a few minutes to check for normal cycling.
- Confirm the indicator light responds correctly to the burner control.
- Check that all other burners are working as they were before the repair.
- Keep the old switch in a bag with a label for reference if needed later.
- Note the date of replacement for future maintenance.
Next Steps
Swapping out the surface element switch might seem like a minor fix, but skipping it can lead to uneven heating or burners that cut out mid-cook.
One small part can cause bigger problems if left alone. Replacing it yourself saves time, money, and the headache of guessing what’s wrong. Plus, now you know your way around the range a little better. That’s useful knowledge for the next time something stops working.
Instead of rushing out to buy a new appliance, you handled it with a few tools and a bit of focus. Next time a burner acts up, you’ll know exactly where to start.
