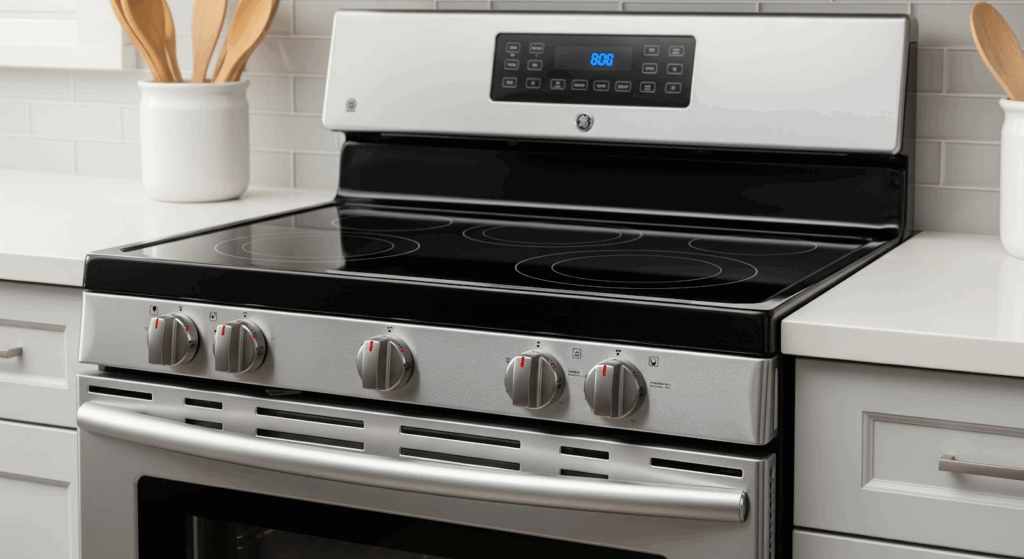
The bake element in your GE electric range heats the oven during use. Over time, it can wear out or break, which may lead to uneven heating, visible damage, or the oven not reaching the right temperature.
You can swap it out yourself with a few tools and some care.
Signs the Bake Element Might Be the Problem
Before replacing anything, it helps to know what to look for. A faulty bake element often shows symptoms like:
- Oven not heating at all when using the bake setting
- Food cooking unevenly or taking longer than expected
- Visible breaks, cracks, or burn marks on the element
- No glowing red heat from the element during use
- Tripping the circuit breaker when the oven is turned on
- Error codes on digital displays, depending on the model
What You’ll Need
- Replacement bake element (WB44X45494 or the correct part for your model)
- Flathead screwdriver
- 1/4-inch nut driver
- Pliers
Safety Tips
Before starting, take a few precautions:
- Disconnect the range from power—either unplug it or switch off the circuit breaker.
- Wait for the oven to cool completely if it’s been in use.
- Work in a dry, well-lit area with enough space to move comfortably.
- Keep the area free from clutter, and keep children and pets away.
- Wear insulated gloves to protect your hands from sharp edges and debris.
- Don’t handle internal parts with wet hands.
- Avoid direct contact with exposed wires or terminals—use insulated tools when needed.
- Refer to your user manual for model-specific tips or warnings.
- Take a photo or jot down wire placements before disconnecting anything.
How to Replace the Bake Element in a GE Electric Range
Follow these steps to remove the old bake element and install a new one safely and correctly.
Disassembly
- Unplug the range from the power outlet.
- Locate the hinge locks on both sides of the oven door.
- Use a flathead screwdriver to open the hinge locks.
- Close the oven door halfway and lift it off the hinges.
- Place the door on a soft surface to avoid scratches.
- Remove the oven racks and set them aside.
- Find the bake element at the bottom of the oven interior.
- Locate the two screws on the bake element’s mounting bracket.
- Use a nut driver to remove the screws.
- Pull the bake element forward carefully.
- Use a flathead screwdriver to disconnect the wires from the bake element terminals.
- Hold the wires so they don’t slip back into the oven wall.
- Remove the old bake element from the oven.
Installation
- Use pliers to gently squeeze the wire terminals if they feel loose.
- Place the new bake element into the oven and align it with the mounting holes.
- Attach the wires securely to the terminals on the new element.
- Use the original screws to fasten the new element in place with a nut driver.
Reassembly
- Replace the oven racks.
- Pick up the oven door by the sides and align the hinges with the hinge slots.
- Lower the door onto the hinges.
- Open the oven door fully and close the hinge locks with a flathead screwdriver.
- Slowly close the door and check that it opens and shuts correctly.
- Plug the range back into the power outlet.
- Turn on the oven and run a bake cycle to test the new element.
Also Read: Replace the bake element in an electric GE range: A complete guide
How to Tell If the New Part Works Properly
Once you’ve installed the new bake element, there are a few ways to confirm that it’s functioning as it should:
- Turn the oven on to bake, and watch for a steady red glow from the element
- Preheat the oven and check if it reaches the set temperature in a normal amount of time
- Test with a simple bake (like a tray of biscuits) to check for even heating
- Use an oven thermometer to verify temperature accuracy
- Listen for any odd buzzing or electrical sounds—these could signal a poor connection
- Make sure the circuit breaker doesn’t trip during the operation
- Inspect for any signs of loose wiring or unusual heat spots after the oven runs
What to Remember
If your oven has been acting up, maybe burning cookies one day and undercooking meals the next, the bake element could be the problem. Replacing it might sound tricky, but it’s something you can handle with a bit of time and the right tools. No need for special training or advanced skills.
People often run into trouble when they skip simple steps, like taking a picture of the wires or making sure everything’s fully cooled before starting. It’s easy to overlook small details, but they matter. Getting them right helps the job go smoothly and avoids extra work later.
Once you’ve swapped out the old part for a new one, you’ll likely notice a big difference. The oven heats up more quickly, cooks food more evenly, and just works better overall. If your oven hasn’t been performing like it used to, this quick repair might be what gets it back on track.
