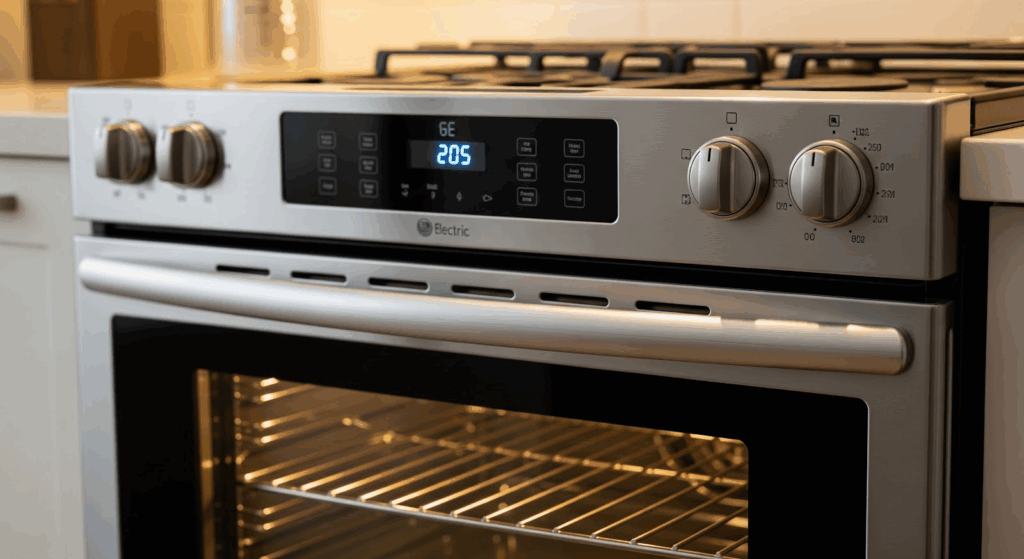
If your GE electric oven isn’t heating evenly, fails to maintain temperature, or is showing an error related to temperature control, a faulty sensor could be the cause. The good news is that replacing the temperature sensor is a straightforward fix you can handle yourself with a few basic tools.
What the Temperature Sensor Does
The temperature sensor monitors the heat inside your oven and reports that information to the control board. This allows the appliance to adjust how much it heats during cooking or baking.
Over time, the sensor may stop working due to regular use, damage, or buildup from food or minerals. If this happens, the oven may struggle to reach the right temperature, or heat may fluctuate during use.
Signs the Sensor Might Be Failing
- The oven doesn’t reach the set temperature
- Temperature drops or spikes during cooking
- An error code related to temperature appears
- The sensor is cracked, burnt, or visibly damaged
Common Error Codes Related to the Sensor
Some GE ovens display error codes that hint at a temperature sensor issue. If you’re seeing any of the following, it could mean the sensor needs replacement:
- F1 – Often points to a faulty control board or sensor
- F2 – Indicates the oven temperature is too high
- F3 or F4 – Typically signal an open or shorted sensor circuit
- F10 – This may mean the sensor is reading extreme temperatures
Double-check with your oven’s manual, as code meanings can vary slightly by model.
What You’ll Need
- 1/4-inch nut driver
- Replacement sensor (make sure it’s compatible with your specific GE model)
Safety First
Before you get started, take a few steps to stay safe and avoid damaging the appliance:
- Disconnect power by unplugging the range or switching off the circuit breaker
- Let the oven cool down if it’s been in use
- Wear insulated gloves to protect your hands from metal edges and debris
- Keep your workspace clean and well-lit
- Read the appliance’s manual for any model-specific guidance
- Handle parts gently to avoid bending or breaking anything
Work at a steady pace and stay focused. Rushing through the job increases the chance of slipping up or damaging something.
How to Replace the Temperature Sensor in a GE Electric Range
Follow these steps to remove the old sensor and install a new one safely and correctly.
Power Off
- Unplug the oven or turn off the circuit breaker to cut power.
Access the Sensor
- Open the oven door fully.
- Remove the oven racks to create more space.
- Locate the temperature sensor on the back wall of the oven.
- Use a 1/4-inch nut driver to remove the screw securing the sensor.
Remove the Old Sensor
- Pull the sensor out until the wire connector is visible.
- Press the tab on the connector and disconnect it from the old sensor.
Install the New Sensor
- Connect the new sensor to the wire harness.
- Feed the excess wire and connector back through the hole in the oven wall.
- Use the 1/4-inch nut driver to secure the new sensor with the original screw.
Reassemble and Test
- Reinstall the oven racks.
- Restore power by plugging in the oven or flipping the breaker back on.
- Set the oven to a test temperature and let it preheat.
- Use an oven thermometer to check if the temperature reads accurately.
Also Read: How to replace temperature sensor WB21X22134 in an electric GE range
Tips for Preventing Future Sensor Issues
A few simple habits can help you avoid temperature sensor problems down the line:
- Wipe up spills inside the oven after it cools down
- Avoid spraying cleaner directly on the sensor
- Don’t slam the oven door, as that can shake or loosen internal components
- Keep oven vents clear to avoid overheating
- Schedule periodic deep cleaning (without harsh chemicals on sensitive parts)
- Keep an eye on how the oven behaves — minor changes in performance can be early warnings
Key Takeaways
If your oven has been acting strange, the temperature sensor might be the reason. Uneven baking, food coming out too early or too late, or those odd error codes could point to this small part causing big problems. The fix? Swapping it out with a new one, something you can actually do yourself with just a few tools.
What’s surprising is how such a small part controls the entire oven’s heat. If it starts to wear out, your cooking suffers. So when your oven can’t hold the right temperature or keeps running hotter or colder than expected, replacing the sensor might be all it needs.
The steps are simple: unplug the oven, remove a screw, disconnect the old part, plug in the new one, and put it back together. No guesswork, no advanced tools — just a steady approach and a bit of patience.
After the switch, the oven heats properly again. No more guessing whether dinner’s going to be overcooked or underdone. Just steady, accurate heat that makes cooking feel easy again.
