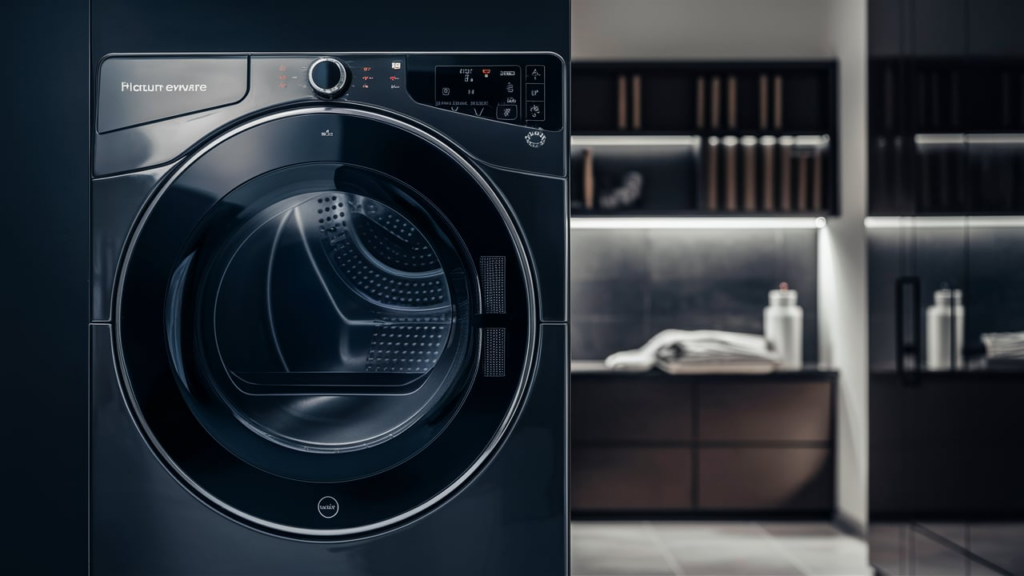
The dryer belt connects the motor to the drum, allowing it to spin and tumble laundry during a drying cycle. Over time, the belt can wear out or snap, often with a loud noise as a sign. If this happens, you don’t need to call a technician — you can replace it yourself with a few tools and some patience.
Signs of a Worn-Out Dryer Belt
Knowing when your dryer belt needs replacement can save time and frustration. Here are common indicators:
- Loud snapping sound: If the belt breaks mid-cycle, you’ll likely hear a sudden snap.
- Drum not spinning: The motor runs, but the drum does not rotate.
- Burning smell: A damaged belt can cause friction, leading to an overheating smell.
- Excessive noise: Thumping or squealing sounds often mean the belt is frayed or slipping.
If you notice any of these issues, inspecting and replacing the belt is a good next step.
What You’ll Need
- Replacement belt (make sure it matches your dryer model)
- Phillips screwdriver
Safety Precautions
Before starting any appliance repair, prioritize safety with the following tips:
- Unplug the dryer or turn off the circuit breaker. Always cut power to the appliance to avoid electric shock.
- Let the dryer cool. If recently used, allow it to cool down completely before starting.
- Work in a well-lit, uncluttered space. Keep children and pets away to keep the environment safe.
- Keep hands and workspace dry. Never work with wet hands or in damp conditions.
- Use the user manual. Refer to the manual for model-specific instructions.
- Take photos of wiring or parts as you go. This helps you reassemble correctly later.
- Handle parts gently. Forcing components can cause damage or injury.
- Wear insulated gloves. Protect your hands from sharp edges or debris.
- Avoid exposed wires or terminals. Use non-conductive tools if wires must be moved.
How to Replace the Belt in a GE Dryer
Preparation
- Unplug the dryer from the power outlet.
Removing the Panels
- Use a Phillips screwdriver to remove the two screws at the top of the front panel, just behind the door.
- Lift the top panel slightly to clear the console legs, then pull it forward to detach.
- Remove the Phillips screws at each back corner of the front panel.
- Lift the front panel upward, rotate it to the side, and disconnect the door switch wires.
- Set the front panel aside.
Removing the Old Belt
- If the belt is broken, pull it free from the drum.
- If the belt is worn or stretched, slide it off the pulley and remove it from the drum.
Installing the New Belt
- Slide the new belt around the drum and align it with the motor pulley and idler pulley.
- Reach under the drum and attach the new belt to the motor pulley.
- Adjust the idler pulley, so it applies proper tension to the belt.
Reassembling the Dryer
- Reconnect the door switch wires.
- Place the front panel back onto the dryer and secure it with the screws removed earlier.
- Slide the top panel back onto the console legs, rotate it downward, and secure it with the long Phillips screws.
Testing the Dryer
- Plug the dryer back into the power outlet.
- Run a test cycle to confirm the new belt is working correctly.
Why Dryer Belt Maintenance Matters
The dryer belt plays a crucial role in keeping your appliance functioning effectively. Regular inspection and replacement of worn belts offer these benefits:
- Preventing damage: Running a dryer with a damaged belt can strain the motor or other components.
- Improved efficiency: A properly functioning belt helps the drum rotate smoothly, allowing clothes to dry evenly.
- Extending appliance life: Simple maintenance tasks like belt replacement keep your dryer running longer and reduce repair costs.
Think a broken dryer belt is a disaster? Think again! With the right tools and our step-by-step guide, you can replace your GE dryer belt yourself and get back to hassle-free laundry in no time. Save money, avoid delays, and take control of your appliance repairs. Give it a try—you might be surprised how easy it is!
