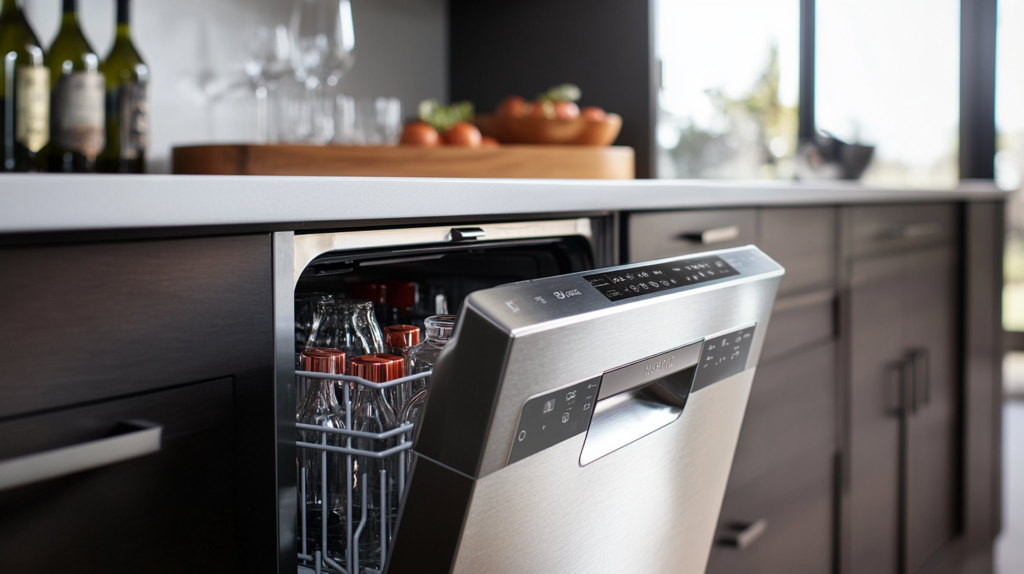
The door interlock switch on a GE dishwasher plays a crucial role in ensuring the appliance knows when the door is securely closed. If this switch fails, the dishwasher won’t start. Over time, wear and tear or electrical issues may cause the switch to malfunction. Luckily, replacing the door interlock switch is a simple and cost-effective repair you can handle on your own.
Follow this guide to get your dishwasher back in working order quickly and efficiently.
What You’ll Need
- Phillips screwdriver
- Small flathead screwdriver
- Towel
- New door interlock switch (ensure it’s compatible with your dishwasher model)
Check Part Compatibility
Before replacing the door interlock switch, confirm you have the correct replacement part. It should be an OEM (Original Equipment Manufacturer) component compatible with your specific dishwasher model.
Look for the model number on a sticker or metal plate in these locations:
- Side panel or door frame
- Back or bottom of the dishwasher
- Control panel or console
The model number will be labeled as “MOD” or “Model,” followed by a series of numbers and letters. Write it down or take a photo for reference when purchasing the replacement part.
Prioritize Safety
Working on any appliance requires careful attention to safety. Follow these guidelines to stay safe:
- Power Off: Unplug the dishwasher or turn off the circuit breaker to prevent electric shock.
- Cool Down: If the dishwasher was recently used, wait until it’s completely cool.
- Turn Off Water Supply: Shut off the water at the outlet to avoid leaks. Use a towel to catch residual water during the repair.
- Work Area: Ensure your workspace is well-lit and free of clutter. Keep children and pets away.
- Hands and Tools: Never handle internal parts with wet hands. Use insulated gloves to protect against sharp edges.
- Documentation: Take photos or make notes of wiring and connections before disassembly to simplify reassembly.
Also Read: Dishwasher Door Latch Repair: A Step-by-Step Guide
How to Replace the Door Interlock Switch on a GE Dishwasher
Preparation
- Unplug the dishwasher from the power outlet and disconnect it from the water supply.
- Partially open the dishwasher door.
- Use a Phillips screwdriver to remove the six screws securing the control panel on the top of the door.
- Carefully lift the control panel off the door.
- Close the door without latching it.
- Disconnect the ribbon cable from the control board and set the control panel aside.
- Place a towel underneath the door interlock switch to catch any dropped screws.
Removing the Old Door Interlock Switch
- Use a Phillips screwdriver to remove the lower screw securing the door interlock switch.
- Release the locking tabs around the switch’s outer cover using a small flathead screwdriver while pulling on the cover.
- Remove the cover, then take out the plunger and spring, setting them aside.
- Pull out the individual switches from the housing.
- Disconnect the wires from the left switch (double black wire and black wire with a white stripe) using a small flathead screwdriver.
- Repeat for the right switch (double white wire and double white wire with a red stripe).
- Use a Phillips screwdriver to remove the upper screw securing the housing.
- Pull the housing off the dishwasher.
Preparing the New Door Interlock Switch
- Disassemble the new door interlock switch by releasing the tabs and removing the cover.
- Remove the plunger and spring from the new switch and set them aside.
- Take out the switches from the new housing using a small flathead screwdriver.
Installing the New Door Interlock Switch
- Attach the base of the new switch to the door using a Phillips screwdriver, ensuring wires aren’t caught before tightening.
- Connect the wires to the right switch:
- Attach the double white wire to one connector.
- Attach the double white wire with a red stripe to the other connector.
- Set the right switch in place and ensure wires pass through their cutouts.
- Connect the wires to the left switch:
- Attach the double black wire to one connector.
- Attach the black wire with a white stripe to the other connector.
- Reinsert the plunger into the door latch with the flat side facing inward.
- Align the cutout on the plunger with the rib in the housing.
- Place the cover back on the switch, align it, and snap it into place.
- Tighten the lower screw with a Phillips screwdriver, ensuring the switch aligns with the screw hole.
- Remove the towel placed underneath the switch.
Reassembling and Testing
- Reinstall the control panel by lining it up and reconnecting the ribbon cable to the control board.
- Ensure the ribbon cable is fully connected, using a small flathead screwdriver if needed.
- Open the door slightly and position the control panel on top of the front panel.
- Secure the control panel with the six screws removed earlier.
- Close the dishwasher door.
- Plug the dishwasher back in and reconnect it to the water supply.
- Run a test cycle to verify the replacement was successful.
Also Read: Why is a C5 error code displaying on my GE dishwasher?
You’ve just given your GE dishwasher a new lease on life by replacing the door interlock switch yourself. It’s pretty awesome to handle these fixes on your own and save some cash while you’re at it. Now, your dishwasher should be back to doing its thing without a hitch.
