
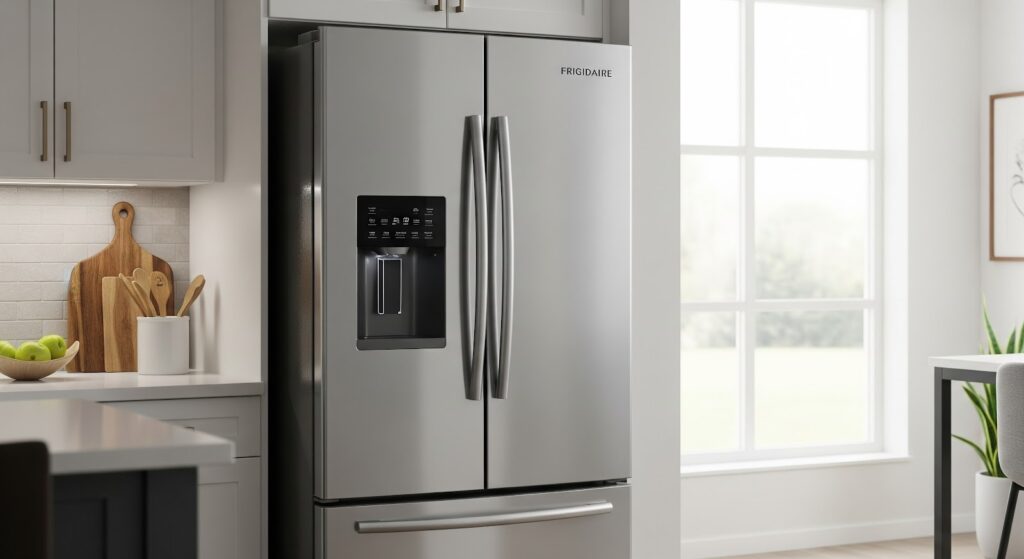
When your Frigidaire refrigerator stops dispensing ice or makes odd grinding sounds, it may be time to replace the drive blade. Also known as the drive plate, this part connects to the auger and helps spin it so ice can be crushed and moved through the dispenser. If the blade becomes worn or damaged, the auger may turn without moving any ice, leaving you with a dispenser that no longer works as expected.
Follow the steps in this guide to safely replace the drive blade and restore your ice dispenser’s performance.
Signs the Drive Blade Might Be Worn Out
It can be difficult to tell right away if the drive blade is the cause of a dispenser problem. Watch out for these signs that may point to a worn or damaged blade:
- Ice does not come out of the dispenser, even though the ice bin is full
- You hear the auger motor running, but no ice is moving
- The dispenser makes clicking, grinding, or rattling sounds
- The blade looks cracked, stripped, or worn when inspected
- Ice clogs the chute or backs up in the bin instead of being pushed out
- The auger turns loosely or with little resistance when tested manually
Why the Drive Blade Matters
Even though it’s a small part, the drive blade has a direct effect on how well your ice dispenser works. When it’s not working properly, other parts of the system can also struggle.
- It allows the auger to rotate and push ice through the chute
- It helps regulate the size and speed of the ice being dispensed
- A damaged blade can make the motor work harder than necessary
- Replacing it promptly helps prevent damage to the auger and motor
- A functional blade helps maintain smooth, consistent ice flow
- It helps avoid jams and blocks that affect overall dispenser performance
Tools and Materials You Will Need
Prepare the following tools and parts before starting the replacement:
- Phillips head screwdriver
- 1/4-inch nut driver
- Replacement drive blade (check compatibility with your specific fridge model)
Safety Guidelines Before You Begin
Safety comes first when working on any appliance. Here are several precautions to take before starting the replacement:
- Unplug the refrigerator or switch off the power at the circuit breaker.
- Turn off the water supply connected to the fridge.
- Use towels around your work area to catch any water that may leak.
- Wait for the fridge to cool down if it was recently running.
- Work in a space with proper lighting so you can clearly see the components.
- Keep your tools and workspace organized to avoid accidents.
- Keep pets and children away while performing the repair.
- Do not handle internal parts with wet hands. Always dry the area fully before touching any components.
- Refer to your user manual for any model-specific instructions or warnings.
- Handle parts gently to avoid causing damage.
- Wear insulated gloves to protect your hands from metal edges.
- Use safety glasses or a dust mask if you expect dust or debris.
How to Replace the Drive Blade in a Refrigerator Ice Bin
Here are the step-by-step instructions to help you replace a worn or damaged drive blade inside your refrigerator’s ice bin.
Remove the Rod
- Turn off the refrigerator and unplug it from the power source
- Remove the ice bin from the freezer
- Empty any ice from the bin and place it on a towel
- Remove the two screws inside the bin near the crusher assembly
- Lift the top cover off the ice bin
- Remove the screw at the bottom of the bin that holds the metal rod in place
Remove the Crusher Cover
- Remove the two screws at the bottom of the bin that hold the auger and crusher assembly
- Remove the two screws that secure the plastic cover over the crusher
- Take off the E-clip and washer from the front of the cover
- Slide the crusher cover off the assembly
Remove the Old Drive Blade
- Remove the nut from the front of the auger
- Take off the crusher blades one at a time and place them in order
- Slide the auger out of the bin
- Remove the metal drum and the old drive blade
Install the New Drive Blade
- Slide the new drive blade onto the auger and into the drum
- Insert the auger back into the bin
- Reattach the metal plate and fasten it with the screw at the bottom
- Reinstall the crusher blades in the same order they were removed
- Tighten the nut on the front of the auger
- Reinstall the crusher cover using the screws
- Put the washer and E-clip back on the front of the cover
- Reattach the metal rod on the back of the bin and secure it with the screw
- Place the top cover back on and fasten it with screws
- Return the ice to the bin and slide the bin back into the freezer
Final Steps
- Plug the refrigerator back in
- Wait a few minutes for it to start running again
- Test the ice dispenser to check if it works properly
- If there is no ice in the bin, allow a few hours for new ice to be made
Looking Ahead
Now that you’ve replaced the drive blade in your Frigidaire refrigerator, your ice dispenser should start working more smoothly again. A fresh blade helps the auger turn properly so ice can move through the chute without getting stuck. It’s a small repair, but one that can make a big difference in how your dispenser performs.
If you followed each step carefully and used the right tools, you’ve not only fixed the immediate issue but also helped prevent future problems with your ice system. Keep an eye out for any changes in how the dispenser sounds or functions so you can catch any new issues early. Regular checks and quick repairs go a long way in keeping your fridge in good shape.