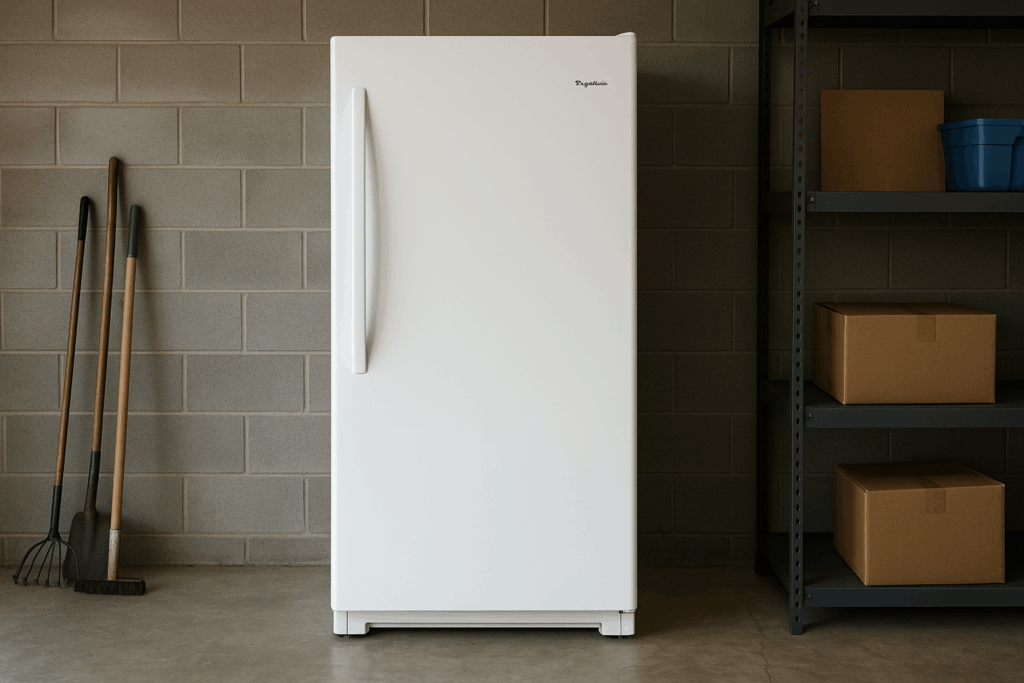
If your Frigidaire freezer isn’t performing as expected, the evaporator fan motor could be the culprit. Fortunately, testing and replacing this component is something you can do yourself, saving you from the cost of a service call. This guide will walk you through each step of the process.
Understanding the Role of the Evaporator Fan Motor
The evaporator fan motor circulates cold air throughout the freezer, helping maintain a consistent temperature. When the motor malfunctions, it can result in uneven cooling, leading to spoiled food or inefficient operation. Recognizing signs of a faulty fan motor early can prevent further issues and help you address the problem before it worsens.
Here are some common symptoms of a failing evaporator fan motor:
- No cold air circulation in the freezer compartment.
- A strange noise or no sound coming from the fan.
- Warm air circulating inside the freezer.
- Frost buildup or inconsistent freezing in certain areas.
If you notice these signs, testing the motor can help determine if it’s time for a replacement.
Tools You’ll Need
- Multimeter
- Phillips head screwdriver
- Flathead screwdriver
- 1/4-inch nut driver
- 5/16-inch nut driver
Read more: Signs of a Clogged Defrost Drain and How to Prevent Future Blockages
Safety Precautions
Before starting any repair or maintenance, prioritize safety. Keep the following guidelines in mind:
- Unplug the Freezer: Always disconnect the appliance from its power source or switch off the circuit breaker before working on it. This will eliminate any risk of electrical shock.
- Allow the Appliance to Cool: If you’ve used the freezer recently, give it enough time to cool down before beginning any work.
- Work Slowly: Take your time with each step to ensure precision and avoid accidents or injuries. Rushing can lead to mistakes.
- Work in a Well-Lit Area: Make sure your work area has enough light to help you clearly see and access the parts you need to work on.
- Declutter Your Workspace: Keep the area free of unnecessary items and ensure no children or pets are nearby to avoid distractions and potential hazards.
- Dry Hands and Work Area: Avoid working on the appliance with wet hands. Make sure the entire area is dry to prevent any electrical issues.
- Consult the User Manual: Always refer to the user manual for any specific instructions or safety guidelines for your appliance or the replacement part.
- Handle Parts Carefully: Be gentle when removing or handling parts. Using excessive force can damage components or result in injury.
- Wear Protective Gloves: Insulated gloves can help protect your hands from sharp edges and metal debris.
- Avoid Exposed Wires: When working with wires, don’t touch any exposed terminals or wires. Use non-conductive tools or wear insulated gloves to avoid the risk of electric shock.
- Document Connections: Before disconnecting any wiring, take a photo or make a note of where each wire connects. This will make reassembly easier.
- Test Voltage Safely: If you’re unsure how to properly test voltage with a multimeter, avoid testing live circuits to prevent short-circuiting.
- Wear Eye Protection: Consider using safety glasses or a dust mask if you’re dealing with chemicals, dust, or debris that could irritate your eyes or lungs.
- Turn Off Water Supply (if applicable): If your freezer uses water, make sure to turn off the water supply before starting repairs, and have towels ready to catch any residual water when removing parts.
How to Test and Replace the Evaporator Fan Motor
Follow these steps to test and replace the evaporator fan motor in your freezer if it’s not functioning properly.
Access the Evaporator Fan Motor
- Unplug the unit from the power supply.
- Remove the shelves from the freezer.
- Use a Phillips head screwdriver to remove the evaporator cover.
- Move the cover to one side without disconnecting all the wires connected to the thermostat.
Test the Motor
- Plug the freezer back in or turn the breaker on.
- Set the thermostat to a run position.
- Set your multimeter to AC voltage.
- Insert the two-meter probes into the two white wire connections on the back of the white plug near the motor.
- Check the meter reading.
- If the reading shows 120 volts AC and the motor is not running, the motor is faulty and needs replacement.
- If there is no voltage reading, inspect the wiring for potential issues.
Replace the Motor
- Unplug the freezer from the power outlet.
- Disconnect the wires from the plug and heater held by the metal bracket clips.
- Unplug the connector.
- Use a 1/4-inch nut driver to remove the motor and bracket assembly.
- Carefully pull the fan blade off the old motor.
- Use a 5/16-inch nut driver to remove the screws holding the motor to the bracket.
- Mount the new motor using the two 5/16-inch screws.
- Install the fan blade on the new motor.
- Reattach the bracket assembly with the two 1/4-inch screws.
- Reconnect the motor and position the wires back into the bracket clips.
- Move the evaporator cover back into position and secure it with the Phillips head screws.
- Replace the shelves in the freezer.
- Plug the unit back in or turn the breaker back on.
Read more: Upright Frigidaire freezer doesn’t freeze: How to fix it
Looking Ahead
There you have it! Testing and replacing your Frigidaire freezer’s evaporator fan motor is easier than it sounds. With the right tools and a bit of patience, you can do it yourself and avoid calling a repair service. If you hear strange noises or notice uneven freezing, you now know exactly what to check. Acting early can save you from bigger issues later on. So, the next time your freezer isn’t working as it should, you’ll be ready to handle it.
