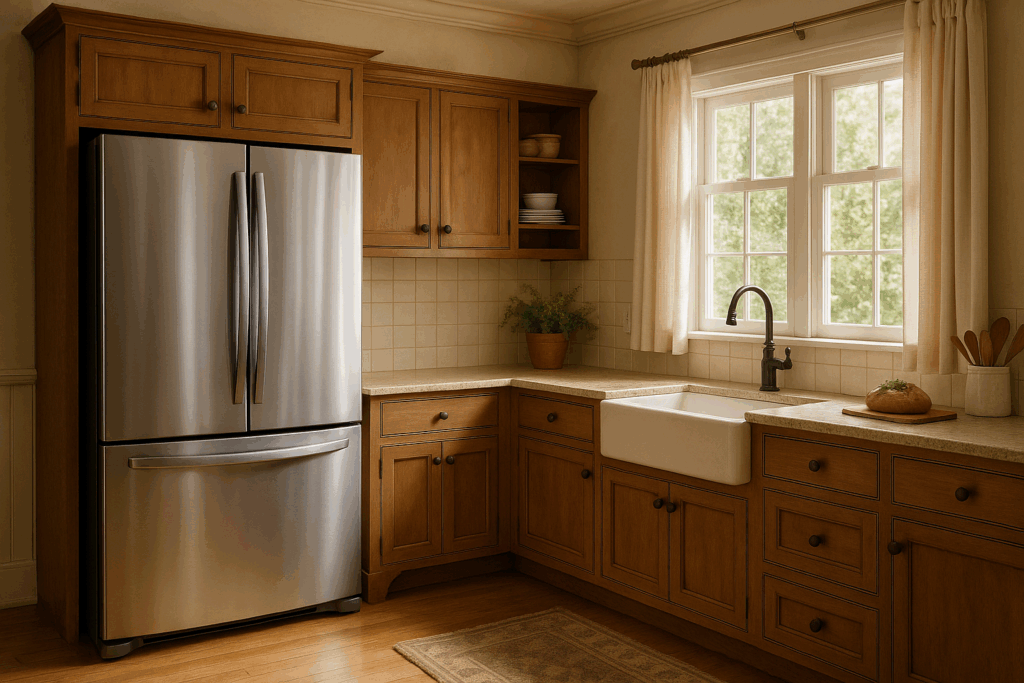
Is your LG or Kenmore refrigerator’s freezer drawer sticking or not sliding as it should? Replacing the freezer drawer rail assembly is a quick and straightforward fix that can get it working smoothly again.
Common Signs Your Rail Assembly Needs Replacement
If you’re unsure whether the freezer drawer rail assembly needs replacing, look out for these common symptoms:
- The drawer gets stuck or feels jammed when sliding in or out.
- The drawer does not close completely, leaving a gap that can affect freezer performance.
- Unusual grinding, squeaking, or clicking noises when operating the drawer.
- Visible damage or wear on the rail assembly, such as bent or broken components.
- Uneven alignment of the freezer drawer, causing it to tilt or appear lopsided.
Safety First
Before starting any repair, prioritize safety. Disconnect the refrigerator from its power source to avoid the risk of electric shock. This can be done by either unplugging the refrigerator or turning off the circuit breaker that supplies power to it.
What You’ll Need
To complete this repair, gather the following parts and tools:
- Slide Rail Assembly
- Philips Head Screwdriver
- Flat-Head Screwdriver
Read more: Top Freezer Refrigerator Compressor Run Capacitor Replacement Guide
How to Replace the Freezer Drawer Rail Assembly
Here are the steps to remove the old rail assembly and install a new one to restore proper functionality to your freezer.
Remove the Old Rail Assembly
- Open both French doors on the refrigerator to access the freezer drawer area.
- Pull the freezer drawer open as wide as it will go to create clearance for detaching the rails.
- Use a flat-head screwdriver to lift the locking tab on each side of the drawer.
- Lift the sides of the drawer and push back to release it from the rails.
- Remove the freezer basket and tray from the drawer area to provide full access to the rail assembly.
- Use a Philips head screwdriver to remove the screws on each side securing the rail assembly.
- Maneuver the old rail assembly to unhook it from the refrigerator wall and remove it.
Install the New Rail Assembly
- Align the new rail assembly with the holes on the refrigerator wall.
- Press the assembly flush against the wall.
- Insert and tighten the Philips head screws on both sides to secure the new rail assembly.
Reattach the Freezer Drawer
- Pull the new slide rails out fully.
- Rehang the freezer door by hooking the back of the door onto the rails first.
- Press down on the front of the door to lock it in place.
- Replace the two Philips head screws on the sides of the door to secure it.
Reinstall the Freezer Basket and Tray
- Slide the freezer basket and tray back into their positions on the new rails.
- Confirm that the basket and tray glide smoothly along the rails.
Reinsert the Freezer Drawer
- Extend the slide rails fully.
- Insert the freezer drawer and allow the locking tabs to click securely into place at the back and front.
Final Steps
- Place the freezer basket inside the drawer as desired for storage.
- Close the freezer door and check for a proper seal without gaps.
- Plug the refrigerator power cord back in or turn on the circuit breaker.
- Allow the refrigerator to cool back to its normal operating temperature.
- Verify that the freezer is functioning properly.
Maintenance Tips for Freezer Drawers
To keep your freezer drawer operating smoothly and extend the life of the rail assembly, follow these maintenance tips:
- Clean the Rails Regularly: Wipe down the rails and drawer tracks with a damp cloth to remove dirt, crumbs, or sticky residue.
- Lubricate Moving Parts: Apply a small amount of food-safe silicone lubricant to the rails and moving components for smoother operation.
- Avoid Overloading: Distribute the weight of items evenly across the drawer to reduce stress on the rail assembly.
- Inspect for Wear and Tear: Periodically check the drawer and rails for signs of damage or wear, addressing any issues promptly to prevent further damage.
Read more: Deep clean your freezer with these 6 steps
Next Steps
If your drawer feels stuck or doesn’t slide properly, replacing the rail assembly can solve the problem quickly and without much hassle.
Leaving a damaged rail unchecked can lead to bigger issues, like poor sealing, higher energy use, or food not staying cold enough. These might seem like minor inconveniences now, but they can add up over time.
This repair doesn’t take long, and it’s easier than you might think. With the right tools and a little effort, you can get your freezer drawer sliding smoothly again and keep everything running as it should.
