
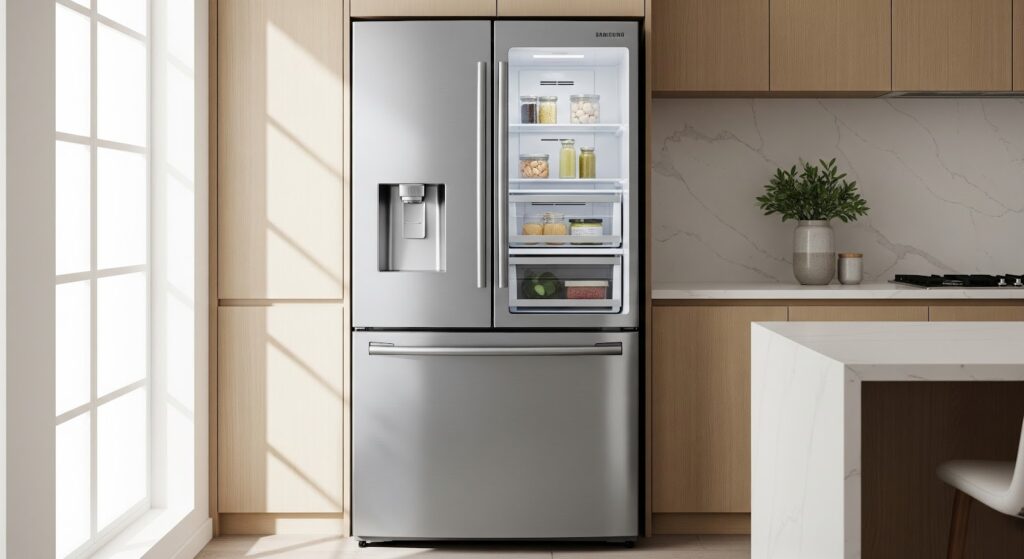
A Samsung refrigerator that stops responding to commands or struggles to keep the right temperature often has a faulty dispenser control board.
This control board is located inside the refrigerator’s dispenser panel and functions as the user interface. It allows you to adjust the temperature and operate the ice and water dispenser. Over time, the part may fail, leading to unresponsive buttons, inconsistent cooling, or complete loss of function.
The replacement process is straightforward and can be completed in about an hour.
Why the Control Board Fails
The dispenser control board can wear out for a variety of reasons. Some of the most common causes include:
- Repeated exposure to moisture or condensation inside the dispenser area
- Power surges that damage electronic components
- Age-related wear and tear after years of use
- Overheating from poor ventilation around the refrigerator
- Frequent button use causing contact points to stop responding
- Manufacturing defects in older models
- Dust or debris buildup interfering with the electrical connection
Understanding these causes can help you recognize the problem earlier and avoid repeated failures in the future.
Signs You May Need a New Control Board
Before replacing the part, it helps to confirm that the symptoms point to the dispenser control board. Common warning signs include:
- Unresponsive buttons on the ice or water dispenser
- Lights on the dispenser panel flickering or failing to turn on
- Incorrect or inconsistent temperature readings
- Ice and water not dispensing even though the supply lines are intact
- Buttons working intermittently or only after pressing multiple times
- Beeping sounds or error messages on the display
- Refrigerator cooling problems that are not linked to the thermostat or compressor
- A complete shutdown of the dispenser panel with no lights or display
If several of these issues occur at the same time, replacing the control board is usually the best solution.
Confirm Compatibility
Before buying a replacement, confirm that the dispenser control board fits your refrigerator model.
- Locate the fridge’s model number. It is usually found:
Inside the fridge, on the side wall or ceiling- On a label at the back near the bottom
- On the side or underside of the refrigerator door
- Write the number down or take a clear photo.
- Order an OEM replacement board that matches your model.
Gather Your Tools
You will need:
- Phillips screwdriver
- Flathead screwdriver
- Putty knife
- Heat gun
- Replacement dispenser control board
Safety First
Working on appliances requires careful preparation. Keep these tips in mind:
- Disconnect power by unplugging the refrigerator or switching off the circuit breaker.
- Allow the appliance to cool if it has been running recently.
- Keep your workspace clean, well lit, and free of clutter, children, and pets.
- Wear insulated gloves to protect against sharp edges and safety glasses to shield your eyes.
- Make sure your hands are dry and the area is free of moisture.
- Handle parts gently to avoid breaking components.
- Review your user manual for any model-specific instructions.
How to Replace the Dispenser Control Board on a Samsung Refrigerator
Follow these steps to safely remove the old dispenser control board and install the new one.
Preparation
- Unplug the refrigerator from the power outlet.
- Gather a Phillips screwdriver, flat screwdriver, putty knife, and a heat gun set to low (about 300°F).
Removing the Control Panel
- Remove the single Phillips screw on the left side of the control panel.
- Insert a flat screwdriver into the slot under the control panel on one side and push up to release.
- Repeat on the other side to loosen the control panel.
- Carefully pull the control panel out of position.
Disconnecting the Assembly
- Locate the plug connecting the control panel assembly to the refrigerator and press the locking tab to disconnect it.
- Disconnect the power plug from the control panel assembly by pressing the tab and pulling it up.
Accessing the Control Board
- Remove the three Phillips screws securing the cover of the control panel assembly.
- Lift the cover off and set it aside.
- Note the orientation and position of the dispenser control board.
Transferring the Display Label
- Use a heat gun on low (about 300°F) to warm the display label on the control board, moving the heat evenly.
- Use a putty knife to carefully peel the label off.
- Set the label aside with the adhesive side facing up.
- Place the label onto the new dispenser control board, making sure it is aligned correctly.
Installing the New Control Board
- Insert the new control board and label assembly into the housing, aligning the pins and screw holes.
- Secure the cover back onto the assembly with the three Phillips screws.
- Reconnect the power plug to the control panel assembly.
Reattaching the Control Panel
- Place the control panel back into position on the refrigerator, making sure the bottom is aligned and locked.
- Secure the control panel with the Phillips screw.
Final Steps
- Plug the refrigerator back in.
- Turn it on and confirm the refrigerator is cooling and the dispenser functions correctly.
Also Read: Dispenser Control Board Replacement for a Frigidaire Refrigerator
What’s Next?
Taking care of a fridge problem like a faulty dispenser control board doesn’t have to feel overwhelming. Once you know the signs to look for and follow the right steps, the repair is pretty manageable. A little patience, some basic tools, and the correct replacement part can bring your refrigerator back to normal. If the dispenser is working again and the fridge is cooling as it should, you’ve saved yourself the cost and wait of a service call. Keeping track of your appliance’s health now will also help you spot small issues before they turn into bigger problems later on.