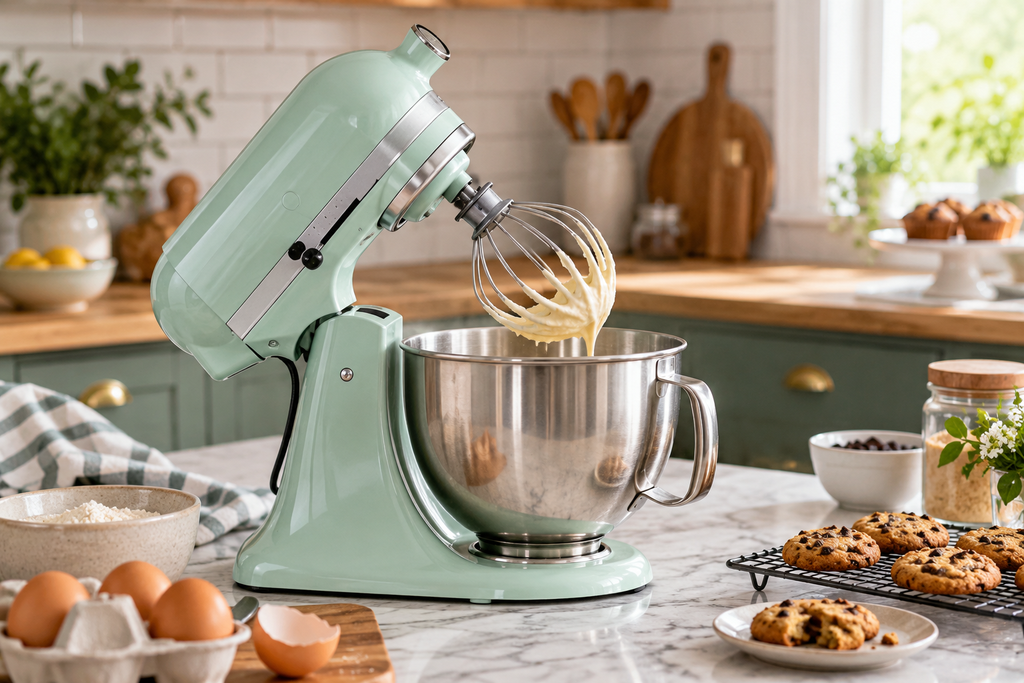
Tilt-head mixers are difficult to use safely when the head will not lock in place. This guide walks through the likely causes and the original checks in a practical order.
The exact layout and test values can differ by model. The model tag and manufacturer service information should guide access, part selection, and meter settings before any panel is removed.
It also covers basic stand mixer troubleshooting and stand mixer maintenance.
What to Know About Stand Mixers
This problem usually has a short list of practical causes. Checking them in order helps separate a setup issue from a failed part or damaged connection.
Why Your Tilt-head Won’t Lock
The tilt-head feature on KitchenAid mixers is designed to make loading and unloading ingredients easier. The head is supposed to pivot up when you release the lever and lock firmly into place when you press it down.
When the head fails to lock or wobbles during use, one of these issues is usually responsible:
- Loose hinge pin: The pin that holds the tilt-head onto the base can shift or work its way out, preventing the head from aligning properly.
- Misaligned locking lever: The lever mechanism may need adjustment to properly engage and hold the head down.
- Worn or damaged locking mechanism: If internal parts have worn or broken, they may no longer catch properly.
- Debris or dirt in the locking parts: Sometimes a little flour, dough, or grease buildup can keep things from locking securely.
The good news? All of these issues are simple to inspect and fix at home.
What You’ll Need
Before you start, gather a few basic tools and materials:
- Phillips screwdriver.
- Flathead screwdriver.
- Needle-nose pliers.
- Clean rags.
- Food-safe grease (if you want to lubricate the hinge pin).
And of course, unplug the mixer before working on it.
How to Troubleshoot the Stand Mixer
Check the Obvious
- Before you take anything apart, check a few basics.
- Make sure there’s nothing stuck between the base and the head.
- Confirm the lever is moving freely and isn’t jammed.
- Test the head by pushing it firmly down while moving the lever to lock it, sometimes it just needs a little extra pressure.
- If it still won’t lock, it’s time to dig deeper.
Inspect the Hinge Pin
- The hinge pin is a long metal rod that runs horizontally through the base and tilt-head to hold them together. If it slides out of position, the head can’t align properly with the locking mechanism.
- How to check.
- Turn the mixer so you’re looking at it from the side.
- Look at both ends of the hinge pin, it should be flush with the base on both sides.
- If it’s sticking out or recessed on one side, it’s shifted.
- How to fix.
- Use a flathead screwdriver to gently tap the hinge pin back into place until it’s centered.
- If it’s stubborn, use needle-nose pliers to carefully pull or push it back into position.
- Once centered, lower the head and see if it locks properly. If not, move to the next step.
Adjust the Locking Lever
- If the hinge pin is fine but the head still won’t lock, the lever may be out of alignment.
- How the locking lever works.
- When you move the lever to the lock position, it engages a cam that presses a metal tab against the base of the tilt-head, holding it down. If the cam or tab is misaligned, it won’t catch.
- How to adjust.
- With the mixer unplugged, turn it on its side to access the bottom.
- Locate the locking lever mechanism near the back of the base.
- Loosen the small screw that holds the locking cam in place, just enough that it can move slightly.
- Move the lever to the lock position and press the head firmly down.
- While holding the head down, retighten the screw on the cam.
- Test the head, it should now lock firmly when you move the lever to the lock position.
Clean the Locking Parts
- If the hinge pin and lever are both working properly but the head still feels loose, there may be debris or grease buildup preventing the locking tab from catching.
- How to clean.
- Use a dry rag to wipe down the hinge area and locking parts.
- If needed, use a little warm, soapy water to remove sticky residue, then dry thoroughly.
- Avoid using too much lubricant on the locking mechanism itself, as this can make it slippery and prevent it from holding properly.
Inspect for Damage
- In rare cases, parts of the locking mechanism or the tilt-head base can crack or wear down over time.
- What to look for.
- Cracked metal tabs or brackets near the locking cam.
- Bent or deformed components that don’t line up properly.
- Missing screws or washers.
- If you spot any of these issues, you’ll need to replace the damaged part.
Test the Fix
- Once you’ve adjusted, cleaned, or replaced the necessary parts, test the tilt-head.
- Raise the head all the way up.
- Move the lever to unlock.
- Lower the head while pressing down firmly.
- Move the lever to lock.
- The head should stay down securely and feel solid, with no wobbling or bouncing.
Quick Checks Before Replacing a Part
Review these points first.
- Confirm the exact appliance model before buying any replacement part.
- Check the power supply, plug, breaker, and control settings before opening the cabinet.
- Look for a loose connector, blocked vent, dirty filter, or obvious physical damage first.
- Write down every symptom and error code so the diagnosis stays focused.
- Review the manufacturer instructions because access steps and test values can vary by model.
Common Diagnosis Mistakes
Review these points first.
- Replacing a part before testing it can add cost without correcting the original fault.
- Skipping a power check can hide a tripped breaker, damaged cord, or loose outlet connection.
- Testing resistance through a connected control board can produce a misleading meter reading.
- Forcing a panel or connector can create fresh damage that complicates the repair.
- Reassembling without photos or labels can lead to crossed wires and misplaced fasteners.
When Professional Help Makes Sense
Review these points first.
- Stop when the repair requires live voltage testing and the safe method is unfamiliar.
- Arrange service when wiring is burned, insulation is melted, or arcing marks are present.
- Use a qualified technician for refrigerant, gas, sealed-system, or high-voltage microwave work.
- Ask for help when the appliance must be moved or lifted beyond safe personal limits.
- Schedule service when the same fault returns after every listed check has passed.
Summing Up
A careful check of the stand mixer can reveal a simple cause before a costly part is ordered. Model-specific information and one test at a time keep the work clear. Professional service is practical when the repair moves beyond familiar tools or training.
When the test points to the part, shop mixer parts for your model and confirm the fit with the full model number before ordering.