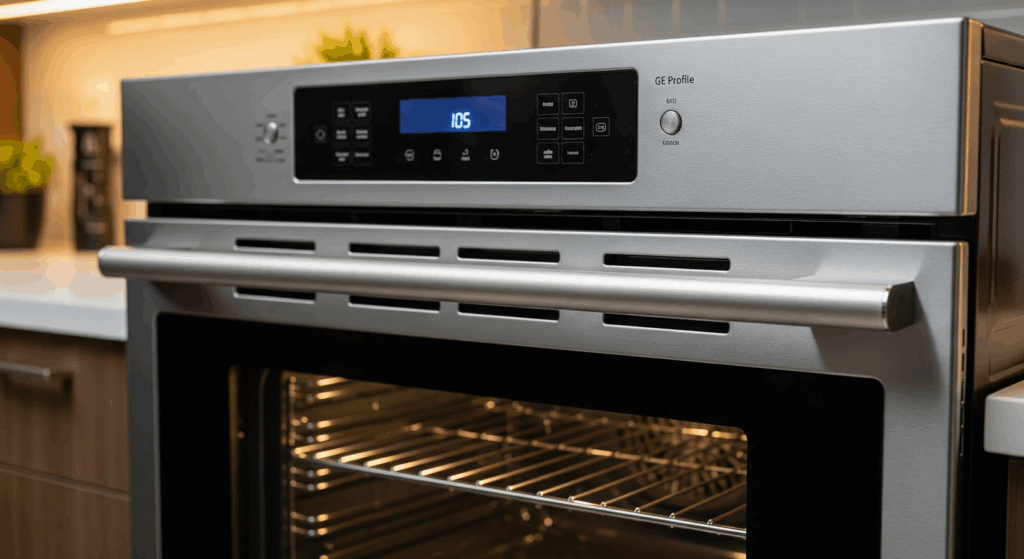
If your GE oven isn’t holding the right temperature or is showing a sensor error code, the temperature sensor might need to be replaced. This is a relatively simple repair, and you can take care of yourself with just a few tools.
Other Possible Causes of Oven Temperature Issues
Before replacing the sensor, it’s worth considering whether something else might be affecting the oven’s performance. Temperature problems aren’t always caused by the sensor.
- Faulty control board
- The door not sealing properly
- Calibration issues in the oven settings
- The buildup of debris or grease around internal components
- Loose or damaged wiring
- Malfunctioning heating element
- Power supply problems or fluctuations
How to Spot a Sensor That Needs Replacing
Sometimes the symptoms aren’t obvious. These details can help you decide if a replacement is the right next step:
- You hear the oven turn on, but the temperature stays low
- Foods are consistently undercooked or overcooked, even at the right settings
- The display shows temperature-related fault codes (e.g., F2, F3, F5)
- You’ve already calibrated the oven, but the issue persists
- Wiggling the sensor wire causes the temperature to fluctuate
- A multimeter test shows irregular resistance outside the normal range (usually 1,000–1,100 ohms at room temperature)
What the Temperature Sensor Does
The oven temperature sensor measures the internal heat and sends that information to the control board. This helps the oven stay at the right cooking temperature.
Over time, the sensor can wear out, short, or get damaged. Heat exposure, debris, or just regular use can all affect performance.
Common signs of a faulty sensor:
- The oven doesn’t reach or maintain the set temperature
- Error codes related to temperature appear on the display
- Visible damage on the sensor, like cracks or burn marks
What You’ll Need
- 1/4-inch nut driver
- Replacement temperature sensor (WB21X22134 — confirm it fits your oven model before installing)
Safety First
When working on appliances, it’s important to take proper safety steps:
- Disconnect power: Unplug the oven or turn off the circuit breaker before starting.
- Let it cool down: If the oven has been used recently, wait until it’s fully cooled.
- Clear your space: Work in a clean, well-lit area. Keep pets and kids away.
- Work carefully: Move slowly and deliberately to avoid injury or accidental damage.
- Check your manual: Your oven’s manual may include specific safety or installation notes.
- Wear gloves: Insulated gloves can protect your hands from sharp edges or debris.
- Use light pressure: Avoid using force when removing or installing parts.
How to Replace the Temperature Sensor in a GE Electric Range
Here are the steps to remove the old temperature sensor and install a new one.
- Unplug the oven or switch off the circuit breaker.
- Open the oven door.
- Remove the oven racks to create better access to the sensor.
- Locate the temperature sensor, mounted at the back in the center of the broil element bracket.
- Use a 1/4-inch nut driver to remove the screw holding the sensor in place.
- Pull the sensor out carefully until the connector plug is visible.
- Press the tab on the plug and disconnect it from the sensor.
- Connect the new sensor by plugging it into the connector.
- Feed the connector and any excess wire back through the hole.
- Secure the new sensor with the screw using the 1/4-inch nut driver.
- Replace the oven racks.
- Plug the oven back in or flip the circuit breaker back on.
- Test the oven by setting it to a temperature and checking with an independent thermometer.
Read More: How to replace temperature sensor WB21X22134 in an electric GE range
What’s Next?
If your oven still acts up after the swap, don’t stress. You’ve already handled a key part, which gives you a better idea of what to check next. Maybe the control board is having problems, or the heating element needs attention. You’ve already taken the oven apart once, which makes the next step feel a bit less overwhelming.
