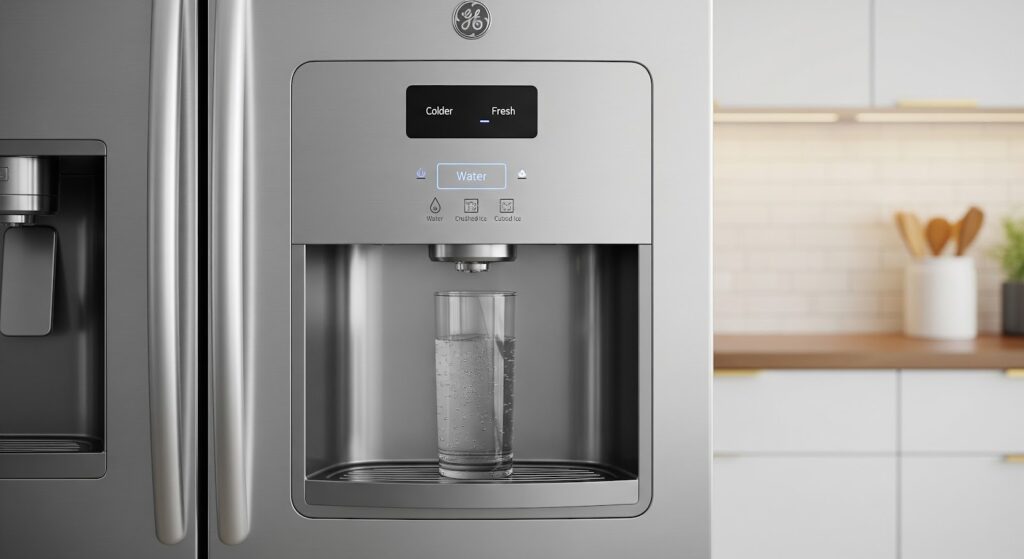
A GE French-door refrigerator that stops dispensing water or ice properly might need a new dispenser arm kit. This is a common issue that many homeowners can fix without calling a technician. With basic tools and a little time, you can complete this repair yourself. Here’s a guide to help you restore your dispenser’s function.
Why Replace the Dispenser Arm Kit
The dispenser arm kit includes parts that help control the flow of water and ice from the refrigerator. These parts sit inside the dispenser compartment and include:
- Dispenser arm
- Mounting bracket
- Ice funnel
Signs the Dispenser Arm Kit Needs Replacing
It can be difficult to spot the problem right away. Watch out for these symptoms:
- Water or ice comes out slower than usual
- Dispenser makes unusual noises when pressed
- Water drips from the dispenser even when not in use
- Ice gets stuck or clogs in the chute
- The dispenser arm feels loose or unresponsive
- The flow of water or ice is uneven or stops mid-use
- Leaks appear below or around the dispenser area
Tools and Materials You Will Need
Gather the following tools and items before starting the repair:
- Putty knife
- Torx T20 screwdriver
- Phillips head screwdriver
- Small flathead screwdriver
- Replacement dispenser arm kit WR49X10228 (compatible with your refrigerator model)
Safety Tips Before You Begin
Follow these safety reminders when working on your refrigerator:
- Unplug the refrigerator or turn off the power at the circuit breaker
- Shut off the water supply at the source
- Allow the appliance to cool down before handling any parts
- Keep towels nearby to catch any remaining water
- Work in a dry, well-lit space
- Clear the area of any clutter or obstacles
- Keep children and pets away while doing the repair
- Avoid using too much force when removing or attaching parts
- Handle internal components with care
- Wear insulated gloves to protect your hands
- Review your appliance manual for any model-specific notes
How to Replace a Refrigerator Dispenser Arm Kit
Follow these steps to safely remove the old dispenser arm and install a new one on your refrigerator.
Unplug and Remove the Control Panel
- Unplug the refrigerator from the power outlet.
- Turn off the water supply connected to the unit.
- Locate the two small holes underneath the dispenser control panel.
- Insert a T20 screwdriver into each hole and gently press upward to release the locking pins.
- Slide a putty knife into the seam between the panel and housing and pry the panel off slowly.
- Use a small flathead screwdriver to disconnect the three wire plugs from the back of the control panel.
- Set the control panel aside in a safe place.
Remove the Old Dispenser Arm Assembly
- Use a Phillips screwdriver to remove the four screws holding the bracket in place.
- Carefully slide out the entire dispenser arm assembly including the bracket, arm, and funnel.
- Do not pull on any wires while removing the assembly.
- Check the water tube and ice chute for grime or blockages and clean if needed.
Take Apart the Old Dispenser Arm
- Take photos of the original setup before disassembling the parts.
- Use a flathead screwdriver to disconnect wire terminals or lightbulb sockets.
- Remove any clips, springs, or switches by pressing down on their retaining tabs.
- Slide the dispenser arm out of its hinges and mounting bracket.
- Save any usable parts like lightbulbs and keep all screws and fasteners.
Put Together the New Dispenser Arm
- Refer to your photos to position all parts correctly.
- Attach the new spring to the funnel and dispenser arm.
- Insert the wiring harness into the new bracket.
- Press the lightbulb socket and shield into their clips.
- Install the new dispenser switch using the screw included in the kit.
- Make sure all parts are fully secured and properly fitted.
Install the New Assembly and Reconnect the Panel
- Slide the water nozzle of the new dispenser arm into the correct slot in the dispenser housing.
- Use the four screws to secure the new bracket tightly.
- Reconnect the three wire plugs to the back of the control panel.
- Align the top edge of the panel with the housing and snap it back into place.
- Press firmly around the edges until the locking tabs engage.
Final Setup and Testing
- Plug the refrigerator back into the power outlet.
- Reconnect the water supply to the fridge.
- Wait a few hours for the fridge to return to its normal temperature and start making ice.
- Test the dispenser to check that both the water and ice functions are working.
Next Steps
A new dispenser arm kit can bring your GE fridge back to full function, saving you the trouble of calling for service. If your dispenser was slow, leaky, or stopped working altogether, this replacement often solves the problem. Keep your fridge running smoothly by checking these small parts now and then. Staying on top of wear and tear helps your appliance last longer and work better every day.
