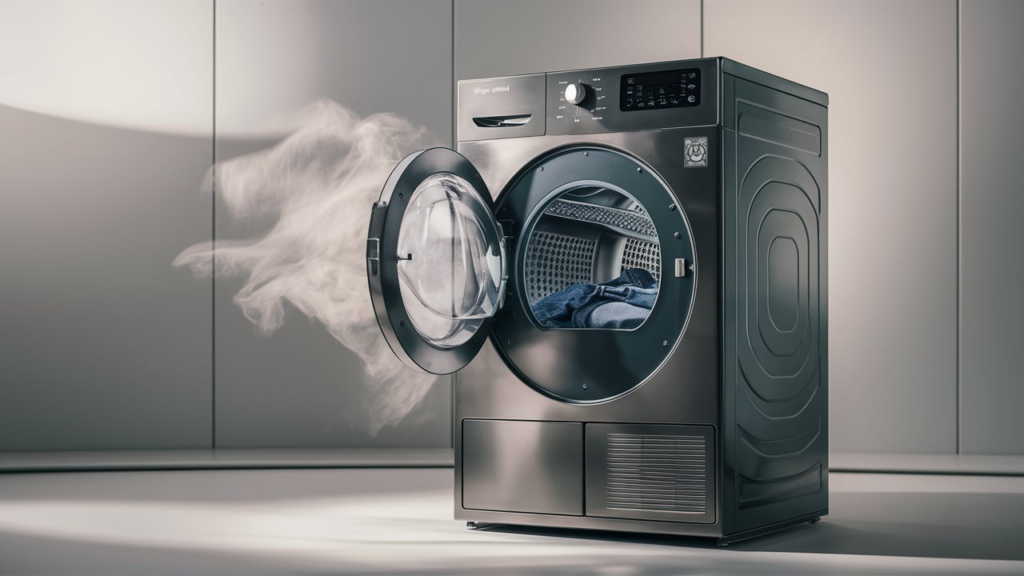
Maintaining your Whirlpool electric dryer involves periodic cleaning or replacing of the dryer vent. Over time, vents can become clogged or damaged, leading to longer drying times, increased energy usage, and potential fire hazards. If the vent is damaged, replacement is necessary to keep the dryer operating safely and efficiently.
Signs It’s Time to Clean or Replace the Dryer Vent
Knowing when to clean or replace your dryer vent helps maintain safe and efficient operation. Watch for these indicators:
- Clothes take longer to dry than usual.
- The dryer feels excessively hot to the touch during operation.
- Lint collects around the dryer’s exterior or vent opening.
- A burning smell is noticeable during use.
- The vent hood flap does not open properly when the dryer is running.
- The laundry area feels unusually humid after using the dryer.
- A visible buildup of lint or debris in the vent system.
- The dryer shuts off before the cycle is complete due to overheating.
- Increased energy usage on utility bills without other changes.
- Physical damage to the vent duct, such as tears or crushing.
Recommended Materials and Tools
- 5/16-inch nut driver or socket
- Shop vacuum or leaf blower
- Brush (for vent cleaning)
- Metal duct tape
- Rigid metal dryer vent (preferable to vinyl or foil types)
- Dryer vent clamps
Why choose rigid metal ducting?
Rigid metal ducting is highly recommended due to its durability and ability to handle high heat. It improves airflow and minimizes risks associated with flexible tubing, such as crushing or damage. Additionally, it’s easier to clean and lasts longer than flexible alternatives.
Options for Small Spaces
If your dryer is located in a tight space, such as an apartment or a closet, consider using an adjustable close-quarters venting box. This tool maximizes airflow while keeping the setup compact. Tape all connections securely to prevent lint from escaping into the room.
In apartments with limited venting, a lint trap may be required. This device connects to the back of the dryer and uses water to capture lint. While effective, it releases moist air into the room, so placing it near an open window is ideal to avoid excessive humidity indoors.
Dryer Vent Maintenance Tips
Regular maintenance of the dryer vent and surrounding components reduces lint buildup, improves airflow, and minimizes fire risks. Follow these steps for effective maintenance:
- Remove lint and debris to maintain airflow.
- Occasionally wash the filter with mild detergent to remove stubborn residue, making sure it is completely dry before reinstalling.
- Inspect the mesh screen for tears and replace it if damaged.
- Regularly check the vent system for blockages.
- Use a vacuum or long-handled brush to clear lint or debris from the vent housing and the entire length of the duct.
- Pay attention to the vent connected to the back of the dryer for thorough cleaning.
- Wipe down the drum’s interior with a clean cloth or soft brush to remove lint or debris.
- Inspect the gasket around the dryer door for wear or damage and replace it if it fails to seal properly.
- Look for debris or damage on the vent hood outside your home.
- Clean the vent hood and surrounding ductwork using a vacuum or cleaning kit with a long-handled brush.
How to Replace a Whirlpool Dryer Vent
A few simple steps can make this task quick and efficient. Here’s how:
Remove the Old Vent
- Unplug the dryer from its power source.
- Move the dryer away from the wall to access the vent.
- Remove the old dryer vent from both the dryer and the wall connection.
- Clean the interior of the dryer vent and the wall vent thoroughly using a shop vacuum, leaf blower, or brush.
Install the New Vent
- Attach one end of the new rigid metal vent to the dryer using a 5/16-inch dryer vent clamp.
- Secure the connection with a piece of metal duct tape for added stability.
- Connect the other end of the vent to the external wall connector.
- Use a clamp and duct tape to create a tight seal at the wall connection.
Final Steps
- Reposition the dryer to its original place without overextending the vent.
- Adjust the vent setup to be as short as possible with minimal 90-degree turns for better airflow.
A clogged or damaged dryer vent can lead to higher energy bills, slower drying times, and even safety hazards like fires. Keeping your Whirlpool dryer vent clean and in good condition helps it work better and keeps your home safer.
Regular maintenance doesn’t have to be overwhelming. With a few simple steps and the right tools, you can keep your dryer running smoothly. Switching to a sturdy metal vent, for example, can improve airflow and make cleaning easier. Clearing out lint and checking for blockages can prevent bigger problems down the road.
Taking care of your dryer vent is a practical way to save energy and improve safety. Small changes, like cleaning the vent or replacing worn parts, can make a noticeable difference.
