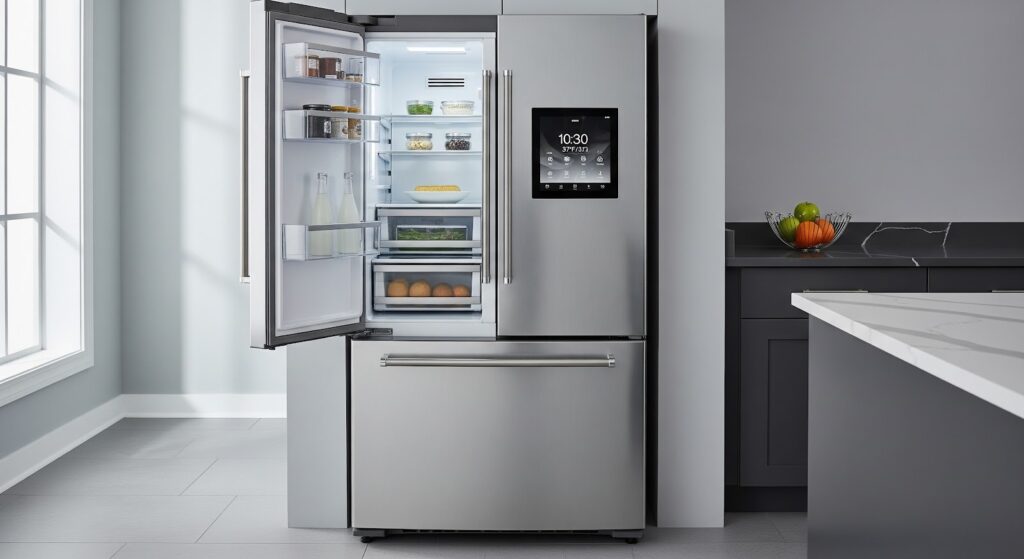
A refrigerator that fails to keep a steady temperature can quickly lead to spoiled food. One common cause is a faulty temperature sensor. This small component monitors the fridge’s internal temperature and signals the control board when to turn the compressor on or off. Replacing it is a simple repair that can save you time and money.
Why the Temperature Sensor Matters
The temperature sensor measures the ambient air inside your fridge using a resistor that changes resistance based on temperature. It sends this information to the main control board, which activates or stops the cooling system to maintain the desired temperature.
When the sensor stops working, your fridge may not cool consistently, leading to food spoilage or frost buildup.
Signs You May Need to Replace the Sensor
- Fridge interior is too warm or too cold
- Temperature settings have no effect
- Frost builds up frequently
- Food spoils faster than expected
- Sensor resistance readings are outside the normal range
Tools and Parts You’ll Need
- Small flat-blade screwdriver
- Replacement temperature sensor (LG part #EBD60925804)
Safety First
Follow these precautions before beginning the repair:
- Power Off: Unplug the fridge or switch off the circuit breaker to prevent electric shock.
- Cool Down: Let the fridge sit for a while if it was recently in use.
- Work Slowly: Taking your time reduces the chance of injury or part damage.
- Good Lighting: Make sure the work area is bright enough to see all parts clearly.
- Clear Workspace: Remove clutter, and keep children and pets away.
- Dry Hands: Never work on electrical components with wet hands.
- Check the Manual: Refer to your model’s user guide for specific instructions.
- Gentle Handling: Avoid applying excessive force when removing or installing parts.
- Protective Gear: Wear insulated gloves and safety glasses.
- Wire Safety: Use insulated tools when handling any wiring.
How to Replace a Temperature Sensor in an LG or Kenmore Refrigerator
Here are the steps to remove a faulty temperature sensor and install a new one.
Preparation
- Unplug the refrigerator or turn off the circuit breaker.
Locate the Temperature Sensor
- Open both French door panels of the refrigerator.
- Locate the temperature sensor at the top center portion of the fresh food compartment, inside the cover frame.
- Identify the small removable cover on the ceiling of the fridge that conceals the sensor.
Remove the Cover
- Insert a flat-blade screwdriver into the groove on the side of the cover.
- Gently pry and pop off the cover, taking care not to crack or damage it.
Disconnect the Old Sensor
- Grasp the temperature sensor wires.
- Locate the sensor connector plug.
- Press down on the outer tabs of the connector and pull to disconnect the plug from the wiring harness.
Install the New Sensor
- Align the connector of the new temperature sensor with the wiring harness connector.
- Push the connector in until the tabs click into place.
Replace the Cover
- Position the grille cover back into the frame channel.
- Press around the perimeter of the cover to snap it securely into place.
Test the Refrigerator
- Plug the refrigerator back in or turn on the breaker.
- Allow several hours for the refrigerator to run and stabilize the temperature.
- Verify that the compressor runs and the refrigerator begins cooling.
- Adjust the temperature settings if needed.
Also Read: How To Replace a Samsung Refrigerator Temperature Sensor
Final Thoughts
A working temperature sensor keeps your fridge running at its best, so replacing a bad one is worth the effort. The process is straightforward with a few basic tools and a little patience. Once the new sensor is in place, your refrigerator can keep food fresh and cooling consistent again. Tackling small repairs like this not only saves money but also extends the life of your appliance. A reliable fridge is one less thing to worry about in your kitchen.
