
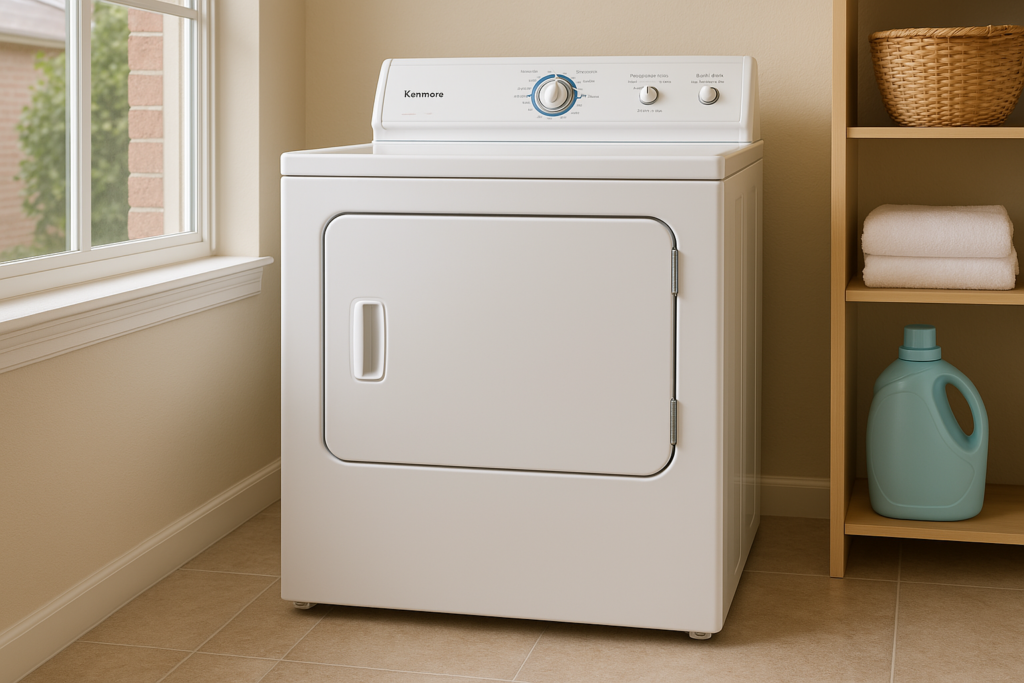
Is your Kenmore dryer making unusual noises or operating unevenly? It might be time to inspect and replace the drum rollers. Here’s a step-by-step guide to help you restore your dryer to smooth operation.
Common Signs of Failing Drum Rollers
If you’re unsure whether your drum rollers need attention, here are common symptoms to watch for:
- Excessive Noise: Thumping, grinding, or squealing sounds during operation.
- Uneven Drum Movement: The drum wobbles or doesn’t rotate smoothly.
- Visible Wear and Tear: Rollers appear cracked, flattened, or misshapen.
- Increased Vibrations: The dryer vibrates more than usual during cycles.
- Clothing Damage: Clothing may snag or get damaged during drying.
Tools You’ll Need
- 1/4-inch nut driver
- Putty knife
- #20 Torx bit
- Small flat-head screwdriver
- Shop vac
Safety First
When working with appliances, safety is essential. Follow these precautions to keep your repair safe and efficient:
- Before starting, disconnect the dryer from its power source or switch off the circuit breaker. This reduces the risk of electric shock.
- If the dryer was recently in use, allow it to cool before handling any components.
- Take your time to avoid accidents and maintain accuracy. Rushing can lead to mistakes or injuries.
- A well-lit workspace helps you see parts clearly and work effectively.
- Remove clutter and keep children and pets away to avoid distractions and accidents.
- Always work with dry hands, and make sure your workspace is free of moisture.
- Refer to the dryer’s user manual for specific instructions or warnings related to your model.
- Be gentle when removing or replacing parts to prevent damage to the appliance or injury.
- Use insulated gloves to protect your hands from sharp edges or debris.
- Take photos or make notes of wire connections and component placements to simplify reassembly.
Read more: LG or Kenmore Dryer Duct Assembly Replacement Guide
How to Test and Replace a Kenmore Electric Dryer’s Drum Roller
Here are the steps to access, test, and replace the drum rollers in your Kenmore electric dryer.
Access the Drum Rollers
- Insert a putty knife into the corners of the console to release the clips, then push the console up and back to access the inside of the dryer.
- Remove the three ¼-inch screws securing the top panel.
- Slide the top panel toward the front of the dryer and lift it off.
- Disconnect the door switch wires.
- Use the putty knife to press in the clips securing the front panel, then remove the panel.
- Detach the two-door springs from the front panel.
- Open the dryer door, remove the lint screen, and use a ¼-inch nut driver to remove the three screws securing the blower housing.
- Remove the blower housing.
- Locate the yellow wire attached to the bottom of the front bulkhead and disconnect it.
- Remove the two ¼-inch screws at the bottom of the front bulkhead.
- Use a Torx 20-bit screwdriver to remove the two screws at the top of the front bulkhead.
- Lift off the front bulkhead to access the drum.
- Reach under the drum and release the belt from the tension roller.
- Use the belt to lift the drum out of the cabinet.
Test the Drum Rollers
- Locate the drum rollers on the back and front bulkheads.
- Turn each roller by hand to check for difficulty in movement or wobbling.
Replace the Drum Rollers
- Use a flat-blade screwdriver to remove the white plastic triangle keeper from the roller shaft.
- Remove the roller from the shaft and clean the axle without adding lubricant.
- Place the new roller on the shaft and secure it with the triangle keeper.
- Repeat the replacement process for all necessary rollers on the back and front bulkheads.
Reassemble the Dryer
- Reinstall the drum by positioning it back in the cabinet with the belt.
- Reattach the belt to the idler pulley.
- Reinstall the front bulkhead, securing it with the two Torx screws at the top and the two ¼-inch screws at the bottom.
- Attach the blower housing using the three screws.
- Reconnect the yellow sensor wire to the front bulkhead.
- Reattach the two-door springs to the front panel.
- Reconnect the door switch wires.
- Place the top cover back on and secure it with the three screws.
- Snap the console back into place.
- Open the door, reinstall the lint screen, and close the door.
- Plug the dryer back in or turn on the circuit breaker to restore power.
Benefits of Replacing Drum Rollers Promptly
Replacing worn-out drum rollers promptly can prevent larger issues and improve the overall performance of your dryer. Here are the benefits:
- Quieter Operation: Eliminates thumping or squeaking noises during cycles.
- Smoother Drum Movement: Helps the drum rotate evenly, preventing unnecessary wear on other components.
- Improved Efficiency: A well-functioning drum requires less energy to rotate, lowering energy consumption.
- Extended Appliance Life: Regular replacements reduce the likelihood of severe damage, extending the dryer’s lifespan.
- Enhanced Drying Performance: Proper drum rotation allows for even drying, improving performance and saving time.
Maintenance Tips to Prolong Drum Roller Life
Regular maintenance can reduce the frequency of repairs and improve your dryer’s performance. Follow these tips to extend the lifespan of your drum rollers:
- Clean the Drum Area Regularly: Remove lint, dust, and debris that can cause wear or affect roller function.
- Check for Loose Screws or Parts: Tighten any loose components to avoid stress on the drum rollers.
- Avoid Overloading the Dryer: Overloading adds strain to the drum rollers and other internal parts.
- Balance the Dryer Load: Distribute clothes evenly in the drum to reduce uneven wear.
- Inspect Rollers Periodically: During routine maintenance, check the rollers for any signs of damage or wear.
- Lubricate Moving Parts: Apply an appropriate lubricant to the roller shafts if recommended in your user manual.
Read more: How to replace LG / Kenmore dryer light bulb 6913EL3001E
Closing Thoughts
Once you swap out those old, noisy rollers, you’ll enjoy a quieter dryer, smoother drum action, and better drying performance. Plus, with a little routine care, your dryer will last longer and keep working well. Don’t let a small problem turn into a bigger one—replace the rollers now and keep your dryer running smoothly. It’s an easy fix that pays off in the long run.