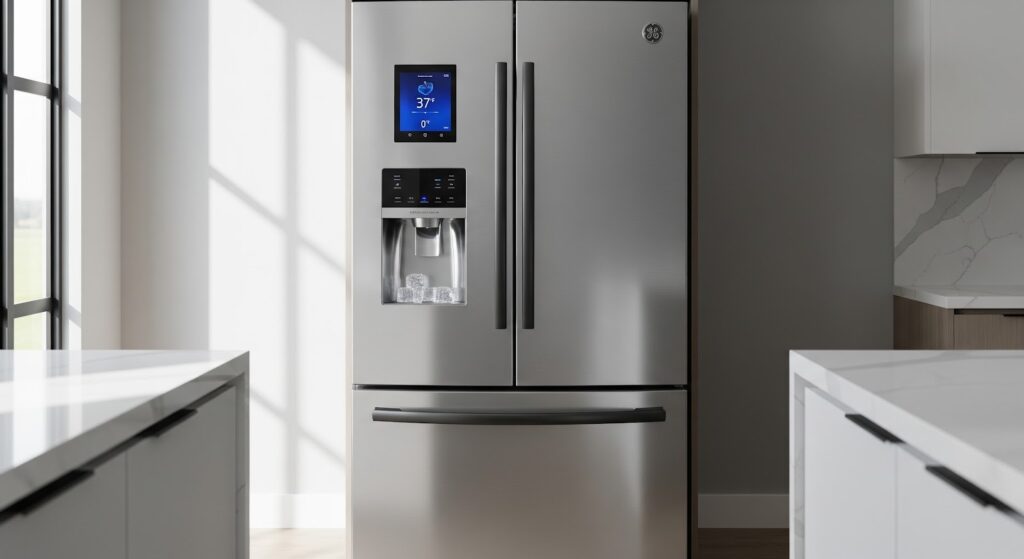
A GE refrigerator that struggles to stay cold or has temperature fluctuations may have a faulty defrost thermostat. This small component monitors the defrost heater and prevents it from overheating. When it stops working, frost can accumulate on the evaporator coils and block airflow, which leads to cooling problems.
You can replace the defrost thermostat yourself in about an hour by following this guide.
How to Identify a Faulty Defrost Thermostat
Before replacing the part, confirm that the thermostat is the real problem. Signs to look for include:
- Persistent frost buildup on the evaporator coils
- Refrigerator compartment warmer than usual despite normal freezer operation
- Intermittent cooling that seems to recover temporarily after unplugging the unit
- Clicking or popping sounds near the evaporator area during cooling cycles
- Visual signs of corrosion or damage on the thermostat wiring or housing
- Multimeter reading showing no continuity when the thermostat is cold
Common Causes of Defrost Thermostat Failure
Knowing why the thermostat failed can help you prevent repeat problems. Possible causes include:
- Electrical surges that damage the thermostat contacts
- Long-term wear from frequent defrost cycles
- Excessive frost buildup causing mechanical stress
- Moisture intrusion into the thermostat housing
- Physical damage from improper repairs or handling of internal parts
- Poor wiring connections that cause heat spots and failure
What You’ll Need
Gather the necessary parts and tools before starting.
- New defrost thermostat (compatible with your refrigerator model)
- 1/4-inch nut driver
- Wire stripper
- Putty knife
- Side cutters
- Heat gun
- Zip tie
- Heat shrink sleeves
- Connectors
Safety Precautions
Working on appliances involves electricity, sharp parts, and sometimes water, so safety should always come first.
- Unplug the refrigerator or turn off the circuit breaker before starting.
- Allow the appliance to cool completely if it has been in use.
- Turn off the water supply at the outlet and have towels ready for any drips.
- Work slowly and carefully to avoid injury or damage.
- Make sure the work area is well-lit and free from clutter. Keep pets and children away.
- Keep hands dry and the area free of moisture.
- Check the user manual for any special instructions or warnings.
- Use gentle pressure when removing or installing parts to prevent damage.
- Wear insulated gloves to protect against sharp edges and debris.
- Avoid touching exposed wires or terminals. Use insulated tools if needed.
- Take photos or notes of wiring and connections before disconnecting anything.
How to Replace a Defrost Thermostat in a GE Refrigerator
Follow these steps to safely remove the old defrost thermostat and install a new one in your GE refrigerator.
Step 1. Access the Fridge Interior
- Unplug the refrigerator from the power outlet.
- Open the French doors.
- Lift the front of each crisper drawer slightly and slide them out.
- Lift the front end of each refrigerator shelf and slide them out.
- Use a 1/4-inch nut driver to remove the two screws holding the clear plastic deli drawer cover.
- Lift the front of the deli drawer cover and disconnect the wiring plug by pressing the locking tab.
- Set the deli drawer cover aside.
- Open the deli drawer a few inches, lift it, and remove it.
- Use a nut driver to remove the screw securing the left side shelf/support bracket.
- Pull the bracket forward to detach it from the mounting pin.
Step 2. Access the Evaporator Coil Housing
- Use a putty knife to pry off the control box cover on the left wall.
- Press the locking tab to detach the control box cover completely.
- Use a 1/4-inch nut driver to remove the five screws securing the evaporator cover panel.
- Insert the putty knife into the side tab to release it, then lift and slide out the panel.
- Squeeze the locking tabs on the wiring plug and disconnect it.
- Lift out the evaporator cover.
Step 3. Replace the Defrost Thermostat
- Use side cutters to clip off the zip tie bundling the thermostat wires, avoiding the defrost drain pan.
- Disconnect the thermostat’s wiring plug by squeezing the tabs and pulling.
- Grasp and wiggle the thermostat free from the copper evaporator tubing.
- Use wire strippers to cut the two wires from the coil housing, leaving enough length to splice.
- Strip about 1/4 inch of insulation from each wire end.
- Slide the heat shrink tubing over the new thermostat’s wires.
- Use butt connectors to join the housing wires to the new thermostat wires.
- Apply heat carefully to seal the connections without melting the liner.
- Press the new defrost thermostat onto the evaporator tubing with the thermostat facing away from the coil.
- Reconnect the wiring plug.
Step 4. Reassemble the Refrigerator
- Reinstall the evaporator cover panel and reconnect its wiring plug.
- Lock the tabs into place.
- Use the 1/4-inch nut driver to tighten the five screws.
- Replace the deli drawer, shelves, crisper drawer support, and crisper drawers.
- Plug the refrigerator back in.
- Allow the fridge to cool and verify the internal temperature with an independent thermometer.
Wrapping Up
A working defrost thermostat keeps your GE refrigerator running smoothly and prevents those annoying frost and cooling issues. Replacing it yourself is a straightforward job once you know the steps and have the right tools. Taking the time to troubleshoot first saves you from swapping out parts unnecessarily, and careful reassembly means fewer headaches later.
Once the new thermostat is in place, your fridge should be back to keeping food fresh without temperature swings or frost buildup. A little DIY effort now can add years to your refrigerator’s life and save you the cost of a service call.
