
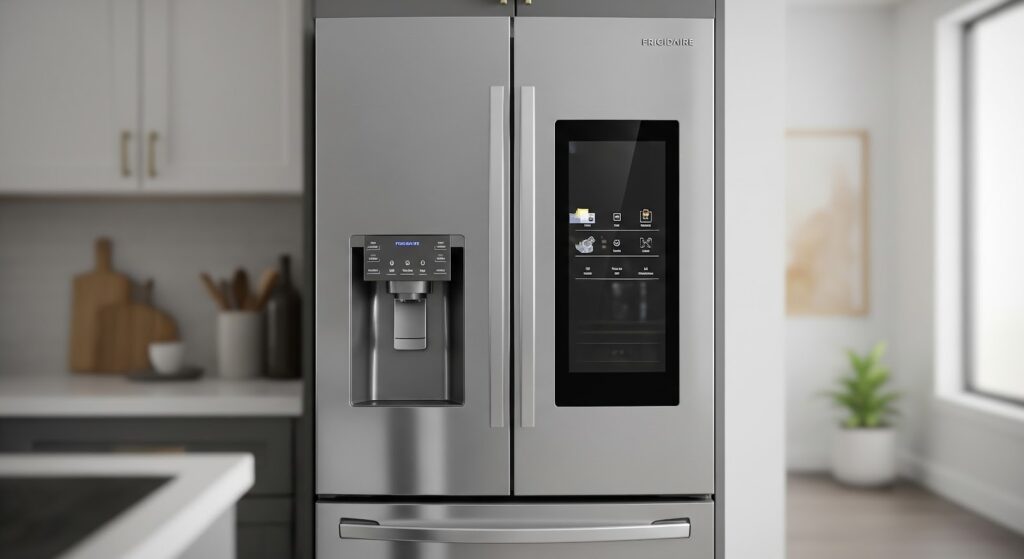
If the water or ice dispenser on your Frigidaire refrigerator has stopped working, the dispenser control board might be the cause. This component controls the entire operation of the dispenser, allowing it to respond properly when you press the button or lever.
Below is a step-by-step guide to help you replace the dispenser control board safely and correctly.
What Is the Dispenser Control Board?
The dispenser control board is an electronic part that manages the functions of the water and ice dispenser. It sends the signals that allow the dispenser to release water or ice when activated. If the board is damaged or fails an electrical test, the dispenser may stop working or behave unpredictably.
Signs You May Need to Replace the Control Board
A faulty dispenser control board can cause several problems. You may need to replace it if you notice:
- The dispenser doesn’t release water or ice when activated
- Water or ice comes out irregularly or only sometimes
- Unusual sounds occur when using the dispenser
- The control panel or digital display isn’t working
These signs point to a malfunction in the control system, and replacing the board could restore normal operation.
Benefits of Replacing a Faulty Control Board
A working dispenser control board restores full function to the dispenser and helps prevent other problems. After replacement, you may notice:
- Faster response when using the dispenser
- Improved accuracy in water and ice dispensing
- A display panel that lights up and works properly
- A quieter dispenser with fewer strange noises
- Consistent performance without the need for constant resetting
- Fewer leaks or clogs related to electrical miscommunication
- Longer appliance life with a stable electrical connection
Tools You Will Need
- Phillips head screwdriver
- Towels (to catch water)
- Work gloves (preferably insulated)
- Flashlight (for better visibility)
Safety Guidelines Before You Start
Take these safety steps before beginning any work:
- Power off the appliance. Unplug the refrigerator or turn off the circuit breaker to prevent electrical shock
- Shut off the water supply. Turn off the valve connected to the refrigerator to avoid leaks
- Let the appliance cool. If recently used, give the unit time to cool down before working on it
- Work in a clear space. Remove clutter from the area. Keep kids and pets away while you work
- Use proper lighting. A flashlight or a well-lit area will help you see small components
- Avoid working with wet hands. Make sure both your hands and the work surface are completely dry
- Handle parts gently. Apply only the force necessary to remove or install parts to prevent breakage
- Use insulated gloves. These will protect your hands from sharp parts and reduce the risk of shock
- Do not touch exposed wires. Use non-conductive tools when dealing with electrical connectors
It is also a good idea to check your refrigerator’s user manual before starting. It may provide specific instructions for your model.
How to Replace the Dispenser Control Board
Here are the steps you need to follow to safely replace the control board and get your dispenser working again.
Step 1. Access the Dispenser Assembly
- Turn off the refrigerator and unplug it from the wall.
- Shut off the water supply to the fridge.
- Remove the dispenser tray by taking out the three screws under the front edge.
- Lift off the dispenser cover.
- Disconnect the wiring harness connecting the dispenser cover to the control board.
- Remove the four screws that hold the dispenser housing in place.
- Slide the dispenser housing out carefully.
Step 2: Remove the Old Dispenser Control Board
- Locate the dispenser control board inside the housing.
- Disconnect all wires and connectors from the board.
- Take out any screws or clips securing the control board.
- Gently pull the control board out of its position.
Step 3. Install the New Dispenser Control Board
- Place the new dispenser control board in the same spot.
- Secure it using the screws or clips you removed earlier.
- Reconnect all wires and connectors to the new board firmly.
Step 4. Reassemble the Dispenser Assembly
- Slide the dispenser housing back into place.
- Reattach the four screws to hold the housing securely.
- Reconnect the wiring harness from the dispenser cover to the new board.
- Put the dispenser cover back and fasten it with the three screws under the tray.
- Reinstall the dispenser tray.
Step 5. Restore Power and Water Supply
- Plug the refrigerator back into the outlet or switch the circuit breaker on.
- Turn the water supply back on.
- Test the water and ice dispenser to confirm the new board works correctly.
The Bottom Line
If your Frigidaire refrigerator’s dispenser stopped working, changing the control board might solve the problem. This small part manages the signals that let the dispenser give you water or ice. Following the repair steps can help you fix it on your own without needing help from a technician. You can avoid extra costs and waiting time. Once the parts are back in place and the power is on, test the dispenser. If it works right, then the new board is doing its job. With the dispenser working again, your fridge can go back to doing what it’s meant to, giving you cold water and ice when you need it.