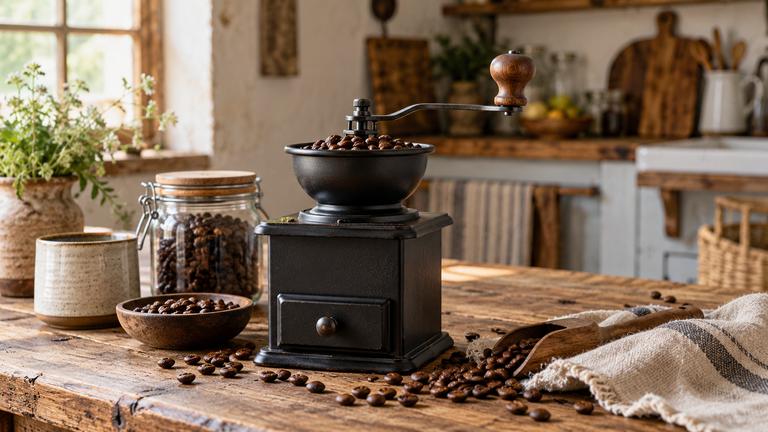
Grinder button stuck down, stuck up, or mushy to press? A sticky button is usually grounds or grime under the switch rather than a dead grinder, and it often cleans up easily.
Here is why the button sticks and how to fix it.
This article will teach you:
- Why the button sticks
- How grounds get under it
- What to clean first
- When the switch has failed
Why the Button Sticks
- Coffee grounds under or around the button.
- Sticky residue from oils and dust.
- A worn switch spring.
- A cracked button.
What You’ll Need
- A brush and cotton swabs
- A slightly damp cloth
- Your owner’s manual
Order the part with confidence
- Guaranteed to fit when you search by model number
- Same-day shipping on in-stock parts
- 365-day returns on any part
- Free tech support before and after you buy
How to Free a Stuck Button
- Unplug it. Always unplug before cleaning the switch.
- Brush around it. Clear grounds from the edges of the button.
- Wipe residue. Use a swab and a barely damp cloth around the button.
- Work it gently. Press the button several times to free the spring.
Pro Tip: Grounds work their way under the button over time and gum up the spring. A quick brush and swab around the switch fixes most sticky buttons without opening the grinder.
Didn't fix it? Ask a technician on the AppliancePartsPros forum.
Post your model number, the symptom, and what you've already tried. Appliance techs and experienced DIYers answer for free, usually the same day.
Ask the forum →80,000+ solved repair threads · no account needed to readWhen to Look a Little Deeper
Because a stuck button can look like other faults, it helps to compare, and reviewing a grinder that will not spin, a stuck motor, or an overheating grinder can reveal the cause.
When to Call a Pro
If cleaning does not free the button, the switch has failed. On many grinders a switch swap is possible; on cheap models, replacement is simpler.
Related guides
Wrapping Up
A stuck button is usually grounds under the switch. Here’s the recap:
- Unplug before cleaning.
- Brush grounds from the edges.
- Wipe residue with a swab.
- Work the button to free the spring.
Clean around the switch, and it usually frees up. You’ve got this.
Once you know which part failed, find the matching coffee maker parts by model number so the replacement fits the first time.
Still stuck after this guide?
Two free options: post your model number and symptom on the forum, or search the model number in the shop to see every part that fits.