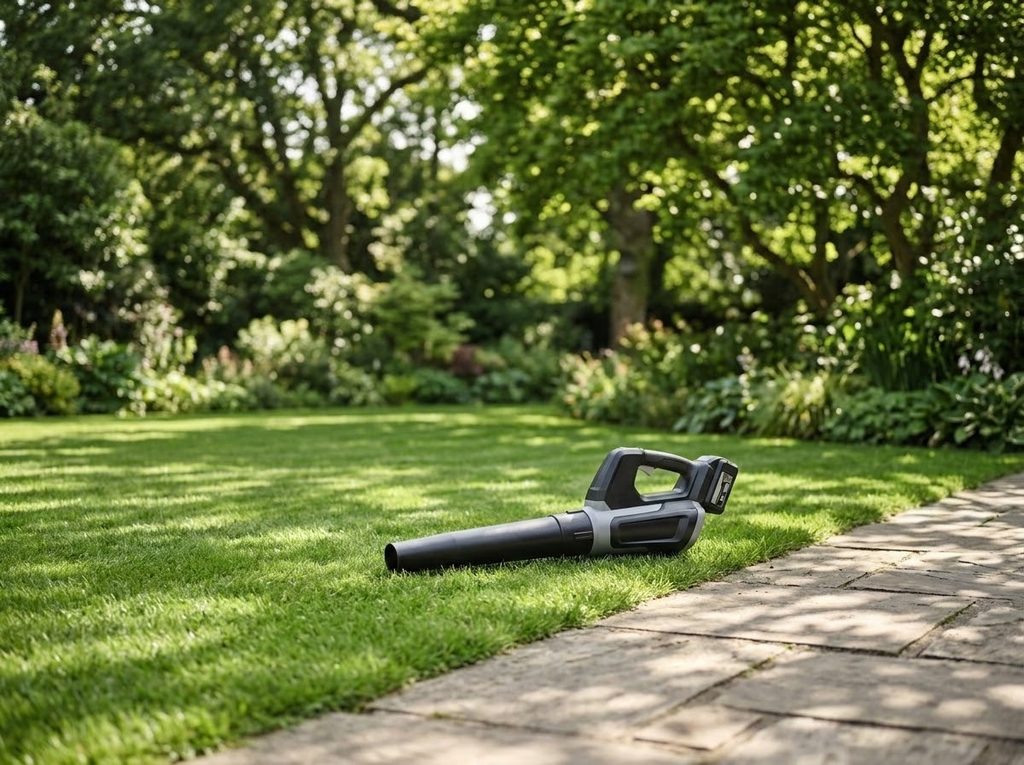
A cordless leaf blower may stop working because its battery is empty, worn, or not seated correctly. A blocked intake or failed switch can produce a similar result. Battery leaf blower troubleshooting works best when the easiest checks come first. The source procedure starts with the battery, then checks the switch and motor area before considering battery replacement and routine care.
Use a battery and charger approved for the blower’s exact model. Similar-looking packs can have different electrical requirements or connections. Record the model number before buying a replacement.
Common Symptoms to Note
These observations can help separate a battery issue from another fault:
- The blower does not start with a charged pack.
- Run time has declined over many charge cycles.
- The charger reports an error.
- The blower starts but stops when it warms up.
- Airflow is weak even though the motor runs.
- The switch works only intermittently.
A short run time by itself does not prove the motor has failed. Battery age, temperature, and load affect performance. A visible crack, bulge, or leak in a battery is different: stop using that pack and follow the manufacturer’s disposal guidance.
Safety Before the Checks
- Switch the blower off and remove its battery before opening the housing or clearing debris.
- Wait for the fan to stop completely before reaching near the intake or outlet.
- Keep hands and clothing clear of the blower wheel.
- Wear eye protection when removing packed leaves or dust.
- Do not charge a damaged, leaking, or swollen battery.
- Keep metal tools from bridging battery terminals.
- Follow the model’s battery handling and storage instructions.
The source page includes generic gas-engine safety text even though this article concerns a battery-powered blower. Gas tank and exhaust-fume directions do not apply to this equipment. The battery and moving fan are the relevant hazards here.
How to Troubleshoot a Battery Leaf Blower
Move through the phases in order. A passing battery test lets attention shift to the switch and motor path without buying parts at random.
Check the Battery Charge and Case
- Put the battery into its approved charger.
- Check the charger’s full-charge indicator.
- If the charger shows an error, consult its manual for the meaning.
- Inspect the battery case for cracks, bulges, or leakage.
- Replace a damaged pack with one specified for the blower model.
A charger light can show that charging finished, but it may not prove the pack performs under load. The next phase checks battery health more directly.
Compare Battery Performance
- Try a known working, compatible battery in the blower.
- Run the blower briefly. If it works normally, suspect the original pack.
- If a voltage test is appropriate for the pack, set a multimeter to DC volts.
- Put the red probe on the positive terminal and the black probe on the negative terminal.
- Compare the result with the battery label’s rated voltage. A much lower reading may indicate a pack that is not holding charge.
Do not open a battery pack to test its cells. Its external terminals and the manufacturer’s directions set the limit for this check. A reading near the label value still may not reveal how the pack behaves under load.
Test the On and Off Switch
- Remove the battery before accessing the switch terminals.
- Set the multimeter to continuity mode.
- Place the probes on the switch terminals.
- Move the switch to on and read the meter.
- Replace the switch if it does not show continuity when on, after confirming the model’s switch design.
Continuity means a closed electrical path. Many meters beep when they find one. A model with electronic speed control may require a different test, so the service information should govern the result.
Inspect the Air Path and Motor Connections
- Turn the blower off and remove the battery.
- Check the air intake and outlet for leaves or other obstructions, then remove accessible debris.
- Clear the motor’s cooling vents, using compressed air if the manufacturer permits it.
- Check whether tape, ties, or another object covers a vent.
- Open the housing only as the model’s instructions allow.
- Inspect serviceable motor brushes for wear and damage.
- Check visible electrical connections for looseness and look for damaged wires or solder joints that need qualified repair.
Some cordless motors have no serviceable brushes. Do not dismantle a sealed motor to follow a generic brush check. A blocked cooling vent can also trigger a protective shutdown, which may look like a battery failure until the air path is cleared.
Decide Whether to Replace the Battery
- Consider whether run time and power have declined gradually over many charge cycles.
- Compare the blower’s performance with a known good compatible pack.
- Weigh the price of the specified new battery against the condition and cost of the whole blower.
A new battery is worthwhile when the old pack is the demonstrated problem and the rest of the tool is sound. If two good packs produce the same failure, keep diagnosing the switch, motor, or control system.
Maintain the Blower
- Clean the blower after use.
- Store the battery in a cool, dry place.
- Charge it according to its manufacturer’s directions.
- If the blower model has an air filter, inspect it for dirt.
- Clean or replace that filter when needed.
Not every battery blower has an air filter. Check the manual before looking for one. Keeping vents open is useful for the models that rely on them for motor cooling.
What a Successful Fix Looks Like
Test the assembled blower outdoors with its approved battery. Look for these results:
- It starts without repeated switch attempts.
- Airflow stays steady through a short run.
- The battery stays securely seated.
- The motor does not shut down from a blocked cooling vent.
- There is no hot electrical smell or unusual grinding.
If the unit still stops under load, record the battery used, charge level, and time to shutdown. Those facts can help a repair technician identify a motor or control fault.
Wrapping Up
Battery leaf blower troubleshooting begins with charge and battery condition, then moves to the switch, airflow, and motor connections. A compatible spare pack is especially useful for separating battery wear from a tool fault. Once the cause is corrected, regular cleaning and proper charging can keep the blower ready for the next yard job.
When the test points to the part, shop leaf blower parts for your model and confirm the fit with the full model number before ordering.