
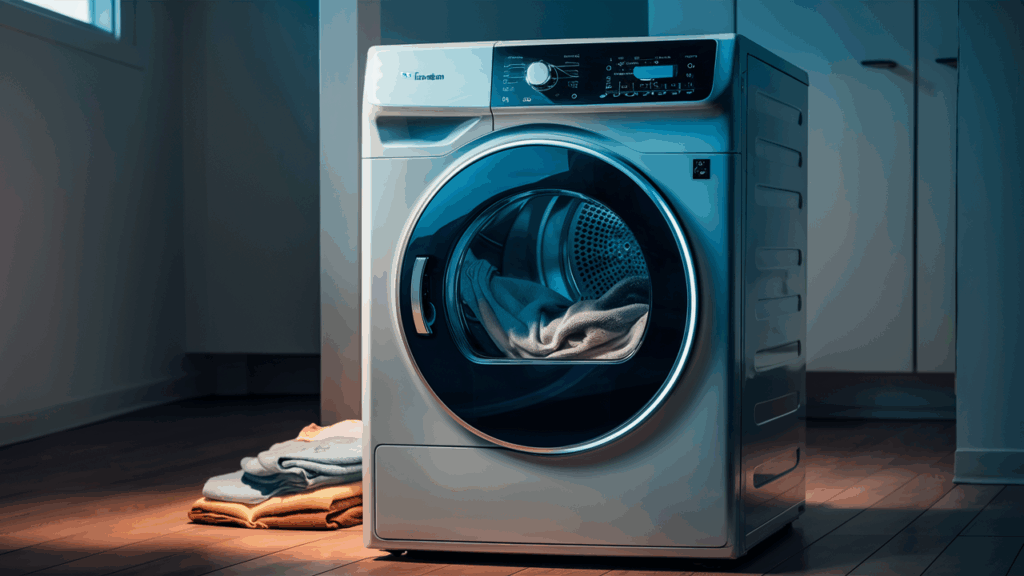
Is your dryer giving you trouble? Don’t stress! While it might seem like a big problem, a non-spinning drum is often a simple fix. The issue is likely a worn or broken drum belt—an affordable and easy-to-replace part. With basic tools and a little guidance, you can restore your dryer to working order without hiring a technician or purchasing a new appliance. Follow this step-by-step guide, and your laundry routine will be back on track in no time.
How to Recognize a Faulty Dryer Belt
The drum belt connects the drum to the motor via a pulley system, enabling the spinning action that tumbles your clothes. Here’s how to tell if your belt is causing issues:
- Drum Not Spinning: If your dryer runs but the drum doesn’t turn, the belt may have snapped or come loose.
- Unusual Noises: A rhythmic thumping noise—like tennis balls bouncing inside—could indicate a loose or stretched belt.
- Dryer Won’t Start or Stops Mid-Cycle: While these issues could point to other problems, they might also be caused by a damaged belt. A quick visual inspection can confirm.
- Manual Drum Test: Turn the dryer drum manually. If it moves easily, the belt is likely broken or slack. If you feel resistance, it’s probably still intact.
- Visual Inspection: Open the dryer lid for a closer look. After removing a few screws to lift the top, you’ll have a clear view of the belt and drum. Check for cracks, thinning, or breaks in the belt.
Common Causes of Dryer Belt Failure
Understanding what causes a belt to wear out can help you prevent future problems:
- Overloading the Dryer: Consistently overloading the dryer puts unnecessary strain on the belt, leading to quicker wear and tear.
- Age and Regular Use: Over time, the belt naturally wears out due to the heat and constant motion it endures during each cycle.
- Heat Damage: Extended exposure to high temperatures can weaken the belt’s rubber, causing it to warp or crack.
- Misaligned Components: If the motor or pulley system is misaligned, the belt may not run smoothly, accelerating wear.
- Poor Maintenance: Dirt and lint buildup inside the dryer can create friction that damages the belt over time.
Tools You’ll Need
Before you start, gather these items:
- OEM dryer drum belt
- Phillips and flathead screwdrivers
- Socket or nut driver (5/16 in for most models)
- Putty knife
- Work gloves
How to Replace a Dryer Drum Belt
Follow these steps to replace the drum belt in your dryer efficiently and safely.
Disconnect Power
- Turn off the power to the dryer by unplugging it or switching off its circuit breaker.
Access the Dryer Interior
- Remove screws near the lint trap or flip the lid up, depending on your dryer model.
- Use a putty knife about two inches in from the front corners to pop the lid loose.
- Lift the lid and rest it on a stable surface without completely detaching it.
Disconnect the Door Switch
- Locate the door switch wire harness near the front of the dryer.
- Use a flathead screwdriver to release the locking clip securing the wire harness and disconnect it.
Remove the Front Panel
- Remove the two hex-head screws holding the front panel in place with a socket or nut driver.
- For single-piece front panels, pull the panel forward, lift it off the bottom mounting brackets, and set it aside.
- For two-piece panels, pop the lower access panel off using a putty knife, remove its springs, and loosen the screws on the upper panel enough to remove it.
Remove the Old Belt
- Locate the dryer belt near the bottom back of the appliance.
- Push the idler pulley arm toward the outside of the dryer to slacken the belt.
- Slide the old belt off the motor pulley and remove it from the drum.
Install the New Belt
- Straighten any twists in the new belt and slide it onto the drum in the same position as the old belt.
- Lift the idler pulley and push it toward the side of the dryer.
- Thread a loop of the belt through the idler pulley’s lower opening and hook it around the motor pulley.
Reinstall the Front Panel
- For single-piece panels, align the panel with the bottom mounting brackets, push it into place, and lift the drum slightly to fit it into the front seal.
- Reinstall the screws to secure the front panel.
- For two-piece panels, tighten the upper screws, reattach the springs to the lower panel, and press the lower panel into place.
Reconnect the Door Switch and Reassemble
- Reconnect the door switch by plugging the wire harness halves back together.
- Lower the dryer lid and press it into place so it locks onto the tabs.
- Reinstall the screws near the lint trap to secure the lid.
Test the Dryer
- Reconnect the dryer to power and test its operation.
Preventing Future Dryer Belt Issues
Proper care and attention can help prolong the life of your dryer belt:
- Stick to recommended load sizes to reduce stress on the belt.
- Regularly removing lint prevents overheating and reduces wear on internal components.
- Check for signs of wear, such as cracks or thinning, and replace the belt before it snaps.
- Avoid overusing high-heat settings, which can cause excessive strain on the belt.
- Periodically clean the inside of your dryer to remove dust and debris that can interfere with operation.
To Recap
Now that you know how to replace your dryer drum belt, it’s clear that the process isn’t as complicated as it may first seem. With just a few basic tools and a little time, you can get your dryer back to working order without needing a professional. Taking care of your dryer will help it last longer and save you money in the long run.