

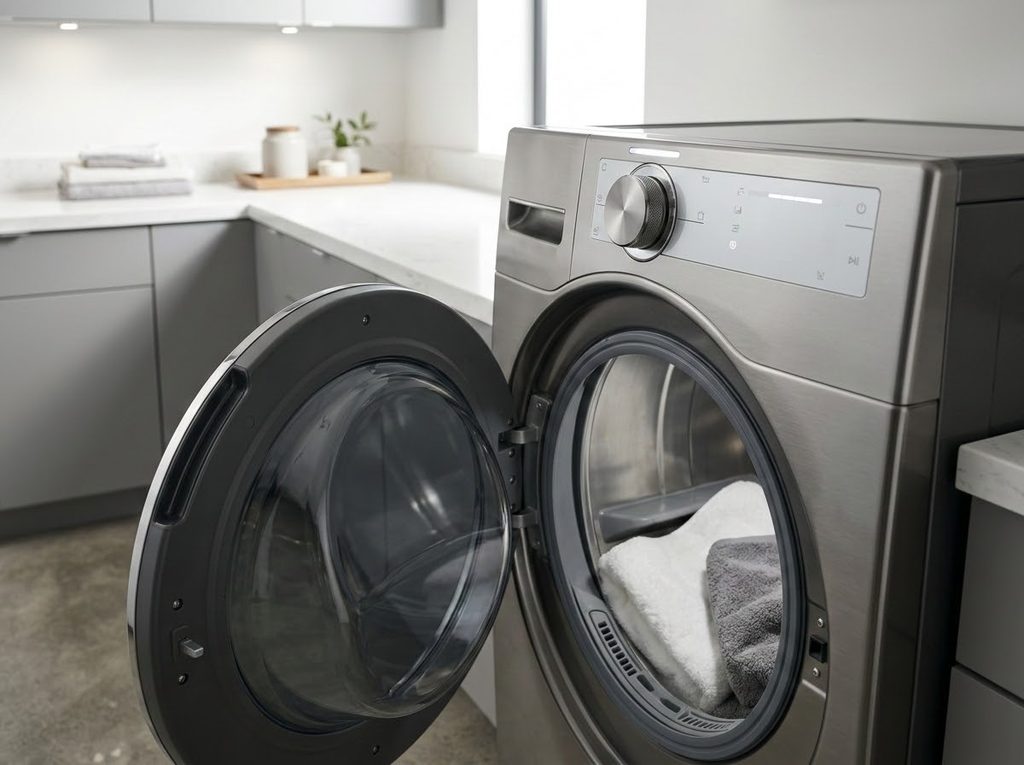
A Bosch dryer that stops with an E13 code may have exceeded the drying time allowed by its control. The exact meaning depends on the model’s technical sheet, so the code should be confirmed before parts are bought. In the source procedure, Bosch dryer E13 error troubleshooting begins with heat and load size, then checks the exhaust path, blower, sensors, connections, and control board.
Long dry times can come from a full drum or lint buildup without an electronic failure. Those accessible checks deserve attention before a control board is considered. The source also includes live electrical tests, which belong with a qualified repair professional.
Conditions That Can Extend Drying Time
The source identifies these possible causes:
- A heating element or gas heating component is not working correctly.
- The drum is overloaded or holds dense items that cannot tumble freely.
- Lint restricts the exhaust duct or outdoor vent.
- A blower wheel is dirty or cannot move air properly.
- A thermistor reports an incorrect temperature.
- A wire connection or control relay has failed.
These possibilities should be tested, not assumed. A clogged exhaust can also be a fire hazard. If a gas dryer has a persistent gas smell, leave the area and contact the gas utility from outside.
Safety Before Troubleshooting
- Unplug the dryer or switch off its breaker before opening any panel.
- Let heating parts cool before touching them.
- Shut off the gas supply before working on a gas model’s internal parts.
- Wear gloves around sharp cabinet edges and eye protection around lint.
- Do not run the dryer with an open cabinet or exposed wiring.
- Leave live voltage measurements and energized harness checks to a qualified technician.
- Keep the exhaust path clear before returning the dryer to regular use.
The source suggests checking voltage during operation and moving harnesses while the dryer runs. These are hazardous diagnostics. A trained technician should handle them with the correct service procedures. The homeowner checks can begin with load size, accessible lint, and visible damage with power off.
How to Troubleshoot a Bosch Dryer E13 Error
Follow the source’s order, using the exact model’s resistance and wiring information. Do not substitute a general reading for the model’s test chart.
Check the Heating Circuit
- Have a qualified technician verify the voltage supplied from the main control to the heater during operation.
- With power disconnected and parts cool, inspect the heater for charring or broken coils.
- Test continuity through the heater circuit with a multimeter.
- Remove the wire leads from the element terminals for its resistance test.
- Set the meter to ohms and probe the element terminals.
- Compare the reading with the model specification. The source describes roughly 10 to 20 ohms for a working element and OL or infinity for an open circuit.
- Replace an open heating element after confirming the diagnosis.
- Reconnect the element leads and restore power only after reassembly.
- If more diagnosis is needed, a technician can perform the source’s live voltage check. The source cites 240 volts for an electric heater or 120 volts for gas burner controls and points to a relay fault when the expected supply is absent.
The source’s general values should be checked against the dryer rating and service sheet. Gas and electric versions use different heating components.
Correct the Load Size
- Read the owner’s manual for the drum capacity.
- Leave room for garments to lift and tumble; the source suggests a drum about half to three-quarters full.
- Split an oversized load into smaller batches.
- Use an appropriately sized commercial dryer for very heavy bedding when needed.
- Separate lightweight and heavyweight fabrics where practical.
- Avoid tightly packed loads that restrict tumbling and airflow.
One smaller test load can show whether the error is tied to how the dryer was filled. If normal loads still take too long, continue to the vent and blower.
Clean the Exhaust Path
- Disconnect power, then detach the flexible metal exhaust duct for inspection.
- Support it so it does not kink.
- Use a flashlight to find tears or holes.
- Check that duct sections and elbows are properly joined and sealed.
- Brush lint from the duct with the source’s vacuum brush attachment.
- Clean from the dryer outlet toward the exterior hood with the vacuum hose and brush.
- Use repeated strokes to loosen deposits.
- Remove the outdoor hood cover and clear packed lint at the outlet with a small wire brush.
- Clean lint from the hood screen.
- Secure loose or sagging connections and check the model’s vent routing requirements.
The source specifies an exhaust slope of one-quarter inch per foot. Confirm the installation requirements for the actual dryer and building before changing duct slope. Replace torn ducting rather than leaving a lint leak.
Inspect the Blower Wheel
- Keep dryer power disconnected.
- Locate the blower chamber described by the model’s service information.
- Vacuum lint around the wheel.
- Remove the wheel by releasing its center retaining nut where the design permits.
- Avoid bending its fins.
- Wipe the wheel with a lint-free cloth.
- Turn it by hand to check for wobble or friction.
- Remove lint from the motor mount and vent housing.
- Refit the wheel and reassemble the dryer.
- Test the dryer and listen for rubbing or unusual noise.
A wheel that is cracked or cannot stay secure needs a correct replacement, not more cleaning.
Check Sensors, Wiring, and Control
- Measure each thermistor’s resistance as directed by the model’s chart. The source mentions about 10,000 ohms at the outlet and 25,000 ohms near the heat source at room temperature, but these values are not universal.
- Warm the sensor gently with a hair dryer during the resistance test and compare the changing reading with its temperature chart.
- Replace a thermistor only if the reading fails the model’s chart.
- With power off, inspect harness plugs, pins, grounds, and terminal connections for damage or looseness.
- Have a qualified technician perform any energized intermittent-connection check from the source.
- Secure a loose plug or replace damaged harness wiring as the diagnosis requires.
- Recheck airflow, heater, sensors, and connections before considering the control board as a last resort.
The control board is not the first part to replace because several common airflow and heating faults can produce the same long cycle.
What to Verify After a Fix
Run a normal-sized load and watch for these results:
- Clothes tumble freely.
- Warm air exits through an open outdoor vent.
- Drying finishes within the expected cycle.
- The E13 code does not return.
- No hot odor, unusual noise, or gas smell appears.
If E13 returns, record the model, cycle, load size, and checks already completed. That record helps a technician focus on the remaining heat or control fault.
To Wrap Things Up
Bosch dryer E13 error troubleshooting starts with the conditions that commonly extend a cycle. A sensible load and clear exhaust path should be confirmed before sensors or controls are blamed. Live electrical checks need professional equipment and training. Once the cause is corrected, a normal load and full cycle provide the useful final test.