

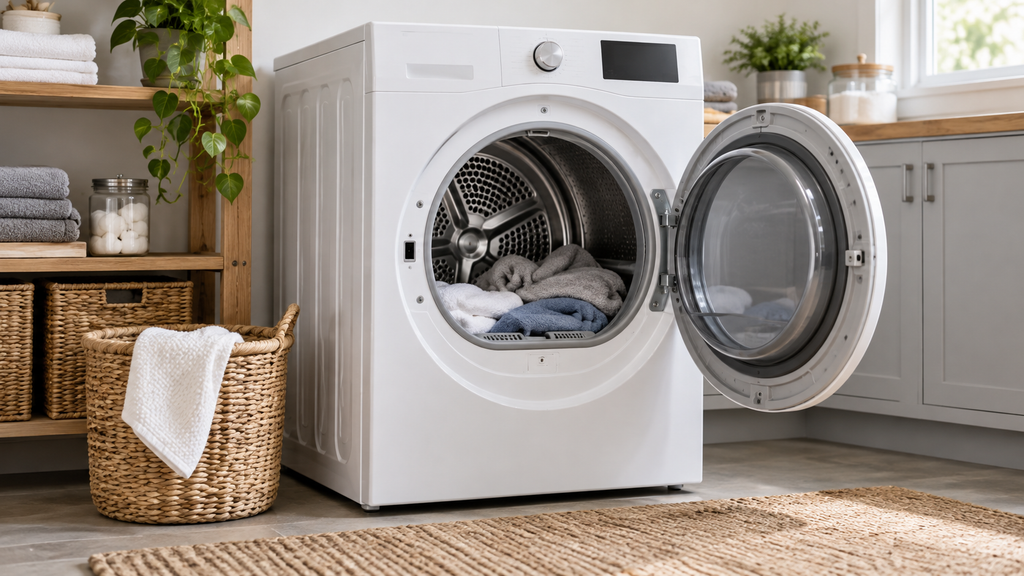
Long drying times and excess heat often start with restricted exhaust flow behind the dryer. Flexible dryer vent hose replacement removes crushed, damaged, or poorly routed ducting and creates a shorter path for moist air to leave the appliance.
A clean dryer lint filter and open duct work together. Replacing the connector hose also provides a chance to inspect the wall outlet, exterior flap, and the space needed for a smooth bend.
Dryer vent hose installation should follow the connector material and clearance rules in the dryer manual and local code. Approved metal duct resists heat and holds its shape better during careful positioning.
A clogged dryer vent hose may be only one section of a longer exhaust restriction. The connector, wall duct, exterior hood, and moving flap all need a clear path before a successful repair can be confirmed.
Before work begins, the repair area should be photographed in its undisturbed state. That record can show the original position of a connector, fastener, hose, bracket, or cover when reassembly reaches a point that looks uncertain.
The final test should answer the complaint that led to flexible dryer vent hose replacement. A short, controlled test limits strain on the serviced appliance and gives the repair area time to reveal looseness, leakage, noise, heat, or poor movement before normal use resumes.
Why Vent Hose Routing Matters
The connector must carry warm, lint-filled air without collapsing or collecting debris. Regular care for dryer vents helps drying performance and reduces heat around the appliance.
- A hose pressed flat behind the cabinet sharply reduces its open area.
- Extra length can form loops and low spots where lint settles.
- Sharp bends slow airflow and make the connector harder to clean.
- Loose joints can release warm moisture and lint into the laundry area.
- A blocked outside flap can keep a correctly installed hose from exhausting well.
Tools and Parts
Gather the following items before the cabinet or housing is opened.
- Screwdriver
- Adjustable pliers
- Vent clamps
- UL-listed foil tape
- Vent brush
- Vacuum with crevice tool
- Metal vent hose
Safety
- Unplug an electric dryer before moving it or touching the vent connection.
- Turn off the gas supply before moving a gas dryer.
- Stop if a gas odor is present and contact a qualified service provider.
- Wear gloves around sharp metal duct edges and clamps.
- Do not use open flame to check a gas connection.
- Keep the power cord and gas connector free from strain while the dryer is moved.
- Replace plastic or thin foil accordion duct with an approved metal connector where local rules require it.
How to replace a flexible dryer vent hose
Follow these steps for flexible dryer vent hose replacement while keeping every removed fastener and connection organized.
Disconnect the Dryer and Clean the Openings
- Unplug the dryer and move it forward far enough to reach the exhaust outlet. Turn off the gas supply first when the appliance uses gas.
- Vacuum and brush lint from the dryer outlet and the wall vent. Clear debris from the exterior opening and confirm that its flap moves freely.
Plan and Attach the New Hose
- Plan the shortest practical route between the dryer and wall. Avoid loops, tight turns, and sagging sections, leave slight service slack, and trim unneeded length.
- Slide one end of the hose over the dryer outlet, tighten the clamp, and seal the joint with approved foil tape. Keep the hose round instead of crushing it against the outlet.
- Fit the other end over the wall or floor vent collar, add the second clamp, and seal that joint with foil tape while keeping the connection round.
Restore the Dryer and Test Airflow
- Restore power and gas as applicable, then slide the dryer back slowly. Leave enough gap for a smooth hose curve and confirm that both ends remain attached.
- Run a short dryer cycle and check the outside exhaust flap for strong airflow. Inspect both indoor joints for movement, leakage, or a hose that begins to collapse.
Signs the Old Hose Needs Replacement
Several warning signs can point to a damaged or dryer vent connection behind the appliance.
- Clothes need another cycle even after the lint screen has been cleaned.
- The top or sides of the dryer feel hotter than they did during normal use.
- The laundry room becomes warm, humid, or dusty while the dryer runs.
- The hose has a visible tear, flattened section, loose seam, or missing clamp.
- Lint collects behind the dryer or around either end of the connector.
- The outside flap opens weakly even though the dryer is running.
Common Installation Mistakes
A new connector can clog early when its route or joints are poorly arranged.
- Leaving several feet of extra hose creates bends that trap lint.
- Pushing the dryer tightly against the wall can flatten a new connector.
- Using ordinary cloth duct tape allows heat and age to loosen the seal.
- Driving a screw through the duct wall gives lint a place to collect.
- Skipping an outdoor check can leave a dryer vent beyond the new hose.
- Returning power before the cabinet is positioned overlooks safe electric dryer handling during the job.
Ongoing Vent Care
Routine checks keep the new path open and make later cleaning more effective.
- Remove lint from the dryer lint trap before or after every load.
- Schedule a deeper dryer vent check when drying time rises or exterior airflow falls.
- Look behind the dryer after it has been moved for cleaning or floor work.
- Keep the outdoor hood free of leaves, nests, snow, and packed lint.
- Use a long brush for periodic dryer vent cleaning when the complete duct route is accessible.
- Arrange professional cleaning for a long, concealed, or difficult-to-reach vent run.
What’s Next?
A short, smooth connector gives exhaust air a direct route outdoors. Tight clamps, approved foil tape, and enough space behind the dryer help the hose stay round and secure.
The outside flap provides a useful final check whenever drying time changes. Regular lint removal and a quick look behind the dryer can keep the new installation working well.