
Kenmore top-load washers that fail to agitate or spin often point to a gearcase problem. The gearcase transfers movement from the motor to the agitator and the spin basket. When this part wears out or breaks, the washer may fill with water but stop during the wash or spin cycle. Replacing the gearcase can restore normal washer movement and help the machine run as expected again.
Common Signs Of A Failed Gearcase
A worn or damaged gearcase often causes noticeable changes in washer behavior. These symptoms usually appear during the wash or spin cycles.
- Washer fills with water but does not agitate
- Agitator moves slowly or not at all
- Spin basket does not spin or spins weakly
- Loud grinding or rumbling noises during operation
- Oil leaking under the washer
- Burning smell during agitation or spin
- Washer stops mid cycle without draining
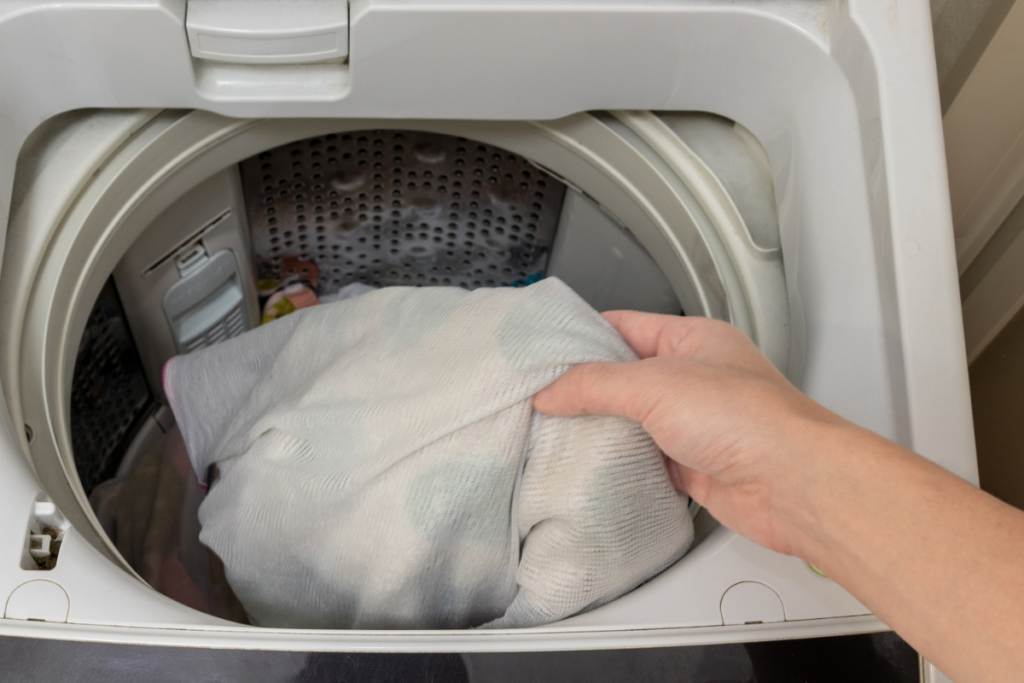
- Agitator moves but clothes remain soaked
- Spin cycle leaves laundry heavy and dripping
What Causes Gearcase Problems
Gearcase failure often develops over time due to normal use or related mechanical issues. Understanding common causes helps confirm whether replacement is needed.
- Normal wear from years of regular washing
- Overloading the washer drum repeatedly
- Washing heavy items like blankets too often
- Oil breakdown inside the gearcase
- Internal gear damage from sudden load shifts
- Worn bearings inside the transmission
- Washer used on an uneven floor
- Delayed repairs to related drive components
- Motor strain caused by restricted movement
When Gearcase Replacement Makes Sense
Not every washer problem requires a new gearcase. These situations often point toward replacement rather than minor repair.
- Washer agitates or spins inconsistently across cycles
- Oil residue appears under the center of the washer
- Noise continues after replacing the drive coupler or belt
- Agitator shaft shows excessive play
- Washer motor runs but tub does not move
- Repair cost remains lower than washer replacement
- Gearcase damage confirmed during inspection
- Repeated cycle failures with no electrical faults found
What You Need
- Flat blade screwdriver
- Putty knife
- 7/16 inch socket
- 1/2 inch socket
- Replacement gearcase matched to your washer model
- Blanket or padding to protect the floor
Safety Guidelines
Working on a washer involves electrical parts, moving components, and sharp edges. Follow these safety steps before starting.
- Power off and unplug the washer or switch off the circuit breaker to remove electrical current
- Turn off the water supply valves before beginning the repair
- Keep towels nearby to catch leftover water from hoses or internal parts
- Allow the washer to cool down if it was recently used
- Move slowly and carefully to reduce the risk of injury
- Work in a bright area so all parts are easy to see
- Keep the workspace clear and keep pets and children away
- Keep hands and tools dry at all times
- Check the user manual for model specific instructions
- Handle parts carefully to avoid bending or cracking components
- Wear insulated work gloves to protect hands from sharp edges
- Avoid Direct contact with exposed wires or terminals and use insulated tools when needed
How to Replace the Gearcase in a Top-Load Kenmore Washer
Follow these steps to remove the old gearcase and install a new one correctly.
Step 1. Access the console and cabinet
- Turn off the washer and unplug it from the power outlet.
- Locate the clips on the left and right sides of the console.
- Slide a putty knife under the console about one inch from each end.
- Push the clip toward the back of the washer while prying up and pulling the console forward.
- Repeat the process on the opposite side.
- Flip the console back to expose the components underneath.
- Locate the two brass clips securing the cabinet to the back panel.
- Use a flat-blade screwdriver to push down and release both clips.
- Disconnect the lid switch wiring connector.
- Tilt the cabinet forward and slide it off the washer frame.
- Set the cabinet aside.
- Remove the fabric softener cup or agitator cap.
- Remove the dust cover from inside the agitator.
- Use a 7/16-inch socket to remove the agitator bolt.
- Lift out the agitator and remove the retaining clip if present.
Step 2. Remove the drain pump and motor
- Locate the drain pump at the center bottom of the washer under the tub.
- Use a flat-blade screwdriver to remove the two clips holding the pump in place.
- Slide the pump forward and off the motor shaft.
- Leave the hoses attached and move the pump aside.
- Use a flat-blade screwdriver to remove the two clips securing the motor to the gearcase.
- Disconnect the wire harness from the motor.
- Remove the motor and set it aside.
Step 3. Remove and install the gearcase
- Pull the washer away from the wall to create space.
- Place a folded blanket on the floor.
- Carefully lay the washer on its back.
- Locate the three 1/2-inch bolts holding the gearcase in place.
- Remove all three bolts.
- Slide the gearcase straight out of the washer.
- Remove the clutch from the old gearcase if it will be reused.
- Use a flat-blade screwdriver to remove the clutch retainer and retainer ring.
- Slide the clutch off the shaft.
- Remove the coupler from the old gearcase if it will be reused.
- Replace the coupler if it is seized or damaged.
- Transfer the motor bracket and wire harness connector to the new gearcase.
- Install the clutch, coupler, motor bracket, and wire harness connector onto the new gearcase.
- Slide the new gearcase into position.
- Reinstall and tighten the three 1/2-inch mounting bolts.
- Reinstall the motor and secure it with the retaining clips.
- Slide the drain pump onto the motor shaft and secure it with its clips.
- Reconnect the motor wire harness.
- Reconnect the lid switch wiring.
Final steps
- Lift the washer back into the upright position.
- Reinstall the agitator, dust cover, and agitator cap.
- Slide the cabinet back onto the washer frame.
- Reinstall the brass cabinet clips.
- Flip the console back into place and snap it onto the cabinet.
- Reconnect the water supply hoses.
- Plug the washer back in or restore power at the breaker.
- Run a test cycle to confirm proper operation.
Closing Thoughts
A failed gearcase can stop a Kenmore top load washer from doing its main job. When the agitator and spin basket no longer move the right way, laundry stays wet and cycles feel incomplete. This guide walks through the signs, causes, and repair steps so the problem feels clearer and more manageable. Knowing what the gearcase does and how it fails helps confirm when a replacement makes sense.
With the right tools, careful steps, and basic safety habits, this repair can bring the washer back to normal use. A smooth test cycle at the end shows that power, movement, and water flow work together again. Regular load sizes and steady use can also help the new gearcase last longer and keep wash days on track.