
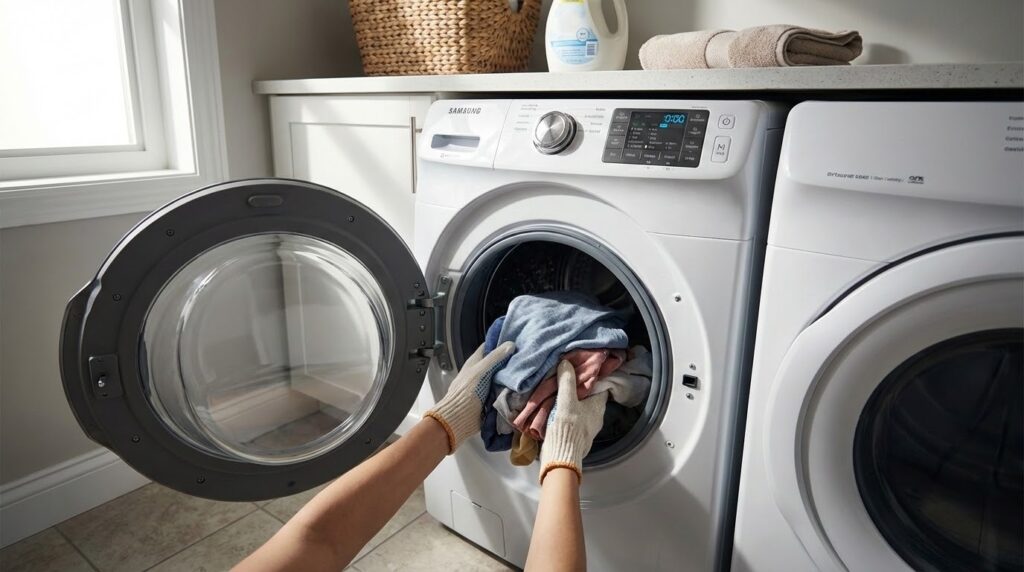
GE washers that stop draining can leave clothes soaked and laundry routines delayed. This issue is common and often linked to a few specific components that control how water exits the machine. With basic tools and careful inspection, many drainage problems can be identified and fixed at home.
In most cases, the problem involves the drain pump or the control board. These parts manage water removal during the wash and spin cycles. The steps below walk through what to check and how to approach repairs safely before deciding whether replacement parts or professional service are needed.
Common Reasons a GE Washer Will Not Drain
Several conditions can prevent proper drainage, even when the washer powers on normally.
- Clogged drain pump filters caused by lint, coins, hair, or fabric fibers
- Blocked drain hose from soap residue or small objects
- Kinked or pinched drain hose restricting water flow
- Failed drain pump motor that no longer spins
- Loose or damaged wiring connected to the pump
- Control board communication issues preventing drain commands
- Lid switch or door lock problems stopping the drain cycle
- Overloaded washer drum creating excessive resistance
- Excess detergent buildup creating thick suds
- Improper installation of the drain hose height
Warning Signs of a Drainage Problem
Recognizing early symptoms can help prevent more serious damage.
- Standing water left in the drum after a cycle
- Washer stops mid cycle without spinning
- Humming sound coming from the pump area
- Clothes coming out heavier than normal
- Error codes related to draining or spinning
- Slow draining during rinse cycles
- Water backing up into the drum
- Strong odors caused by trapped water
- Washer door remaining locked after cycle ends
- Suds remaining long after the wash cycle finishes
Tools You’ll Need
Have the following tools ready before starting:
- Multimeter
- 1/4 inch nut driver
- 3/8 inch nut driver
- Pliers
- Putty knife
Safety Precautions
Safety should always come first when working on any appliance. Follow these guidelines before beginning repairs:
- Power off and unplug the washer or switch off the circuit breaker to reduce the risk of electric shock.
- Turn off the water supply at the outlet and keep towels nearby to catch any remaining water when parts are removed.
- Allow the washer to cool completely if it was recently used.
- Work slowly and carefully to reduce the risk of mistakes or injury.
- Use proper lighting so internal components are easy to see.
- Keep the work area clean and free of clutter. Children and pets should stay away from the workspace.
- Never work on internal components with wet hands or in a damp area.
- Check the user manual for model-specific safety or installation instructions.
- Handle parts gently to avoid damaging components or causing injury.
- Wear insulated work gloves to protect hands from sharp metal edges and debris.
- Avoid touching exposed wires or terminals. Use non-conductive tools or insulated gloves when necessary.
- Do not test live voltage with a multimeter unless you are familiar with safe testing procedures.
- Wear safety glasses or a dust mask when working around dust, debris, or cleaning chemicals.
How to Troubleshoot a GE Washer That Won’t Drain
Follow these steps to locate the cause of a GE washer that will not drain by checking the drain pump, control board, and related wiring.
Step 1. Access the Drain Pump
- Disconnect the washer from power.
- Insert a putty knife under the front edge of the top panel to locate the two retaining clips.
- Push inward on each clip until the front panel releases.
- Pull the front panel forward at a slight angle.
- Lift the panel off the lower tabs and remove it from the cabinet.
- Locate the drain pump at the bottom right of the washer.
Step 2. Test the Drain Pump
- Plug the washer back in.
- Set the multimeter to AC voltage (V with a wavy line).
- Locate the two wires connected to the drain pump.
- Place the washer into drain mode.
- Touch one multimeter probe to each pump wire terminal.
- Check for a reading of approximately 120 volts AC.
- Replace the drain pump if 120 volts is present but the washer does not drain.
- Unplug the washer if no voltage is present.
Step 3. Access the Control Board
- Move to the back of the washer.
- Remove the four 1/4-inch screws securing the top panel.
- Slide the top panel back and roll it forward to disengage it from the cabinet.
- Set the control board on the top panel.
Step 4. Test the Control Board
- Plug the washer back in.
- Set the multimeter to AC voltage.
- Locate connectors J11 and J10 on the control board.
- Test from J11 terminal 4 (white wire with red stripe) to J10 terminal 1 (red wire with black stripe).
- Look for a reading of approximately 120 volts AC.
- Check the outlet or wiring if no voltage is present.
- Place the washer into drain mode.
- Test from J11 terminal 5 (black wire) to J10 terminal 1 (red wire with black stripe).
- Replace the control board if no voltage is present.
- Inspect wiring or replace the drain pump if voltage is present but the washer still does not drain.
In Summary
A GE washer that will not drain usually points to a small group of parts that handle water flow and cycle control. Once the warning signs show up, a careful check of the drain pump, hoses, wiring, and control board can reveal the real cause. Many of these problems come from clogs, wear over time, or simple electrical faults rather than a full machine failure.
Taking a step by step approach helps narrow things down without guesswork. Basic tools and patience often go a long way, especially when testing the pump or checking for proper voltage. When a clear fault shows up, replacing the right part can restore normal draining and prevent repeat issues.
If testing feels uncomfortable or the washer still refuses to drain after checks, professional service may save time and prevent further damage. Either way, understanding how the drain system works makes future problems easier to spot and keeps laundry days running on schedule.