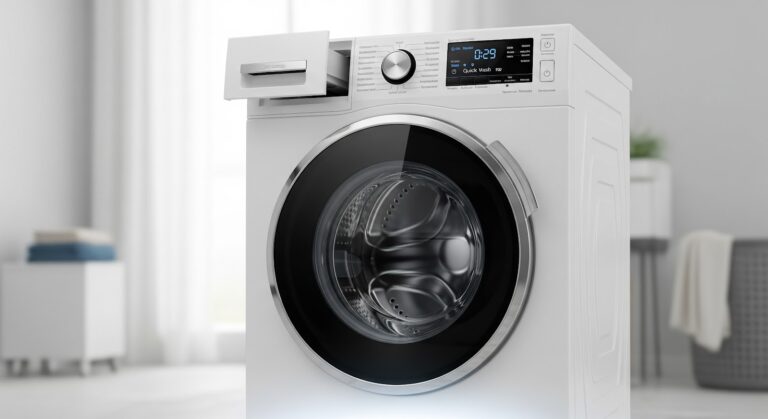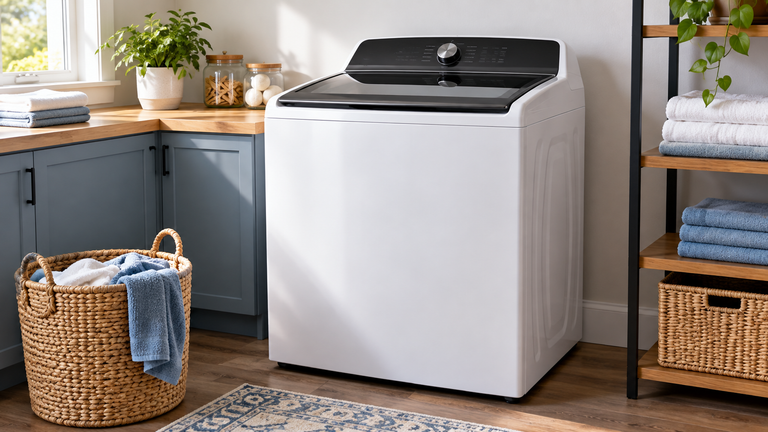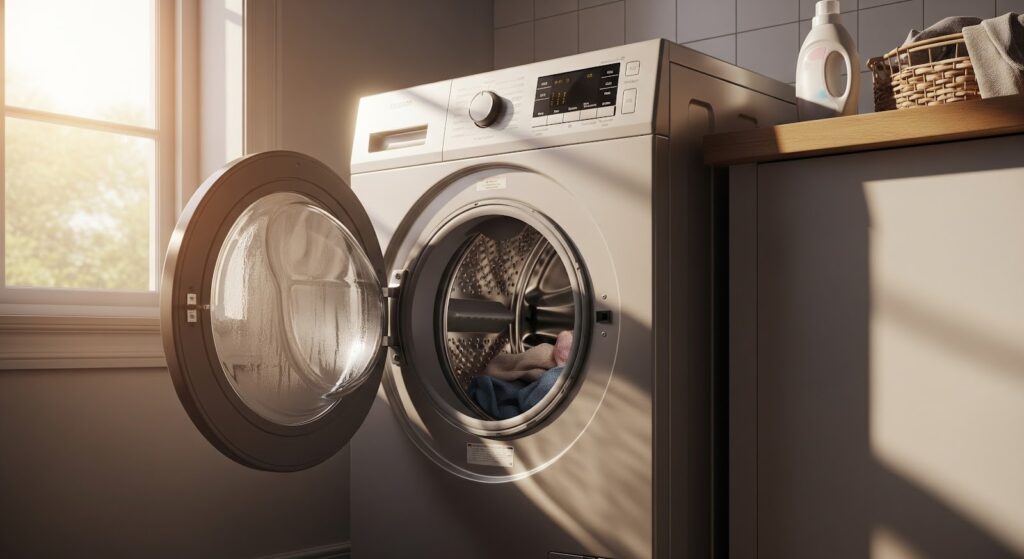
Installing a new washing machine might feel intimidating at first, but it’s simpler than you think. With some preparation and the right tools, you can set up your washer confidently and correctly.
This guide walks you through every step of the installation process so you can get it right on the first try. You’ll also find helpful tips to keep your washer running efficiently for many years.
Quick diagnosis table
Here are the hiccups most first-time installs run into and what the guide says to do about each.
| Symptom detail | Likely cause | What to check | Fix or part |
|---|---|---|---|
| Water leaks at supply hose | Loose fitting or cracked hose | Inspect hoses, check fittings after test cycle | Tighten fitting or replace hose |
| Washer vibrates or walks during cycle | Machine not level | Place a level on top of washer | Twist leveling feet until even |
| Loud banging on first cycle | Carriage bolts left in place | Check back of machine for transport bolts | Remove bolts with a wrench |
| Drain hose slips out of standpipe | Hose not secured | Check hose position at standpipe or sink | Secure the drain hose |
| Hoses will not reach connections | Water connections too far away | Measure distance to outlets | Use longer supply hoses |
| Old hoses stuck on fittings | Fittings too tight to loosen by hand | Try loosening by hand first | Use pliers to loosen |
What You’ll Need
- Water supply hoses
- Drain hose
- Drain pan (optional, but useful for leak prevention)
- Measuring tape
- Level
- Bucket
- Pliers
- Wrench
How to Install a Washing Machine
Follow these steps to correctly set up your washing machine from start to finish. Always review your washer’s user manual for any model-specific instructions before beginning.
Select the Installation Spot
- Select a location that has access to water supply lines, a drain, and an electrical outlet.
- The floor must be level, and the temperature should stay above 32°F.
- Measure the space and doorways so the washer fits properly.
Remove the Old Washer
- Unplug the old washer and turn off the water supply.
- Disconnect the hoses and drain any remaining water into a bucket.
- Use pliers if the hoses are too tight to loosen by hand.
Unpack the New Washer
- Remove all packaging materials, including tape and any items inside the drum.
- If there are carriage bolts on the back of the machine, remove them with a wrench. These bolts protect the drum during transport.
Position the Washer
- Clear the area of debris and slide the machine into place.
- Leave space behind the washer for connecting hoses and cords.
- Ask for help if the washer is too heavy to move safely.
Connect the Water Supply Hoses
- Attach the hot and cold hoses to the correct connections on both the washer and water outlets.
- Inspect the hoses for cracks or damage and replace them if needed.
- Hand-tighten the hoses and use plumber’s tape if desired to prevent leaks.
- Use longer hoses if the water connections are too far away.
Set Up the Drain Hose
- Insert the drain hose into the standpipe, laundry sink, or floor drain.
- Secure the hose to prevent it from slipping or leaking.
- A drain pan may be used temporarily to catch water during installation but should be removed before use.
Plug In the Washer
- Plug the washer into a grounded electrical outlet.
- Slide it into its final position with adequate ventilation space behind it.
Level the Washer
- Place a level on top of the washer.
- Twist the leveling feet to make the washer even from front to back and side to side.
- A properly leveled washer reduces vibration and movement during operation.
Run a Test Cycle
- Run a short test cycle to confirm the washer operates correctly.
- Check for leaks and unusual sounds.
- Tighten loose fittings and replace damaged hoses if necessary.
Keep Your Washer Running Like New
Once the installation is complete, taking care of your washer will help it perform well for a long time. Follow these best practices for consistent results and fewer repairs:
- Pre-rinse dirty items: Rinse or shake off heavily soiled or hairy clothing before loading to reduce the chance of clogs and residue buildup.
- Avoid overloading: Fill the drum no more than two-thirds full. Overloading strains the motor and prevents proper cleaning.
- Inspect and clean hoses yearly: Look for cracks or leaks, and clear out filters to reduce the risk of water damage.
- Deep clean annually: Run a “Clean Cycle” or use a washer cleaner such as Affresh® Washer Cleaner to remove residue, grime, and mold.
Related guides
Final Thoughts
A new washer doesn’t have to be a hassle. Once you’ve gone through each step, it’s really just a matter of connecting hoses, leveling the machine, and running that first test load. Taking a little time to set things up carefully saves you from leaks, noise, and uneven cycles later on. Keep up with small habits like cleaning the drum and checking the hoses, and your washer will handle loads smoothly for years. With this setup guide, you’ve got everything you need to get your laundry routine off to a clean start.
When the test points to the part, shop washer drain hose parts for your model and confirm the fit with the full model number before ordering.