
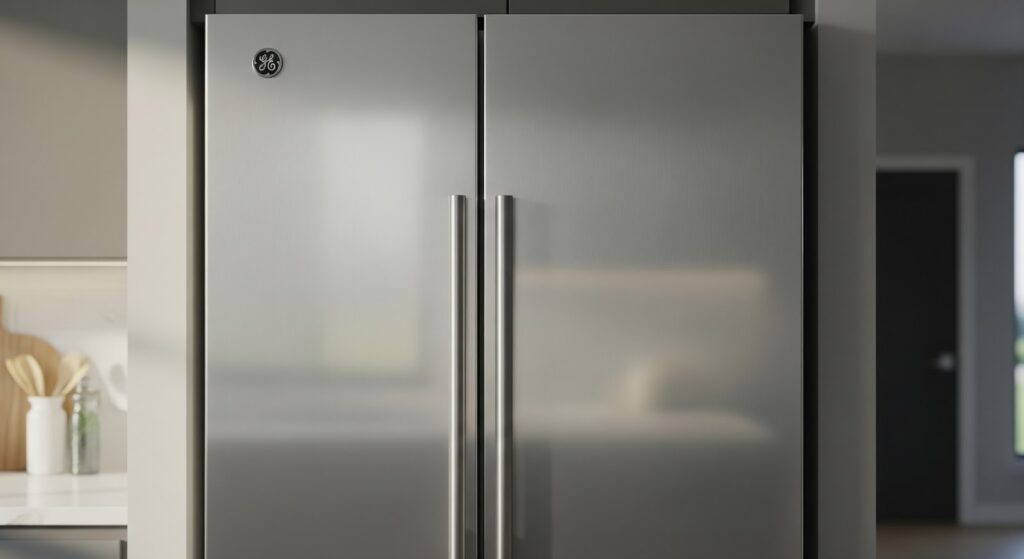
A GE refrigerator that no longer closes properly may be affected by a worn-out door spacer. This small plastic part sits on the top hinge shaft and helps the freezer door stay aligned. When it wears down or breaks, gaps can form at the top or side of the door, leading to cold air leaks and energy waste. Below is a simple and clear guide to help you fix this issue and restore your refrigerator’s performance.
What the Door Spacer Does
The WR1X1794 door spacer is a part located at the top hinge of many GE refrigerators. It wraps around the hinge pin and helps keep the freezer door aligned when opening and closing. This keeps the seal tight and prevents gaps that let warm air in or cold air out.
A worn spacer may cause the door to sag or shift. When that happens, you may notice temperature fluctuations, overworked cooling components, or frost buildup inside the freezer.
Signs You Need a New Door Spacer
Here are some signs that the door spacer may need to be replaced:
- Gaps are visible at the top or side of the freezer door
- The door swings open or feels loose
- Cold air seems to leak from the freezer
- The door doesn’t close as smoothly as it used to
- There is friction or creaking when you open or close the door
- The refrigerator gasket doesn’t press evenly against the cabinet
These symptoms can affect both the cooling performance and energy efficiency of the appliance.
Tools and Materials You’ll Need
Before you start the repair, gather the following:
- Socket wrench (5/16 inch or 1/4 inch depending on your model)
- Replacement door spacer (WR1X1794 or one compatible with your model)
- Insulated work gloves
- A soft towel or surface to rest the door during the repair
Safety Precautions
Even a small repair like this one should be handled with care. Below are some safety tips to keep in mind:
- Unplug the refrigerator or turn off its power source before starting
- Wait for the appliance to cool down if it was recently in use
- Use gloves to protect your hands from metal edges
- Avoid touching any electrical components or wires
- Work in a bright, clean area
- Keep the floor dry and free from clutter
- Keep children and pets away from the work area
- Use your appliance manual as a guide for model-specific instructions
- Handle parts carefully to avoid breaking them
How to Replace the Door Spacer on a GE Refrigerator
Follow these steps to replace the WR1X1794 door spacer and help your freezer door open and close properly:
Unplug and Locate the Spacer
- Unplug the refrigerator from the wall outlet.
- Find the door spacer located on the top of the center hinge beneath the freezer door.
Remove the Freezer Door
- Use a 5/16-inch or 1/4-inch socket wrench to remove the screws from the top hinge.
- Hold the freezer door with one hand while taking out the screws to keep it steady.
- Lift the upper hinge off and set it aside.
- Open the freezer door slightly and lift it off the center hinge pin.
- Place the door on a padded surface to prevent scratches.
Replace the Door Spacer
- Remove the washers and the old door spacer from the hinge pin.
- Slide the new door spacer (WR1X1794) onto the center hinge pin.
- Place the washers back on top of the new spacer in the same order.
Reinstall the Freezer Door
- Lift the freezer door and lower it onto the center hinge pin.
- Line up the top of the door with the upper hinge bracket.
- Reposition the upper hinge and align it with the screw holes.
- Use the socket wrench to reattach and tighten the hinge screws.
- Plug the refrigerator back in and test the door for smooth movement.
What to Remember
A small part like the door spacer might not seem like much, but it plays an important part in keeping your freezer running right. If your GE refrigerator door feels loose or isn’t sealing properly, replacing the spacer could make a big difference.
A simple fix like this helps protect your food, reduce energy waste, and keep the appliance working the way it should. With just a few tools and some careful steps, you can get the door aligned again and avoid bigger problems later on. It’s a quick repair that’s worth the effort.