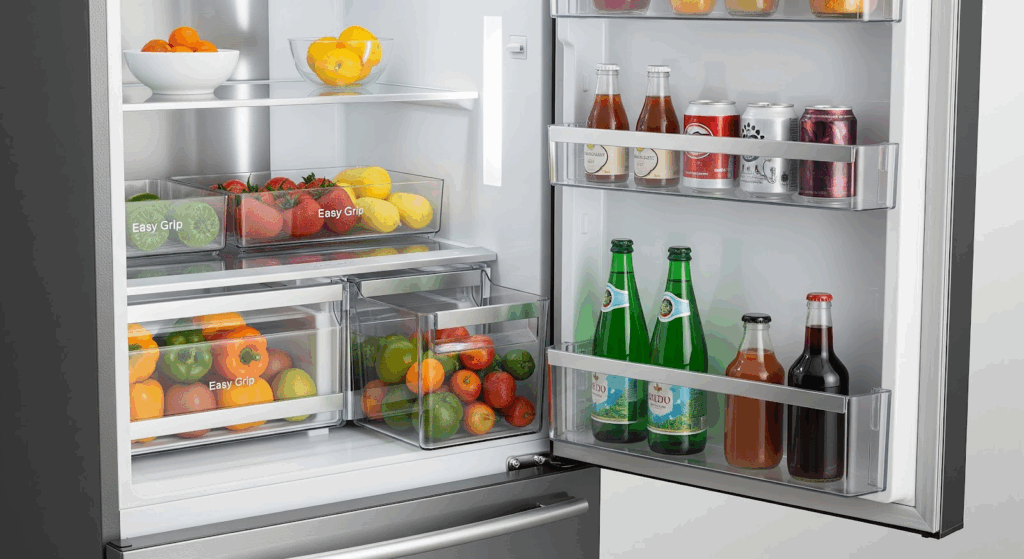
Refrigerator door bins and retaining bars are helpful for storing small items like condiments, jars, and bottles. However, they can sometimes wear down, crack, or break due to frequent use. The good news is that fixing or replacing them is often simple. This guide will show you how to replace a damaged refrigerator door bin and share some helpful tips to keep your door shelves in good condition.
When to Replace a Refrigerator Door Shelf Bin or Bar
You should consider replacing your refrigerator door bin or retaining bar if:
- It is cracked or broken and no longer holds items securely
- It is missing entirely
- The plastic feels brittle or fragile and seems like it could break soon
- It has become badly discolored or stained over time
- It looks old or worn and affects the appearance of the refrigerator’s interior
Replacing a bin before it fails can help prevent spills and damage to other parts of the fridge. An old, yellowing plastic bin can also make your refrigerator look aged, even if the appliance itself still works well.
Signs Your Door Bin Needs Attention
If you are not sure whether the door bin needs to be replaced, watch out for the following signs:
- Items fall off the shelf easily or tilt to one side
- The bin rattles, wobbles, or feels loose when opening the door
- There are visible cracks along the edges or corners
- It no longer clicks or slides properly into place
- You see dirt or mold buildup in hard-to-clean cracks
These problems may not seem serious at first, but they can lead to broken containers, spills, or extra wear on nearby parts.
Tools and Preparation
In most cases, you will not need any tools to remove and install a new door bin. However, keeping a few basic items nearby can help, especially if the old bin is stuck or hard to remove. These tools include:
- A flathead screwdriver to loosen locking tabs if present
- A putty knife to gently pry a stuck bin loose
- A soft cloth or warm rag to clean off grime before installing the new bin
Make sure the refrigerator door bin you are installing matches the model of your fridge. You can usually find the part number on the bottom or back of the original bin, or check the manufacturer’s website for compatible parts.
How to Replace a Refrigerator Door Bin or Shelf Component
Below are the steps to help you safely remove and install a refrigerator door bin, shelf bar, or dairy cover.
Replacing a Standard Door Bin
- Remove all items from the door bin or shelf.
- Place your hands under the bin and lift upward or pull from the rim.
- If it’s stuck, slide a plastic scraper or warm, damp towel along the edges to loosen any buildup.
- Once free, pull the bin away from the door.
- Align the new bin with the mounting tabs or hooks.
- Press the new bin down until it fits snugly or clicks into place.
- Place your items back into the new bin.
Replacing a Shelf Bar or Dairy Cover
- Clear off all items from the bar or dairy cover.
- Grip the part firmly and slide it to the left or right, depending on how it is mounted.
- Once one side is released, lift the component out of the door.
- Align the new part with the side you started with.
- Seat that side, then press the opposite side down into position.
- Return the removed items to the new shelf or cover.
Tips for Keeping Door Bins in Good Shape
New bins can last a long time with proper care. To keep your refrigerator door shelves in good condition:
- Do not overload bins with heavy items
- Clean the shelves regularly using warm, soapy water
- Dry them completely before placing items back inside
- Avoid slamming the door, which can crack or loosen parts
- Check the condition of each bin every few months
Also Read: 11 Ways to Increase the Efficiency of Your Refrigerator
To Recap
Keeping your refrigerator door bins in good shape doesn’t take much time, but it makes a big difference. Whether you’re swapping out a cracked bin or just checking for wear, staying on top of small fixes like these helps your fridge stay clean, organized, and more efficient. With the right fit and a few simple steps, you can replace worn parts easily without calling for help. A little care goes a long way in keeping your appliance running smoothly and looking fresh.
