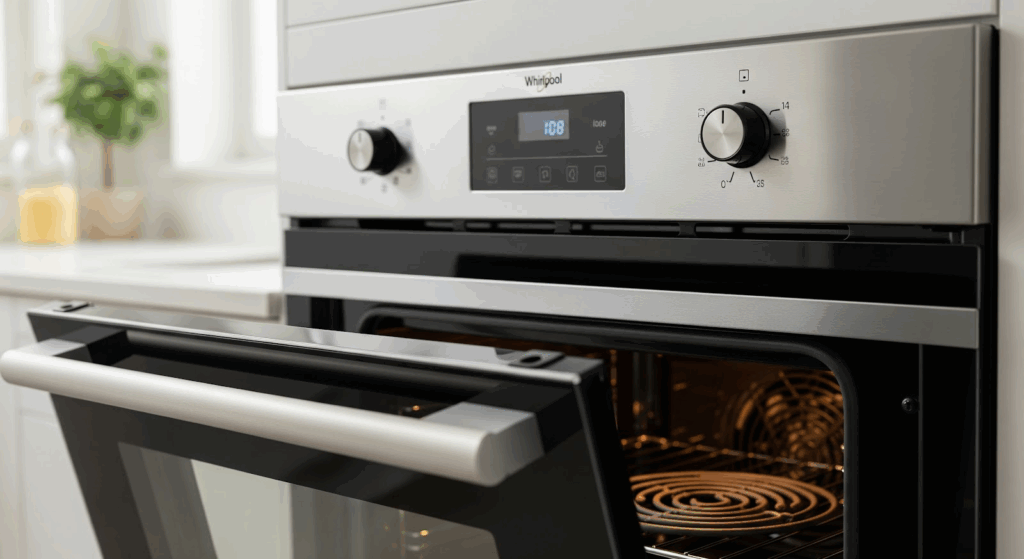
The oven control board in an electric Whirlpool range manages temperature settings and cooking functions. After years of regular use, the control board can wear out or fail.
If your oven is not heating properly, does not respond to temperature changes, or shows glitches on the control panel, it might be time to install a new control board.
With a few tools and some careful steps, you can handle this repair yourself and have your oven working properly again.
What You Will Need
- Replacement control board (confirm it matches your range model)
- Phillips head screwdriver
Important Safety Tips
- Disconnect Power: Always unplug the appliance or switch off the circuit breaker before starting any repair. This prevents an electric shock.
- Let It Cool: Allow the appliance to cool completely before beginning any work.
- Work Carefully: Move slowly and patiently to avoid accidents. Precision is important for success.
- Good Lighting: Work in a bright area so you can clearly see all parts and connections.
- Clear the Area: Keep your workspace organized and free from obstacles. Children and pets should be kept away from the work zone.
- Stay Dry: Only work with dry hands in a dry environment to lower the risk of electrical shock.
- Review the Manual: Read the user manual for any specific safety notes or installation steps related to your range model.
- Handle Parts Gently: Use steady and careful pressure when removing or installing parts to prevent damage.
- Wear Gloves: Insulated work gloves protect your hands from sharp edges and small debris.
- Be Cautious with Wires: Avoid direct contact with exposed wires or terminals. Use non-conductive tools or insulating gloves if you must touch any wires.
- Document Wiring: Take clear photos or detailed notes of all wire connections before disconnecting anything. This will make reassembly much easier.
How to Replace the Oven Control Board in an Electric Whirlpool Range
Follow these steps to safely and correctly replace the oven control board.
Disconnect Power
- Unplug the range from the power source or turn off the circuit breaker.
Access the Old Control Board
- Locate the console cover on the range and remove it to expose the main oven control board.
- Take a clear photo of the current wire connections or label each wire for easy reference.
- Disconnect all wires carefully by pulling on the connectors, not the wires themselves.
- Remove the screws securing the oven control board and set them aside.
- Gently pull out the old oven control board and place it somewhere safe.
Install the New Control Board
- Align the new oven control board in the same position as the old one.
- Secure the new oven control board by reinstalling the screws.
- Reconnect each wire to the corresponding terminal on the new control board, using the photo or labels as a guide.
- Double-check that all wire connections are properly seated.
Reassemble and Test
- Carefully reposition the console cover and secure it, making sure no wires are pinched or damaged.
- Plug the range back into the outlet or turn the circuit breaker back on.
- Test the oven to confirm the new control board is working correctly.
Also Read: Pro tips for replacing the oven control board in an electric Whirlpool range
To Recap
Taking care of your own Whirlpool oven repair is a smart way to keep your kitchen running smoothly. With some patience and attention to detail, swapping out the control board is completely doable. It feels good to know you can tackle these fixes on your own and avoid waiting around for a repair service. A little careful work today means many more meals cooked just the way you want.
