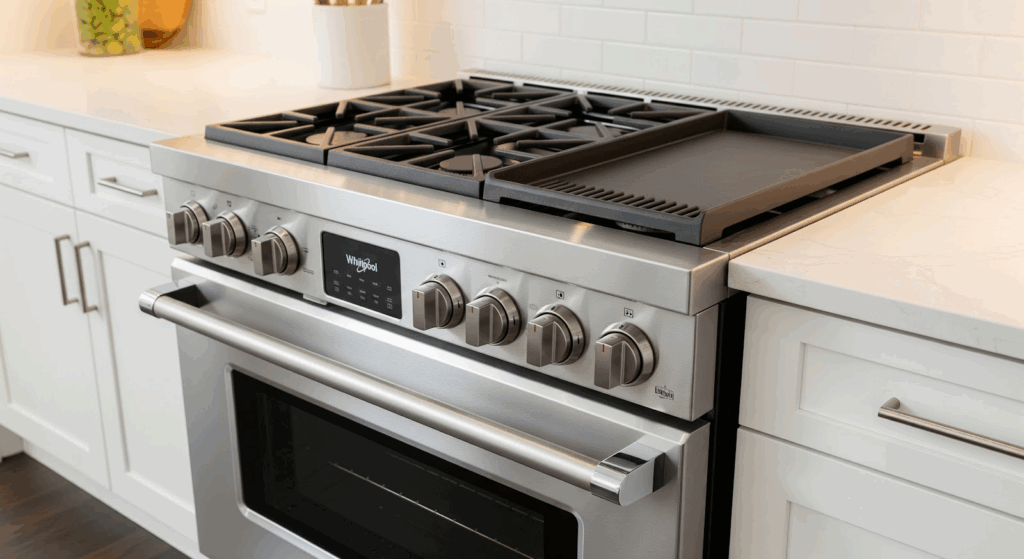
If your Whirlpool range is not heating, a faulty thermal fuse could be the reason. The thermal fuse protects the unit from overheating, but when it fails, the oven will not heat at all.
Whether you are repairing an appliance for the first time or need a quick refresher, this guide will walk you through the process. Save yourself the cost of a service call and get your range working properly again.
What the Thermal Fuse Does
The thermal fuse acts as a safeguard when the appliance becomes too hot. If something causes the internal temperature to rise above a safe level, the thermal fuse cuts off power to prevent further heating. Some important details about its function:
- It acts like a one-time switch that disconnects power when temperatures get too high.
- Once blown, it cannot reset and must be replaced.
- It helps protect both the appliance and your home by reducing fire risks.
- A bad thermal fuse will stop the oven from heating altogether, although other functions like the stovetop might still work.
- Overheating can happen from blocked vents, faulty fans, or a malfunctioning thermostat.
What Causes a Thermal Fuse to Blow
Several factors can cause the thermal fuse to fail, and recognizing them can help you avoid repeat problems:
- Blocked or dirty oven vents that trap heat inside the unit.
- A defective cooling fan that fails to distribute heat properly.
- Leaving the oven door open during a self-cleaning cycle.
- Electrical short circuits or voltage spikes.
- Internal thermostat failures leading to unchecked heating.
- Using the appliance for long periods without breaks, causing it to overheat.
What You Will Need
- Multimeter
- Phillips screwdriver
- 1/4-inch nut driver
Important Safety Tips
Before beginning any repair work, keep these safety guidelines in mind:
- Disconnect power: Always unplug the appliance or turn off the circuit breaker before starting any repairs. This helps prevent electrical shocks.
- Allow time to cool: If the oven was recently used, let it cool completely before starting.
- Turn off the gas: If working with a gas range, shut off the gas supply to avoid leaks.
- Work in a clean area: A clear, well-lit workspace helps you stay focused. Keep children and pets away while working.
- Stay dry: Avoid working with wet hands or in damp conditions when handling electrical parts.
- Refer to the manual: Check the user manual for any specific safety or installation instructions related to your appliance.
- Handle parts gently: Use light pressure when removing or installing parts to avoid damaging them.
- Wear gloves: Insulated work gloves help protect your hands from sharp edges and debris.
- Be careful with wiring: Do not touch exposed wires directly. Use a non-conductive tool or wear insulating gloves if necessary.
- Document connections: Take photos or notes of how wires are connected before disconnecting anything. This will make reassembly easier.
- Avoid live voltage testing: If you are not confident working with live circuits, avoid testing live voltage with a multimeter.
How to Test and Replace a Thermal Fuse on a Whirlpool Range
Here are the steps to check if the thermal fuse on your Whirlpool range is faulty and replace it if needed.
Testing the Thermal Fuse
- Pull the range away from the wall to create enough space to work.
- Unplug the range from the electrical outlet.
- If you have a gas model, turn off the gas supply.
- Use a 1/4-inch nut driver to remove the screw at the bottom of the terminal block shield.
- Push down on the shield slightly and pull it away from the range. Set it aside.
- Use the 1/4-inch nut driver to remove the screws securing the back oven panel, starting at the bottom.
- Carefully pull the back panel away from the oven and set it aside.
- Locate the thermal fuse and disconnect one of the wires attached to it.
- Set your multimeter to continuity mode.
- Place the multimeter probes on the terminals of the thermal fuse.
- Listen for an audible tone from the multimeter to confirm continuity.
- If there is no continuity, the thermal fuse has failed and needs to be replaced.
Replacing the Thermal Fuse
- Confirm the range is unplugged from the power outlet.
- Remove the remaining wire from the thermal fuse.
- Use a Phillips screwdriver to remove the mounting screw holding the thermal fuse in place.
- Position the new thermal fuse where the old one was mounted.
- Secure the new thermal fuse with the Phillips screw.
- Reattach the wire or wires to the new thermal fuse.
- Reinstall the back oven panel and secure it with the 1/4-inch screws.
- Slide the terminal block shield back into its mounting slots and lift it up.
- Secure the terminal block shield with the 1/4-inch screw.
- Plug the range back into the power outlet.
- If you have a gas model, turn the gas supply back on.
Also Read: Is my Whirlpool range thermal fuse bad? Learn how to test & replace it
Key Takeaways
Swapping out a thermal fuse might sound like a hassle, but once you break it down step by step, it’s something most people can handle with a bit of patience. Knowing what the fuse does and what causes it to fail helps you fix the issue and prevent it from happening again. With the right tools and a clear plan, you can get your Whirlpool range heating properly without calling in backup. Take your time, stay safe, and double-check everything as you go.
