
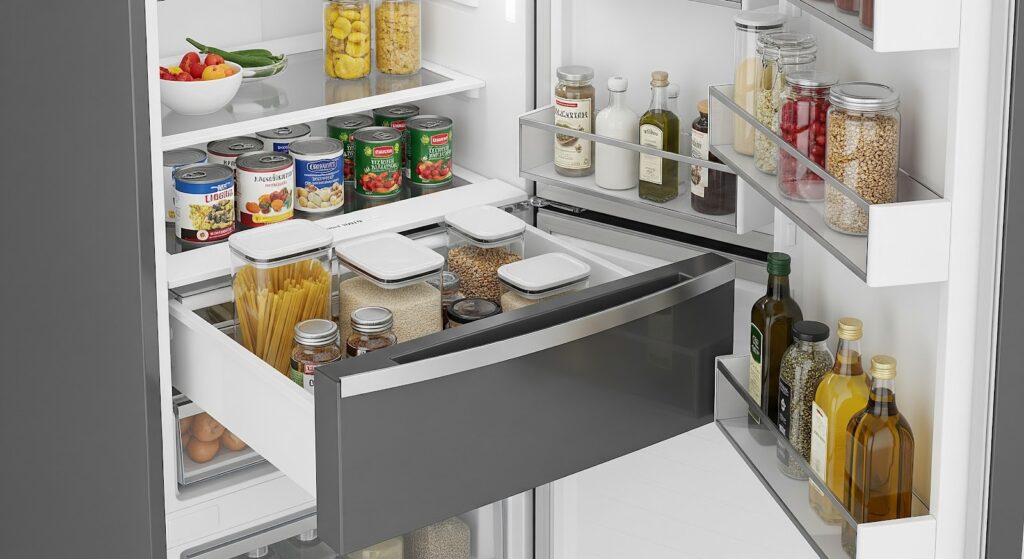
Refrigerators come with various features to help organize food, and the pantry drawer is one of the most useful. Located at the bottom of the fresh food section, this drawer slides open and closed with ease—until wear and tear start to affect its components.
The pantry drawer consists of a frame, a sliding mechanism, a lid, and side rails. Over time, the sliding mechanisms and lid pins that connect to the end caps may degrade, making the drawer difficult to open or preventing it from staying closed properly. When this happens, replacing the end cap kit (also known as the refrigerator drawer support) is the best solution.
If you’re experiencing issues with the drawer, follow these steps to replace the end cap kit.
Tools and Parts Needed
- 1/4-inch nut driver
- Flat blade screwdriver
- End cap kit (Part Number: W10874836) – Check that it’s compatible with your fridge model.
Safety First
Before starting any repairs, take the necessary precautions to avoid injury or damage to your appliance.
- Unplug the refrigerator or switch off the circuit breaker before beginning any work.
- If your fridge has a water supply connection, turn it off at the outlet to prevent leaks.
- Keep towels nearby to absorb any residual water that may escape during disassembly.
- Allow the fridge to cool if it has been recently used.
- Work in a well-lit space for better visibility and access.
- Keep the area free of clutter, and make sure children and pets stay away.
- Never handle internal components with wet hands.
- Check the user manual for any specific safety instructions related to your refrigerator model.
- Avoid using excessive force when removing or installing parts to prevent damage.
- Wear insulated work gloves to protect against sharp edges and debris.
- When working near wires, avoid direct contact with exposed terminals. If necessary, use a non-conductive tool or insulated gloves.
- Consider using safety glasses or a dust mask if working in a dusty environment or handling chemicals.
How to Replace a Refrigerator End Cap Kit
Follow these steps to safely remove the old end cap kit and install the replacement to ensure your refrigerator functions properly.
Removing Interior Refrigerator Parts
- Open both fresh food doors.
- Pull out the crisper pans and set them aside.
- Lift out the glass shelf.
- Remove the crisper shelf frame by lifting it up and pulling it out.
- Pull out the pantry drawer and lift it slightly to remove it from its tracks.
- Slide the glass shelf above the pantry drawer forward and remove it.
- Lift the narrow support bar upwards and remove it.
Removing the Faulty End Cap Kit
- Press the right hinge pin while sliding the pantry lid off the pin.
- Remove the pantry lid from the left hinge pin.
- Use a 1/4-inch nut driver to remove the two screws securing the rails.
- Use the 1/4-inch nut driver to remove the two screws securing the right-side end cap.
- Lift the right-side end cap upwards and pull it out.
- Pry the connecting tabs and bracket loose from the right-side end cap.
- Use a flat-blade screwdriver to press the small round knob and pull the slider to release it.
- Release the tabs holding the slider in place.
- Rotate the slider and slide it out of the end cap.
- Press the three tabs on the right end cap kit, slide down the rod, and disconnect it.
- Push in the locking tab and remove the slider from the right-side end cap.
- Use the 1/4-inch nut driver to remove the two screws securing the left-side end cap.
- Lift the left-side end cap upwards and pull it out.
Installing the Replacement End Cap Kit
- Reinstall the sliding mechanism on the new right end cap.
- Align the tabs and connecting rods.
- Install the new right-side end cap and secure it with screws.
- Align the left-side end cap and screw it in place.
- Position the new drawer rails and secure them with screws.
- Align and hinge the pantry door properly.
- Replace the narrow support bar.
- Slide the glass shelf back into position.
Replacing Shelves and Drawers
- Push the pantry drawer all the way in.
- Check that the door glides smoothly and shuts properly.
- Return the crisper shelf frame to its position.
- Place the glass shelf back on the crisper shelf frame.
- Insert the crisper pans into their designated slots.
Also Read: How to Fix Broken Refrigerator Drawers or Shelves
Maintenance Tips to Prolong the Life of Fridge Drawers
Replacing worn-out components is necessary at times, but regular maintenance can help prevent frequent repairs. Here are some ways to keep your pantry drawer and end cap kit in good condition:
- Clean the rails regularly: Dust, food crumbs, and grime can build up in the rails, causing friction. Wipe them down with a damp cloth and mild detergent.
- Lubricate moving parts: A small amount of food-safe lubricant can help the drawer glide smoothly without sticking.
- Avoid overloading the drawer: Too much weight can strain the rails and end caps, leading to premature wear. Distribute weight evenly to avoid stress on any single part.
- Check for loose screws or fittings: Periodically inspect the screws that hold the end caps and rails in place. Tighten them if needed to keep the drawer stable.
- Handle the drawer with care: Pulling or pushing the drawer too hard can damage the sliding mechanism and end caps over time.
Read More: 11 Ways to Increase the Efficiency of Your Refrigerator
Common Mistakes to Avoid During Replacement
Even with the right tools and a clear guide, mistakes can happen during the installation process. Avoid these common errors to make the replacement process smoother:
- Skipping the power-off step: Working on the fridge without unplugging it can be dangerous. Always disconnect the power first.
- Forcing parts into place: If the new end cap doesn’t fit properly, double-check the part number and alignment before applying pressure.
- Mixing up screws: Using the wrong screws or losing small hardware pieces can lead to improper assembly. Keep track of all screws and parts as you remove them.
- Not aligning the drawer properly: The drawer should sit evenly on the rails after installation. If it wobbles or doesn’t slide smoothly, double-check the alignment.
- Neglecting to test before finishing up: Before securing everything, slide the drawer back and forth a few times to check for smooth movement.
To Recap
Replacing the end cap kit is a simple job that can make your fridge drawer work like new again. While it may seem tricky at first, following the steps carefully will get you through it. Regular maintenance will also keep your fridge running smoothly and avoid future issues.